B/W Post Processsing Tips
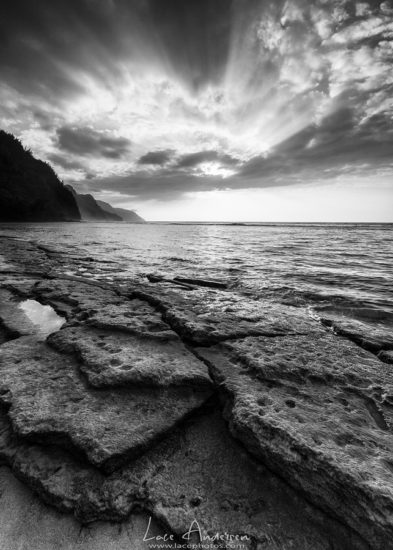
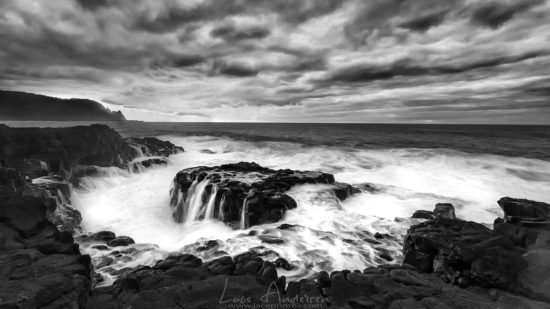
Black and white is a powerful artistic medium in the realm of landscape photography. It focuses the mind on structure, tones, textures, and patterns in a nature photograph. I prefer my landscape images to be as dynamic as possible in B&W by using heavy contrast and structure to cover the entire tonal range. For portraits, I prefer to use a softer form of contrast. In the end, all creative decisions are up to the person processing the photograph and should be done to your personal taste. B/W post processing choices are endless!
So, what tools do you use to convert your image? There are lots of options out there. Photoshop, Lightroom, and plug-ins like Nik Silver Efex Pro 2 and Topaz, for example. I primarily use two programs when converting to B&W and, in this article, I focus on some of the basic techniques to use while processing a photograph. I typically do RAW processing of the photograph in Lightroom and then export the image into Silver Efex Pro 2.
Presets
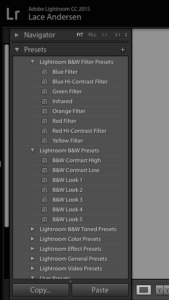
Presets are a good launching point for the conversion of your photograph. I select a preset that is close to what I want for an image. However, I always make adjustments to the preset to reach the desired product. In Lightroom, the keyboard shortcut V puts you into black and white. Play around with the presets and explore what each does to your image. Make sure your light and dark points are set and that you aren’t clipping any tones.
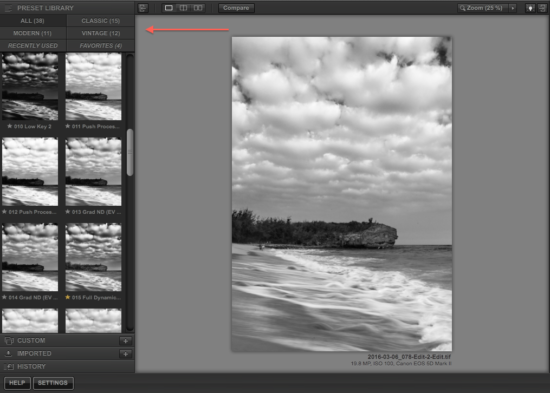
Nik also has a group of 38 presets inside the plugin. Again, I always end up making many adjustments to a preset; it’s only a base starting point. Nik allows for additional control over you image. Try amplifying your whites and blacks to cover all tonal ranges. Also adjust the structure sliders and see how that affects the image details. But be aware of the noise it can create.
Localized Adjustments
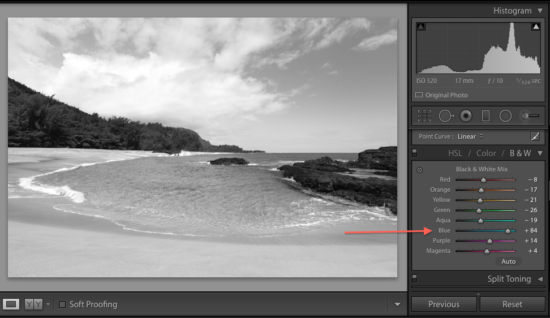
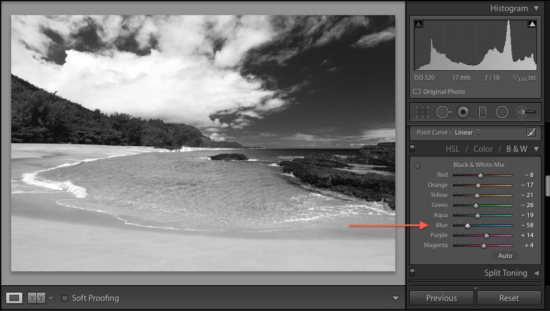
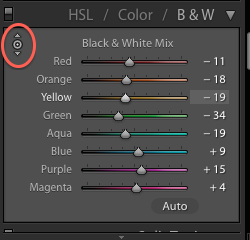
The black and white mix panel is a powerful tool in Lightroom. It can give you the black sky you are looking for by throwing the blue slider all the way to the left versus all the way to the right. Experiment with the sliders and see what happens to each color when they’re moved.
You can also “drag” in the photo. If you click on the tiny circle button to the left of Black & White Mix, your mouse pointer becomes up and down arrows. Click anywhere on your image, hold and drag, and it adjusts only the color you clicked on. Drag up to move the slider to the left and down to move the slider to the right.
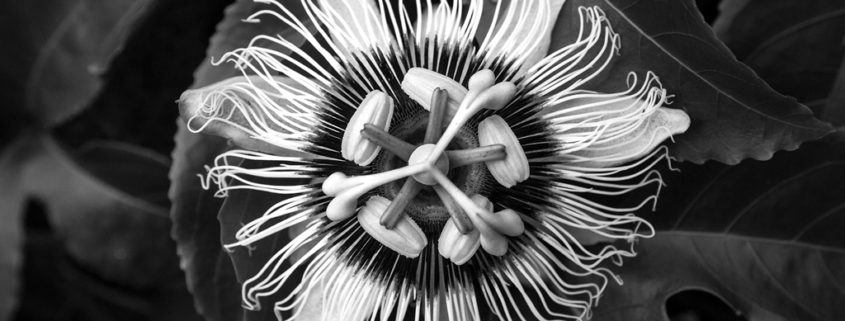
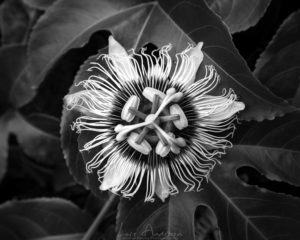
In the flower image below, I clicked on the petals of the flower and dragged up to increase the whites and make it pop from the black background.
These are just a few basics of black and white conversion tools. I would suggest studying how applying certain digital color filters to an image adjusts the tones in B/W post processsing. Enjoy experimenting!

