Post-processing with a Histogram – Highlights
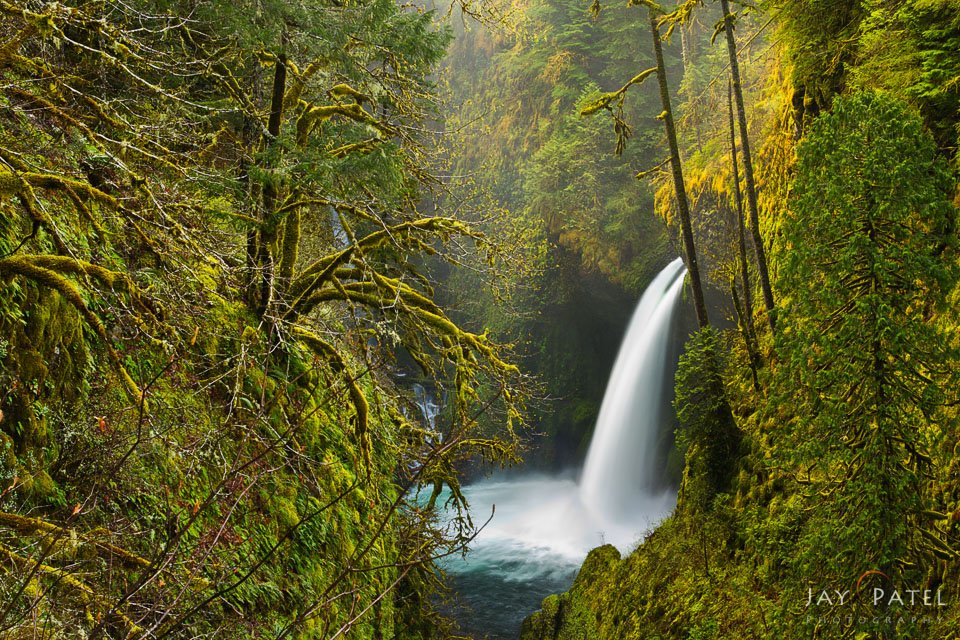
Here’s a shot from Columbia River Gorge in Oregon. In an earlier post, we talked about using histogram to capture details in the highlights. Here, we’re going to talk a little bit about bringing out details in every part of the image.
After RAW processing, the photo looked like this:
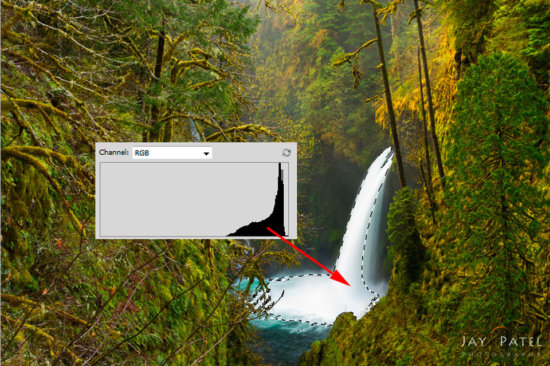
Notice the lack of details in the water. We can use the lasso tool to draw a selection around the highlights in the water, and then look at the histogram to see what’s happening in that area (see image above). In this case, the histogram shows that the water is not overexposed – but the peak pretty narrow, and skewed to the right. There’s not a lot of detail in the water, and the highlights are pretty bright. We’ll blend a second exposure for that area and see if we can reduce the brightness just a bit – pull that peak apart with a little more contrast.
There are a variety of options for fixing the highlights. We might use an adjustment layer and a mask to bring out the details in the waterfall. Or, we might blend two exposures – one for the highlights in the water and the other for the surrounding forest. Either option will work just fine. Here’s the finished image after blending. The histogram for the selected area is wider, which shows that we have much better detail in the water.


