5 Rarely Used Camera Settings for Nature Photography
Let’s talk about camera settings in landscape and nature photography. The ones that are rarely used and are nestled down, hidden in your camera’s menu. Unless you read your manual from cover to cover or had someone tell you about these functions, then you may not know about these camera settings. Actually, I use these functions quite often, if not all the time. Let’s take a closer look at these items.
Back Button Focus Setting
By default, most DSLR cameras set the focus by pushing the shutter button down half way. Back button focus setting (BBF) is simply designating a button on the back of your camera for focus. By doing this, your index finger is the shutter button and your thumb becomes the focus button (see below).
On my Canon, I set the focus to be the AF-ON button. This allows freedom and versatility with focusing. With BBF, you set your focus and it remains the same until you actually change it again. If the focus is designated to the shutter button, the camera resets its focus each time you take a picture.

Camera Settings: Back button Focusing
DOF Preview
This is a fun one that I use a lot for macro photography. There is a little button on the front of your camera that previews your depth of field with your current camera settings. When the button is pressed, the lens stops down to the aperture that you have set. This way you can “see” what the final image will look like through the camera’s viewfinder. It works best during daylight hours as it darkens the scene through the viewfinder when the button is depressed.
Histogram Blinkies
I turned this feature on the moment I purchased my camera. In Canon, it’s the “Highlight Warning” menu item in your camera settings. This feature is rather helpful in determining if you are clipping your highlights and overexposing parts of your image. After you take an image, the preview on the back of the camera will blink in the areas that are being clipped. In the following photo, the black areas in the clouds and boat are blown out. You may need to make exposure adjustments depending on what is blinking and your camera’s recovery capabilities.

Camera Settings: Blinkies to determine over exposure
Two Second Timer
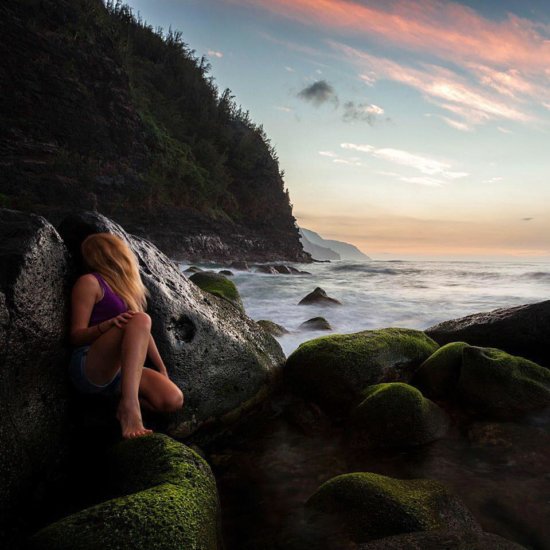
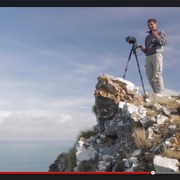
This is a good trick to use if you don’t have a remote shutter release or are just too lazy to get it out of your camera bag. Set your camera to the two second timer; this means that there is a two second delay after you push the shutter button until the exposure is made. This helps eliminate camera shake caused from pushing the button or touching the camera with your hands. You can also use it to photograph yourself such as in the following image. Set the camera’s time to two or ten seconds. Then run into your shot. Obviously, you must use a tripod so make sure it’s secure before you start running back and forth like crazy.
Bulb Mode
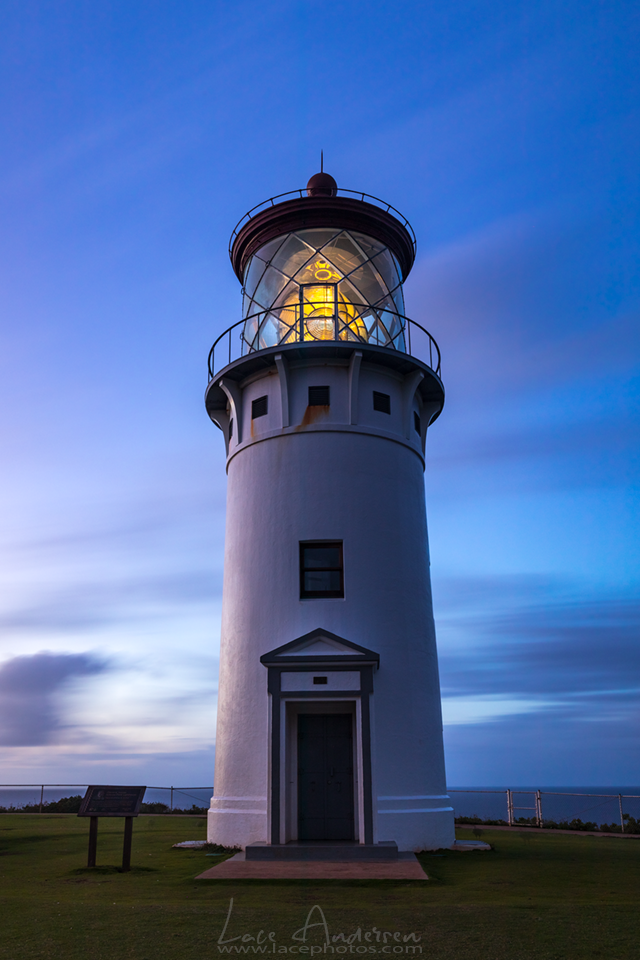
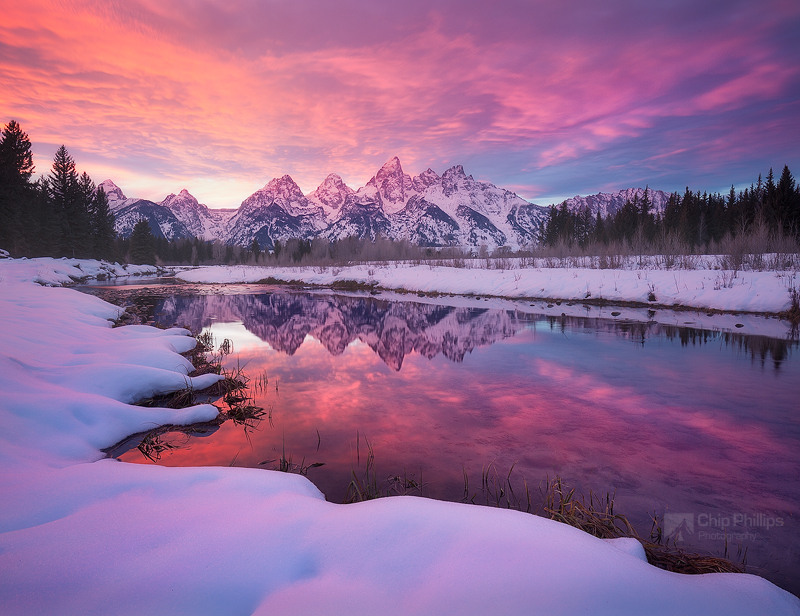
Speaking of a cable release, you need one of those to be able to use this feature. Bulb mode is for shutter speeds longer than 30 seconds. In nature photography, bulb mode is helpful for star trails or if you are using a really dark ND filter. Personally, I use bulb mode often with my 6-stop Neutral Density filter during sunset or sunrise. Additionally, there are creative ways it can be used with light painting. Shooting fireworks, lightning, and light trails also comes to mind. The below image was 1 minute 45 seconds long using the bulb mode to get the streaking clouds.
Do you have any examples of any of these techniques? If so feel free to share them with our viewers in the comments below.






Rarely used? Uhh no every landscape photographer I have ever known would see all of these as really basic even amateurs know about the self-timer geez
This could have been phrased a bit nicer, but I would agree. Most of these are pretty basic controls that get used pretty often when you make the jump from a beginner to more experienced photographer. You could maybe change the name of the article to “Advanced Camera Features for Landscape Photography”.
A couple of suggestions for other features could be:
– Bracketing
– Metering
– Changing focus modes
– Interval shooting (i.e. time lapse)
PS – for mirrorless users, what you see is what you get. So there isn’t a preview image button (you refer to it as DOF preview) for those cameras, only DSLRs.
Still, no matter what the feature, it’s always good to reiterate the topics in your brain so you think about them more often when shooting! Camera manuals are always a great thing to read and reread.
Daniel is correct. The article was geared toward beginner photographers. We have a larger percentage of photographer who are just getting started and there is a entire collection of articles designed for them.
https://uploads.disquscdn.com/images/8fc03bbd280c7e14f6adb48edf2b656c8a500a54e951d25155ac951a0a3a4c2d.jpg I used bulb mode recently in Alaska to shoot Northern Lights. Stayed at exposures shorter than 25 second to avoid star streaking.
Great tips! I use all of them, although dof preview less often than the others. I don’t know what I’d do without back button focusing and 2 second shutter delay.