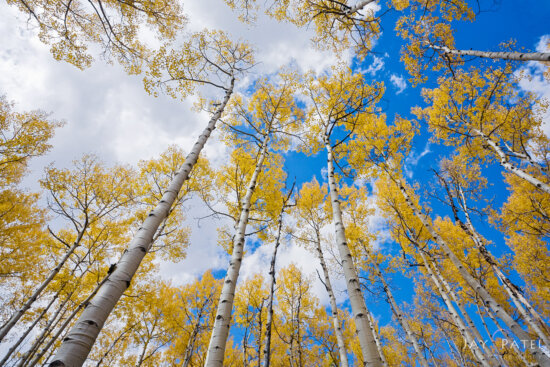
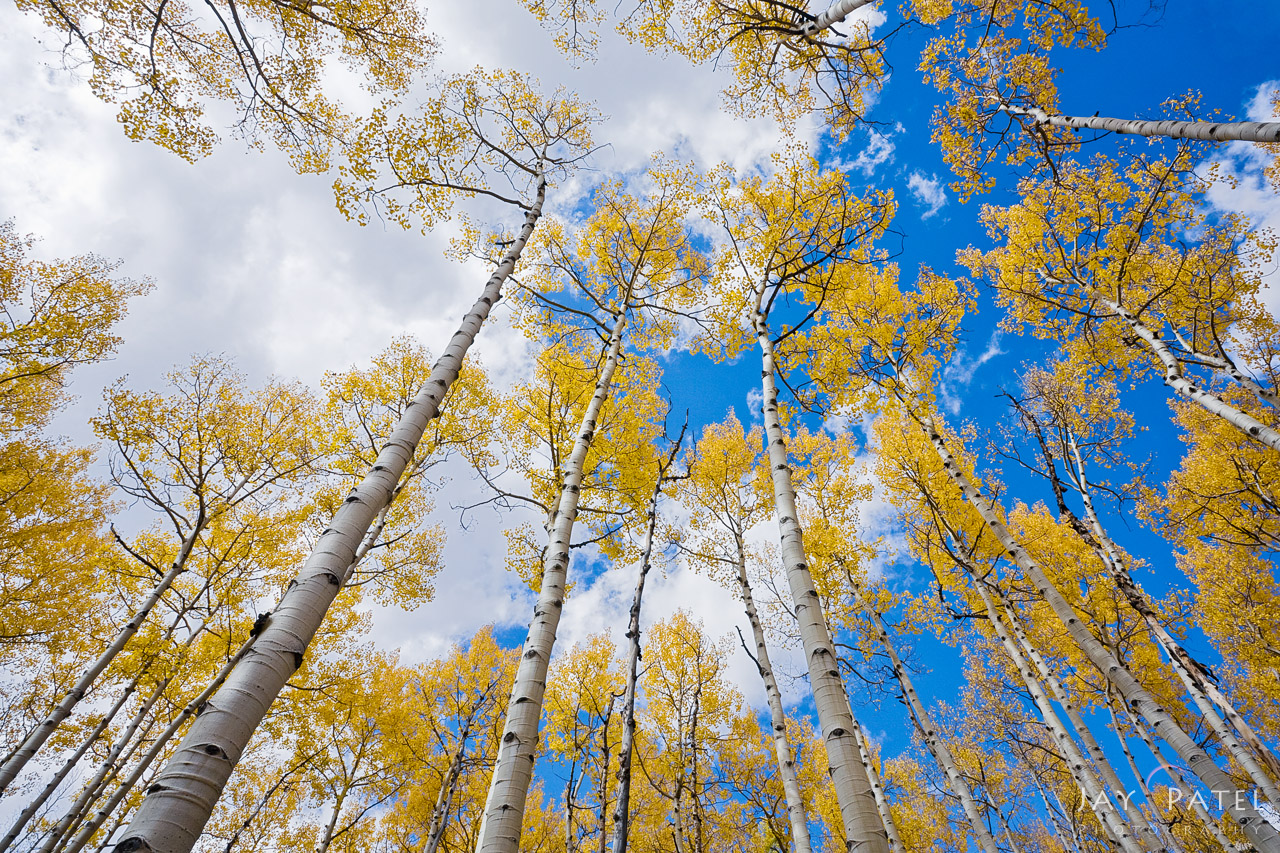
Overcoming Wide Angle Lens Challenges in Nature Photography
When it comes to landscape and outdoor photography, few tools are as beloved—or as challenging—as the wide angle lens. From sweeping mountain vistas to intimate forest scenes, a wide angle lens gives nature photographers the ability to capture both scale and intimacy in a single frame. These lenses invite creativity: exaggerating foreground elements, drawing the viewer into the scene, and showcasing the grandeur of nature in ways that no other lens can.
But it’s not all effortless beauty. Wide angle nature photography comes with its own set of challenges. Vignetting, chromatic aberration, perspective distortion, and light imbalances can make your images fall short of what your eyes saw in the field. The good news? With the right knowledge and some practice, you can easily overcome these issues and transform them into opportunities for stronger, more impactful images.
In this guide, we’ll look at the biggest challenges of using wide angle lenses in landscape photography and how to overcome them, both in the field and during post-processing.

Landscape Photo created with a Wide Angle Lens: Red Sand Beach by Varina Patel
1. Using Too Many Filters: The Vignetting Problem
Wide angle lenses and filters are a tricky combination. Many landscape photographers use polarizers, neutral density filters, and graduated filters to control light and enhance color. However, stacking too many filters on a wide angle lens often leads to vignetting—those dark corners that creep into your images.
This problem is particularly noticeable at the widest focal lengths. While some vignetting can be fixed in post-processing (especially if it’s lens-related), filter-induced vignetting is far more difficult to repair. Once those shadows invade your corners, they can permanently degrade the quality of your photograph.

Vignetting caused by stacking too many filters on a wide angle lens.
How to fix it in the field:
- Use slim filters specifically designed for wide angle lenses.
- Avoid stacking unnecessary filters.
- Zoom in slightly to eliminate filter edges.
- With polarizers, watch the sky. Wide angles can cause uneven polarization, leaving part of the sky dark and unnatural. Adjust your rotation or zoom until the effect looks natural.
2. Chromatic Aberration: Battling Purple and Green Fringes
Every lens suffers from chromatic aberration, but wide angle lenses—particularly budget or older models—are more prone to this issue. You’ll most often see it as distracting purple or green color fringes along high-contrast edges, such as tree branches against a bright sky or rocks in backlit conditions.
While this can feel frustrating when reviewing your images, the solution is simple. Adobe Lightroom and similar editing software make it easy to fix chromatic aberration with just a few clicks.

Typical Wide Angle Lens Photo with Chromatic Aberration


Chromatic Aberration Example in Lightroom

How to fix it:
- In Lightroom, enable the “Remove Chromatic Aberration” option under Lens Corrections.
- If auto removal doesn’t do the trick, use the manual eyedropper tool to sample the fringe color and remove it selectively.
- When possible, avoid extreme backlighting with your wide angle lens, as this often exaggerates the issue.
3. Balancing Light and Color in Expansive Scenes
One of the greatest strengths of a wide angle lens is also one of its greatest challenges: capturing such a vast field of view. Wide angle photography often includes both bright highlights and deep shadows in the same frame. For example, shooting at sunrise might leave you with part of the scene glowing in golden light while the rest sits in deep shadow.
Similarly, color imbalances arise because different parts of the scene are lit under different conditions. Direct sunlight, reflected light, and shadow can all introduce multiple white balances within a single frame. Without correction, the result can look unnatural.

White Balance & Exposure need correction in this wide angle lens photo from Bosque del Apache Wildlife Preserve, New Mexico by Varina Patel

After White balance & Exposure correction – Bosque del Apache Wildlife Preserve, New Mexico by Varina Patel


How to overcome light and color imbalances:
- Use graduated ND filters in the field to reduce exposure differences between sky and foreground.
- Shoot in RAW for maximum flexibility in post-processing.
- In Lightroom, use local adjustments (graduated filters, brushes, radial tools) to fine-tune exposure and white balance across different areas of your photo.
- Aim for a natural look that reflects the scene as you experienced it, not one dominated by overly bright or muddy areas.
4. Perspective Distortion: When the World Warps
Another common challenge with wide angle lenses is perspective distortion. This occurs when vertical or horizontal lines appear to converge or diverge unnaturally, often making trees, cliffs, or buildings lean at odd angles. The distortion becomes especially obvious when you tilt your camera up or down.
While some distortion is caused by the lens itself, perspective distortion is a result of camera angle. The wider the lens, the more exaggerated the effect.
How to reduce perspective distortion:
- Keep your camera level when possible, especially when photographing scenes with strong verticals (trees, canyon walls, mountains).
- Step back and zoom in slightly to reduce distortion.
- In post-processing, use Lightroom’s Transform panel to straighten converging lines and restore balance.

Wide Angle Lens Photography: Perspective Distortion before Post Processing

Wide Angle Lens Photography: Perspective Distortion removed after Post Processing


If you run into this issue, Lightroom has a great way to remove perspective distortion. Lightroom gives you the ability to resolve any converging and diverging lines that exists within your image, in order to accurately replicate the scene as you saw it when you captured your image.
5. The Power of Local Adjustments
Because wide angle lenses capture such a broad scene, global edits often aren’t enough to make the image shine. That’s where local adjustments come into play. These tools allow you to fine-tune exposure, contrast, color, and sharpness in specific areas of your photo without affecting the entire image.
For example:
- Brighten a shadowy foreground without blowing out the highlights in the sky.
- Warm up sunlight hitting the mountains while cooling the shadows in the valley.
- Add subtle clarity or texture to foreground rocks to enhance depth.
Lightroom’s graduated filter, radial filter, and adjustment brush are invaluable for this kind of editing. Mastering local adjustments is one of the most important skills for creating balanced, professional-quality wide angle photographs.
Final Thoughts: Turning Challenges into Opportunities
Wide angle lenses are not without their quirks. Vignetting, chromatic aberration, perspective distortion, and light imbalances are real challenges—but they are also opportunities to grow as a photographer. Every difficulty you face in the field or during post-processing pushes you to develop new techniques and sharpen your creative vision.
The truth is, wide angle nature photography is not about perfection—it’s about storytelling. It’s about putting the viewer in the scene, giving them the feeling of standing on that cliff edge, hearing the ocean crash below, or watching the first light of dawn spill over the mountains.
With patience, practice, and a willingness to embrace both the strengths and limitations of your lens, you can transform technical challenges into creative breakthroughs. So the next time you set out with your wide angle lens, remember: every problem you solve brings you one step closer to capturing the breathtaking beauty of nature in a way that is uniquely your own.
About Author Jay Patel
I could startoff like this – “Seeds of Jay Patel’s appreciation for beautiful places were planted early in his childhood….” but it would get boring really fast. I will just sum it up and say that I am a Landscape and Wilderness Photographer who loves to capture dramatic light. My photographs have been published in various magazines, calendars and advertising materials throughout the world.
Patience is a virtue...unless you are chasing your dreams


 by Jay Patel")