Bird Photography: How to Expose for Birds in Flight
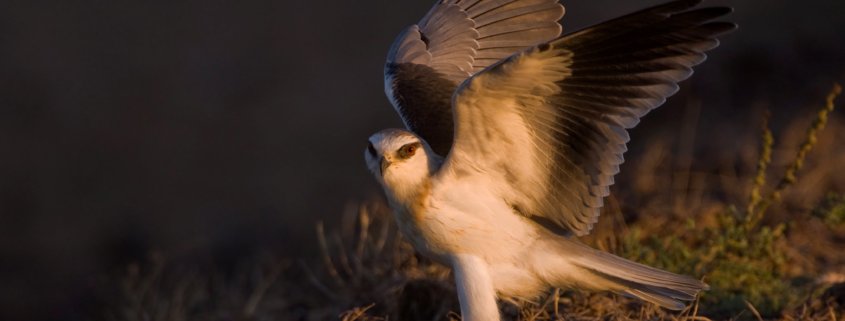
The flight of birds, a dream that humans have tried to mimic since time immemorial. Bird photographers are no different. We love to capture those beautiful birds in flight. They are the most challenging shots and, when we get a good bird-in-flight shot, it gives us that special high. Let’s see what goes into getting a bird in flight shot.
To begin, you must be able to effectively use your camera’s auto-focus setting. You should also understand continuous focus tracking and have a detailed understanding of focus points and sensitivity. In this blog, I present a lesser obvious problem in capturing birds in flight. This problem arises, not because of the bird itself, but because of its background.
The Problem: Changing Background
Imagine the following scenario… you are in in your favorite water fowl photography location. A big bird (maybe something like a crane) is flying directly towards you at a height of around 200 feet above the ground. More likely than not, there’s a blue or white sky behind the bird, correct?
Now that I have you thinking about the bird in flight, let’s say you have locked the focus on the bird and the camera is doing a good job at metering the situation. You go on clicking some cool perspectives of the bird coming in and its beautiful landing.
The only problem is, as it descends and just before it lands, the background changes to trees. Think about it. What would happen to your camera exposure? How would your camera respond?
Would it give you the same shutter/aperture as when the bird was in the sky? Well, no… not really. Unless your camera was set to spot-metering and you’re tracking the bird spot-on (which is highly unlikely), your camera would suddenly ‘think’ things have gone darker; it would slow down the shutter or widen the aperture (if possible) to let in more light. This will likely result in over-exposing your bird.
Question: What did the camera do wrong? The camera was actually behaving as it was designed. It simply didn’t realize that it was the background, and not the light on your subject, that changed.
So, what do you do in this scenario?
The Solution
You have two options to correct this issue:
- Lock your Camera’s Exposure: As soon as your subject is coming in, take a meter reading off the birds nearby and lock in that value using either Canon’s * button Nikon’s or the AE-L button in Nikon. This ensures that the metering does not change.
- Lock Your Shutter Speed: Switch to manual exposure mode and set the shutter & aperture speed based on the light on the subject. You then won’t have to worry about the changing background.
If you are just starting to explore birds in flight, I suggest you spend some time practicing take-off shots. Landings are generally tougher to nail because they require finer control on the auto-focus mechanism. Take-offs are also more predictable as most birds tend to give some kind of warning before they fly. For example, waterfowl may call out, all raptors defecate before taking flight, and so on.
Here is a shot of the Peregrine Falcon taking off. All that I had to do was to focus on the bird and wait for it to fly…
Take off shots of the birds will give you time to try out the options listed above. So get to your local pond and give these options a try to capture birds in flight..
Let me know what you come back with. and feel free to share your own techniques and nature photos in the comments below.


