Post Processing for Natural Greens
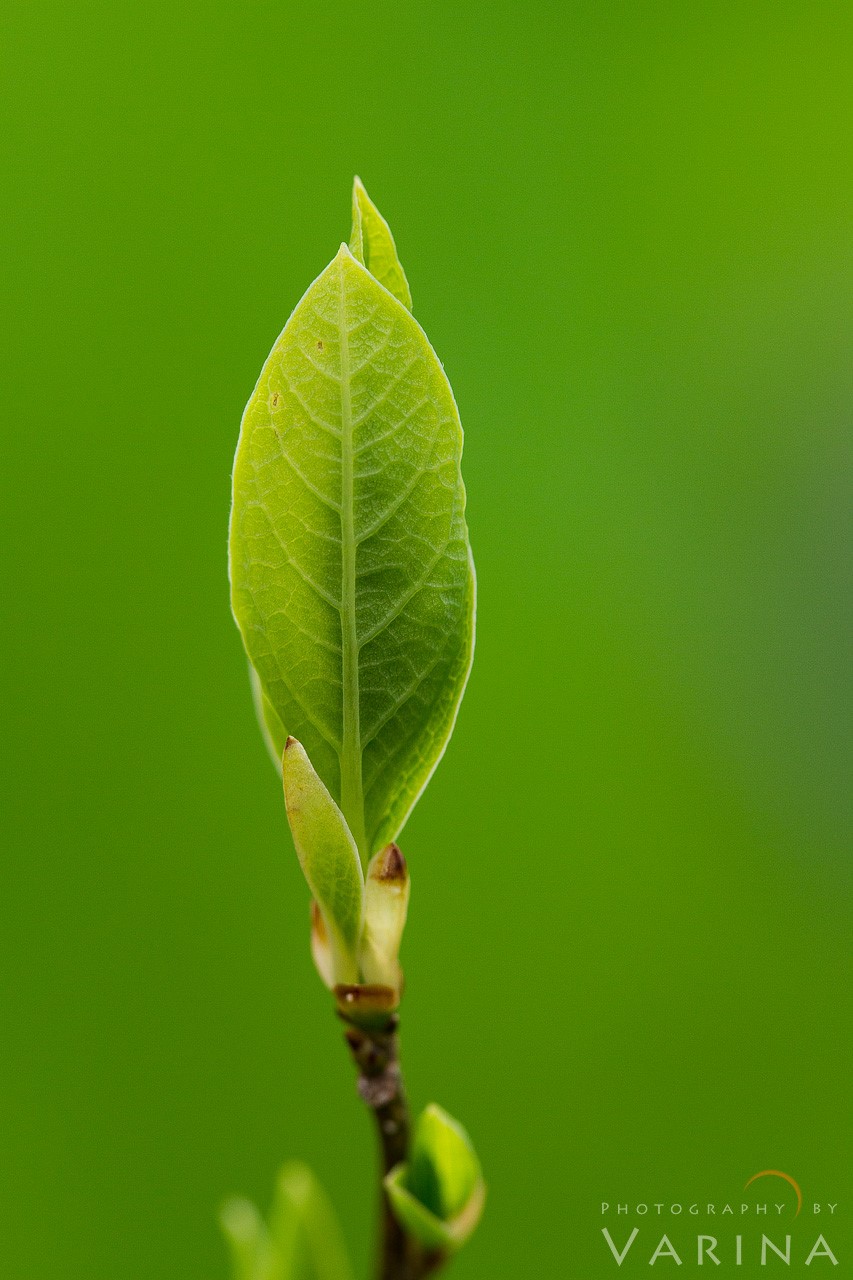
There’s something about the natural greens of new spring leaves that leaves me weak in the knees. I took this shot in 2013, and just re-discovered it today. You all know how much I love minimalist compositions – and you’ve probably heard me mention that I love working with a single color… because I pretty much never shut up about it.
A couple of tips for post processing for natural greens:
- When you were a kid and you drew a picture, you colored the sky blue and the trees green – right? It seems so simple. But, when you open an image in Photoshop and set your color balance, you might find that it’s not quite so easy. Most of us start out trying to make our greens really… well… green. But, in nature, greens are rarely the color of the “green” crayon. In Spring, you’ll see lots of yellow in the greens – and getting that color right can mean the difference between an image that feels fresh and natural, and one that feels weirdly technicolor.
- So – start by paying close attention to the colors in front of you when you are out there shooting. Are you looking at warm, golden greens? Or bluish greens? It doesn’t sound like a big deal – but paying attention to subtle color differences is nature is a big part of getting it right in post.
- And finally, when you are trying to get a natural look – start by choosing the default setting for the conditions you were working with (for example: choose the “cloudy” default setting if there was cloud cover while you were shooting), and then use the sliders to adjust the colors until they are close to what you remember.
- Now – walk away for a while. :) When you come back, you’ll be able to see your colors with fresh eyes. You might find it necessary to make a few little tweaks. But don’t worry – over time, this gets a whole lot easier. It starts to come naturally.
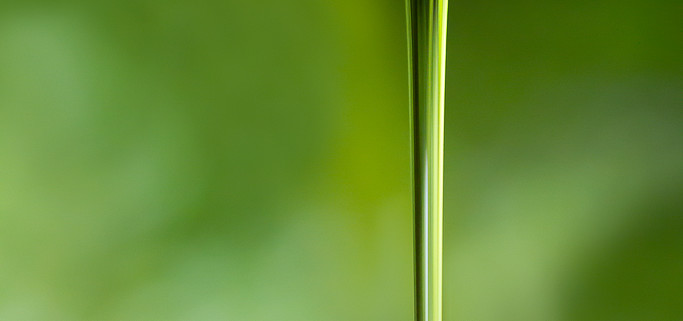
Here are few more examples of natural greens that are carefully processed in Photoshop.
Feel free to share your own examples in the comments below.


