Can you Share your Photoshop Workflow?
When I speak publicly, I get a lot of questions about my post production workflow. People want to know how much work we do in post, and how – exactly – we produce a finished image. The problem is, there’s no clean answer to that questions – except “It depends.” And it does. Each image requires a different set of steps. When the planning stages are done and the shot is in the camera, the photo becomes an entity of it’s own. Each photo has a unique personality – and the post processing workflow reflects that.
Some photographs require nothing more than a few minutes in the RAW converter. The first step is the most important. I just look at the photo. Maybe that seems obvious, but I think it’s critically important. I don’t just jump in and start playing with sliders. Instead, I think about what I want to accomplish. I usually have a pretty clear idea of what I want to create before I release the shutter in the field, so this step might take just a few seconds. Once I know what I want from the photo, I can make the changes quickly and without hesitation because I’ve spent a lot of years experimenting. I always select my color balance carefully, and I often make adjustments to contrast and clarity. I also frequently clean up chromatic aberrations using the lens correction tools.
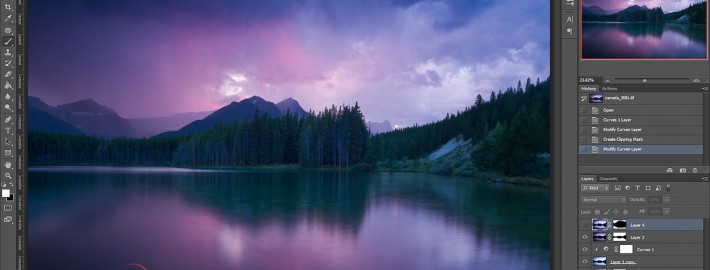
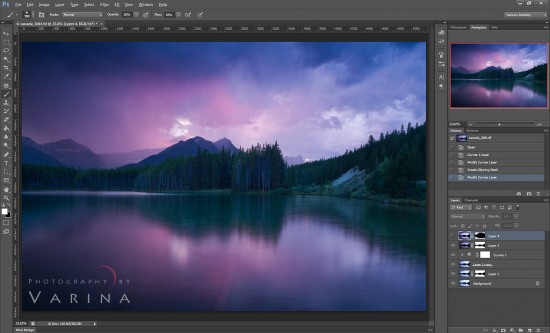
Sometimes, that’s all it takes. But there are times when I need to open an image in Photoshop and give it a little more attention. This is always true for bracketed shots that require blending – like the one you see here. In that case, I’ll process the images in Camera RAW, and then I’ll open them in Photoshop. I use layers and masks to create a finished image that matches the vision I had in my mind while I was shooting. At times, the finished photo will be very close to the real scene as I remember it. Other times, I’m looking to create something surreal or dreamy or abstact.
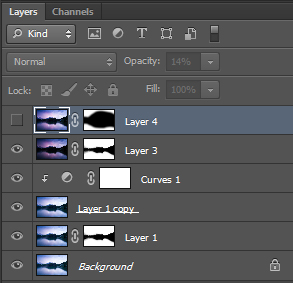
As I worked on this photo, I grabbed a screen shot to show the layers and masks I was using. I used three bracketed shots – one for the trees, one for the sky and the water, and a third to help brighten up the darkest regions of the sky. In the end, I chose not to brighten up those dark corners (you can see that the top layer is turned off) because I liked the depth they produced.
I should mention that learning to anticipate what you’ll need to do in post processing isn’t easy. It takes practice and experimentation. It’s only because I spent a lot of years playing with my photos that I am able to get through my workflow quickly. And I still don’t get it right on the first try every time. It’s a learning processes.
Does your workflow differ from mine? – Feel free to share with our readers via comments.


