Chasing Moonbows
A little-known phenomena that can occasionally can be captured in a photograph is a moonbow. A moonbow is just like a rainbow, but it is created by the light from the moon rather than the sun. When a bright moon is out, moonbows probably occur nearly as often as rainbows, but they aren’t well known because they can barely be seen with the naked eye.
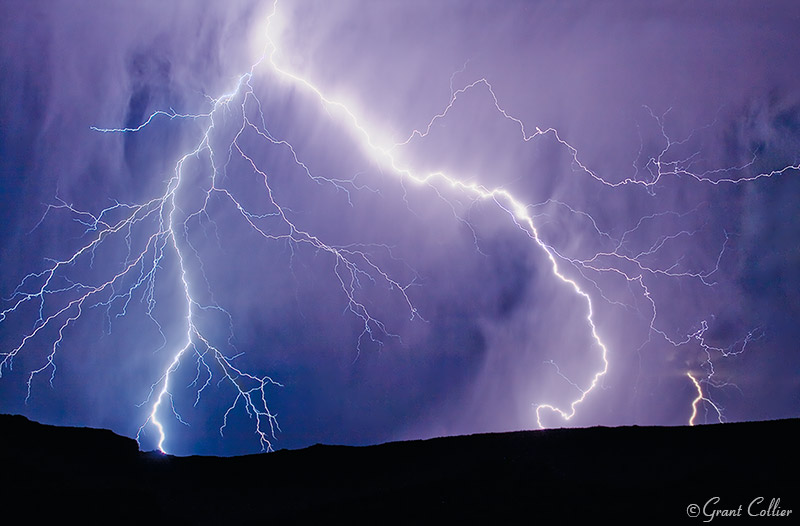
When I first saw a moonbow many years ago, I was trying to photograph lightning during a thunderstorm. I was able to capture this large bolt in one of the shots.
If the moon comes out during a rainstorm at night, you should look in the opposite direction of the moon to see if you can spot a moonbow. It will appear as a very faint arc, and you won’t likely be able to see the colors in it, since your eyes can’t discern much color at night. An easier way to find moonbows is if you photograph a misty waterfall with the moon behind you.
I didn’t actually notice this moonbow in the above image until it started showing up as a faint arc on my camera’s LCD screen. When I looked out at the scene, I could barely make out the arc with my eyes. Unfortunately, this shot was vastly underexposed because I had my camera set to capture bright lightning, not a faint moonbow. When I tried to bring out detail, it brought out way too much noise and the shot is mostly unusable.
Since moonbows are so faint, you can usually use the widest aperture on your lens and an ISO of 1600 or higher. If there are stars visible above the moonbow, you’ll want to limit your exposure length so they appear as points of light, rather than small star trails. You can use the rule of 500 to calculate exposure time. Simple take 500 divided by the focal length of your lens to calculate the exposure time in seconds. For example if you’re using a 20mm lens, take 500 / 20 = 25 seconds. If there are no stars visible, you can ignore the rule of 500 and do longer exposures from 1-3 minutes. In this case, you may need to lower the ISO to avoid overexposing the image. Always check your histogram after you take a shot to make sure you’re not overexposing the image.
If you are attempting to photograph lightning in addition to a moonbow, like I did in the third image, you will need to lower your ISO and/or use a smaller aperture to avoid overexposing the lightning. I’d recommend starting with ISO 200 at f4.0, with exposures of 3-5 minutes. The longer exposures will help you get a more properly exposed image with such a low ISO.
The moonbow was fading fast, so I quickly doubled my ISO and increased the exposure time in order to capture a better quality image of the moonbow. I’d normally increase the ISO much more but I was still hoping to capture lightning and didn’t want to overexpose it. Fortunately, I was able to capture both lightning and a moonbow in this shot.
While it may take quite a bit of time to find a moonbow, I think it is worth the effort. I haven’t seen a moonbow since the first time I photographed one, but whenever there’s a storm on a moonlit night, I’ll be out looking for them.


