5 Moments When Shooting the Aurora Borealis
We’ve all seen the shots of those crazy green lights in the sky, like some sort of cosmic Christmas decorations. It can even feel like Christmas morning when you are shooting them! But for people who have not yet had the chance to put a lens on this wonderful storm of solar wind for yourselves, here are some tips and images that will hopefully entice you as well as get you ready to plan a trip in a northerly direction.
1. The “Holy Crap” moment.
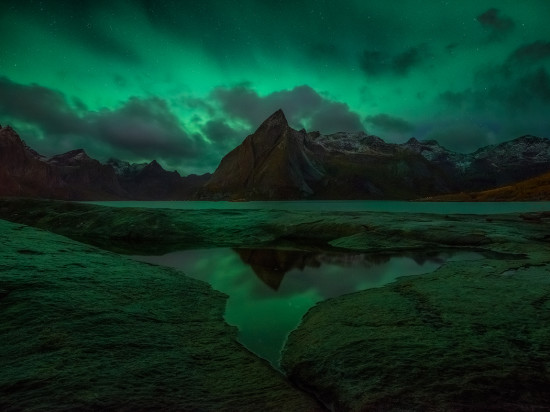
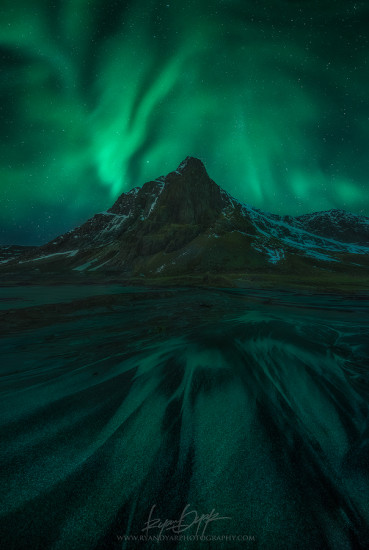
The “Holy Crap” moment is a phrase coined by myself now that I have had plenty of experience shooting Aurora as well as leading tour participants on Aurora hunts. This refers to the moment when the lights get extremely active but you are still virgin to them. Nine times out of ten “Holy Crap!” is what I hear cutting through the cold air from people on our first night of shooting the green dancing sky. It’s brighter than you imagine and moves with the speed of a slithering snake. It’s absolutely astonishing to watch with your eyes but can wreak havoc on your shots.
The key here is to get the shortest shutter speed possible to keep the Aurora from blurring and make sure to underexpose enough to keep the highlights in check. A good starting exposure is f2.8, 2 seconds, at ISO 3200. This should keep your northern lights from looking like a blurred blob of over exposed green slime in your shot… this is Aurora Borealis, not Nickelodeon’s Double Dare.
2. The “Dude, you find anything?” moment.
You have to scout locations in the daylight. Seriously. There is nothing more gut-wrenching than to be running around like a chicken with its head cut off while you look for a composition in the dark as the lights are going crazy above you… this is when you find yourself shouting to your mates, “Dude, you find anything?!” Timing can be essential when the sky does its thing, so save yourself the headache by checking out the location in the daylight, getting an idea of the place, and finding a few compositional options that you can keep in your back pocket for later. This maximizes your time, which maximizes your shooting, which maximizes your photos, which maximizes your ability to justify spending money on a trip to the northern latitudes… and that’s just good economics.
3. The “Less is more, right?” moment.
This one is more of my personal preferences, but I’ll share it with you anyway.
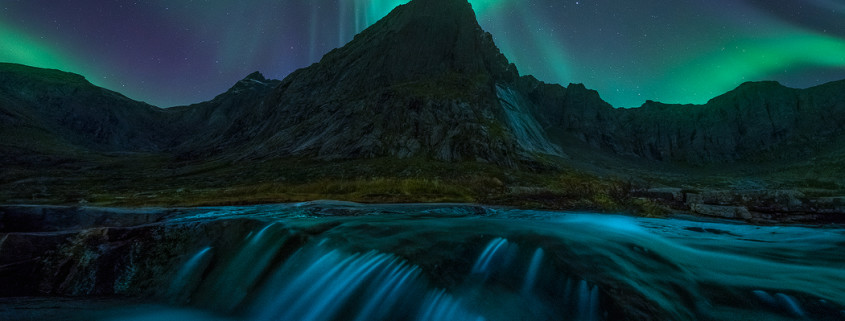
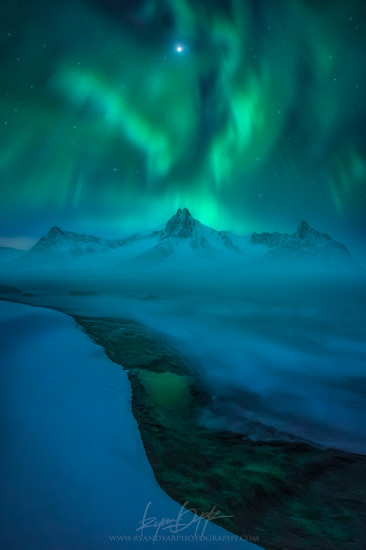
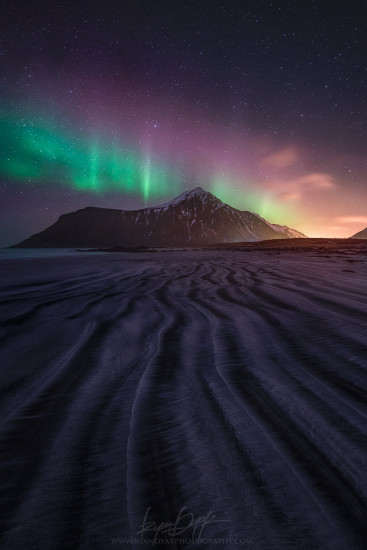
As I write this, I’m on a nearly month long trip here in Norway’s Lofoten Islands, co-guiding a tour with local Aurora shooting guru Arild Heitmann, and then spending time with my bride on our honeymoon of shooting these big mountains. Our first week with the tour members treated us to six consecutive nights of absolutely insane displays of the Northern Lights. Something I have come to realize after being spoiled with great conditions so many nights this year is that the craziest solar storms don’t make for the best images. While it is one of the coolest things you can ever lay eyes on when you get a storm that’s at a Kp 9 and the sky is going crazy, it can sometimes be too much for a cohesive landscape images. It just becomes overwhelming, overpowering, and can distract from the composition, landscape, and the image as a whole. My favorite nights of shooting so far on this trip have been the more mellow nights where the Kp index was closer to 6 or 7.
4. The “I’m going to punch my camera because this exposure is taking too long” moment.
We’ve all had experience with trying to manage extreme dynamic range in an image, normally around sunrise and sunset when the clouds are going nuts with color. But those moments are child’s play compared to the dynamic range of pitch black landscape and extremely bright Aurora filling the sky. They key is to bracket, bracket, bracket. “If you don’t bracket, you can’t hack it” was a phrase we’ve laughed over a few times while shooting in our sleep-deprived delirium.
To avoid excess noise, you can try dropping the ISO down before running an exposure for the land. It can be frustrating to wait for a two minute exposure as the sky goes crazy above you, but it’s worth it to have clean files to use for the land areas. Try to makes these land shots during lulls in the light show.
5. The “Dang, why are my shots so dark?” moment.
You know when you are out in the bright sun and can barely see your cell phone screen to check your Facetube page and 500flickr account, so then you have to go and turn the screen brightness up? The opposite needs to be done at night. Reviewing your images on the back of your camera in the dark can be misleading. That screen looks amazing in the dark and can make your shots look bright and properly exposed but when you get on the computer the next day to see them in normal viewing light, you’re going to have a bad time. To avoid the “Dang, why are my shots so dark?” moment, try turning down the brightness on your cameras screen. This isn’t just Aurora specific… keep it in mind for any night shooting you may do.
So there it is. Hopefully these are moments that you can keep in mind while gearing up for a night of shooting the green stuff, it will make your experience go much more smoothly if you do. If you’re interested in joining Arild Heitmann and myself for an epic week of shooting mountains and Aurora in the Lofoten Islands, you can check out my site for all the details. Pointing a camera at this stuff is one of the biggest treats in life!



Mega like.
Is my dream!