4 Camera Settings You’ll Love
When you’re just getting started in photography, it’s easy to make the mistake of using the same settings all the time. Once you learn to do something well, you tend to stick to it.
But one of the best things about photography is that there is always more to learn, so here are 4 camera settings, which you might not know about, that will improve your photography.
1. Image Quality: Raw + Jpg
Most beginning photographers start off shooting in Jpg format since that is the default setting on most cameras. Jpg is a compressed image format, meaning that your camera discards some data to make the file size smaller. The resulting image can be viewed by anyone on any device.
On the other hand, RAW format is completely uncompressed resulting in a large file size. As well, you’ll need Adobe Camera Raw, Lightroom, Photoshop, or another compatible image editing program to view it. However, RAW is much more versatile with some significant benefits and, as you grow as a photographer, you’ll undoubtedly end up switching to that format eventually.
The good news is that most cameras give you the best of both worlds. Under image quality in your camera’s menu, you can choose “RAW + Jpg” and each of your photos will be saved in both formats. So you can keep doing what you’re doing now with Jpg files and you don’t have to learn how to process the RAW format right away. But later, when your image editing skills have improved, you’ll be glad you can go back and reprocess your favourite images using the RAW version.
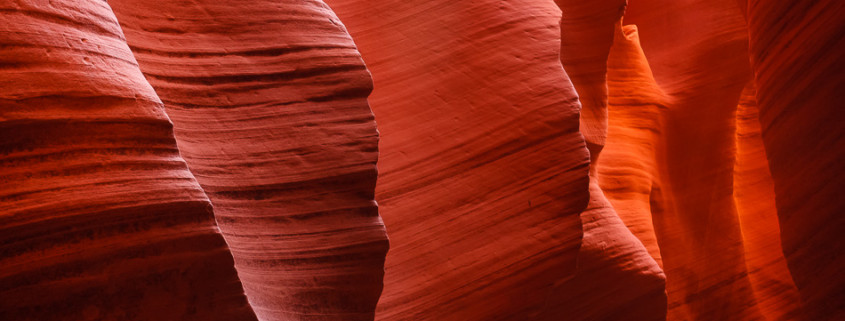
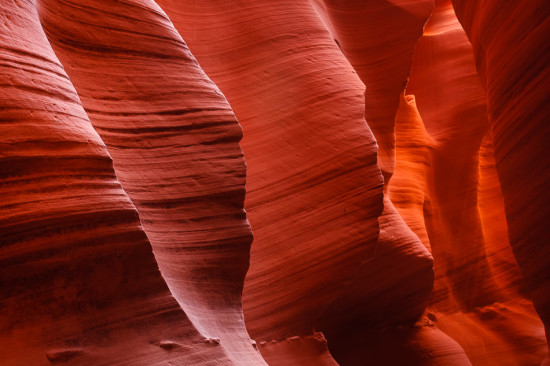
I received this advice in my early days in digital photography and it couldn’t have been more true! Once I learned how to process in RAW, I went back and reprocessed some of my favourite photos from Antelope Canyon, Arizona, and I was so glad I had the RAW files to work with.
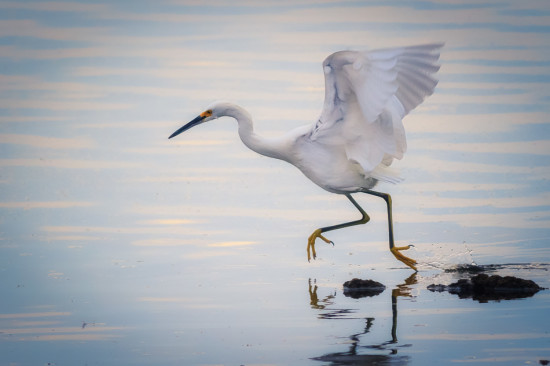
Egret running on Salton Sea, California by Anne McKinnell
2. Continuous Auto Focus
If you are photographing moving subjects, change your focus mode to continuous auto focus, often abbreviated to “AF-C” or “AI Servo”. You will no longer have to press the shutter button half way down repeatedly as your subject moves along, risking missing the shot altogether while your camera re-focuses. You only have to press the shutter half way down once and your camera will continually re-focus on the subject it has locked on to until the photo is taken. This is especially recommended when photographing wildlife.
3. Spot Metering
Your camera is capable of measuring, or metering, light in a number of ways. Usually beginning photographers use evaluative or average metering which takes into account the highlights and shadows in the entire frame. But this isn’t always the best method depending on your subject. Sometimes you might want to make sure you have a good exposure on the main subject, and let the rest of the frame fall where it may. Or vice versa.
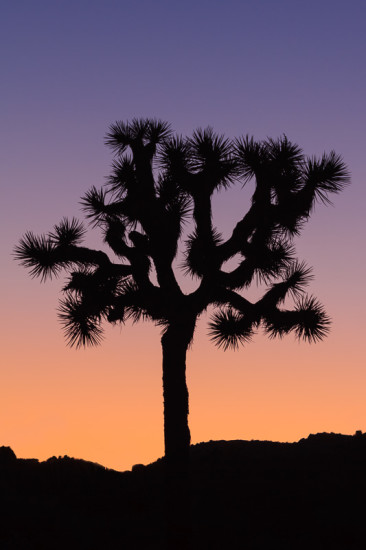
For example, say it is sunset and you have a subject that you want to silhouette against a colourful sky. You wouldn’t want your camera to take into account the dark shadows on your subject and try to get enough light to render detail in that area. If you did that the longer exposure would cause your sky to be too bright and you wouldn’t get the silhouette you desire. In this scenario, it is better to expose for the sky and let the subject go completely black creating a silhouette. To do this, use spot metering so you can meter on one part of the frame only (i.e. the sky) and let the rest fall where it may.
4. Two Second Timer
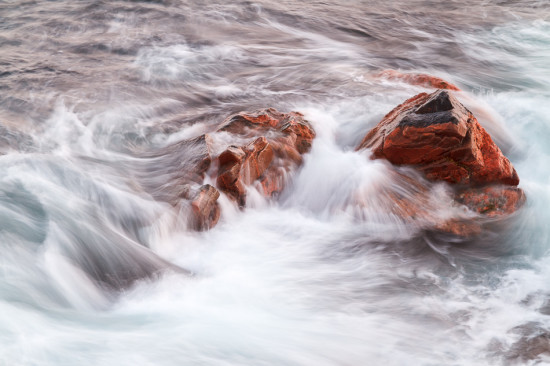
Did you know that you can cause blur in your image simply by pressing the shutter button? Sometimes we unintentionally move our cameras a little bit when we press the shutter button causing camera shake blur. When your camera is on a tripod, try using your two second timer. That gives just enough time for camera shake blur to dissipate before the image is made. This is especially helpful for long exposure photography when camera shake blur can become more obvious.
Remember, keep experimenting with all your camera settings to find out what they can do for you to continually improve your photography.





I just love the 2 second suggestion, what a neat idea!