Post Processing Tip to create fantastic Moody Nature Photos
In nature photography, we’re often told that the ideal exposure is one that creates a bell-shaped histogram, smack dab in the middle of the tonal range, with a good balance of darks, mids, and brights. Even when post processing, the general rule of thumb seems to be to keep the histogram right between the uprights; boost the shadows and pull down the highlights to create a balanced histogram, add some contrast and saturation, and voila! While this approach has led to millions of beautiful photos, what happens if it doesn’t suit the mood you’re going for?
Let me suggest an easy post processing tip to add mood to your nature photos…
In post-processing, decrease the image’s exposure, then use the highlights slider, whites slider, tone curve, and/or dodging feature to increase the brightness of the photo’s highlights. The dark exposure creates the mood whereas the bright highlights maintain good global contrast which prevents your photo from looking muddy or flat. The bright highlights also call attention to the luminous parts of your photo, giving them extra draw and visual importance.
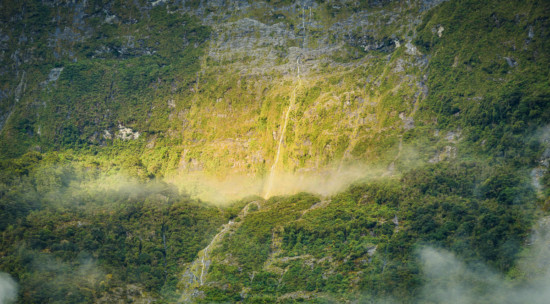
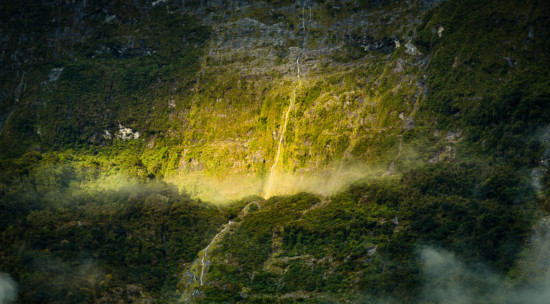
Take the following photo, for example. I shot it at Milford Sound in New Zealand. The first version is well-exposed with a bell-shaped histogram and, in post-processing, I preserved that histogram. In the second version of the image, I deliberately darkened it, then pulled the highlights back up. See how the second version has a more interesting mood? The quality of the light is more obvious as is the contrast between the light and dark parts of the photo.
Note that I said “in post-processing, decrease the image’s exposure“. This means that, in the field, you should still follow all the normal guidelines to get a good exposure. If you underexpose in the field, you risk having a low-quality, high-noise, clipped-shadows photo to deal with in post-processing. If you get a good exposure in the field, you’ll have the best image data to work with when editing.
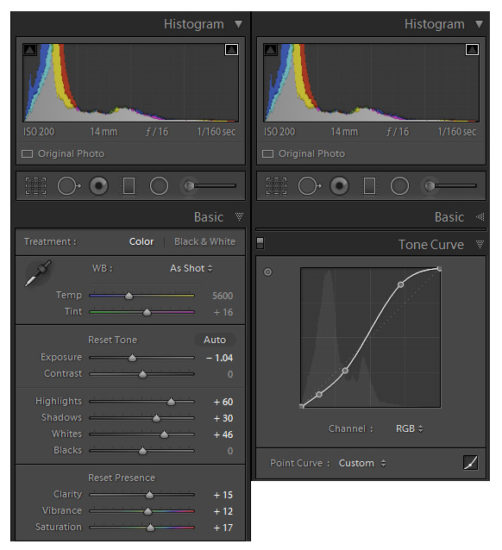
And in regards to that editing, I find a combination of steps works the best. I often drop the exposure (and yank the shadows up if I’m starting to clip), then pull the highlights back up. If I need a little extra ‘oomph’, I slide the whites slider up or I pull up the highlights on the tone curve. Typical adjustments might look something like the following histograms. Note how they’re biased toward the darks with a long tail stretching off toward the highlights.
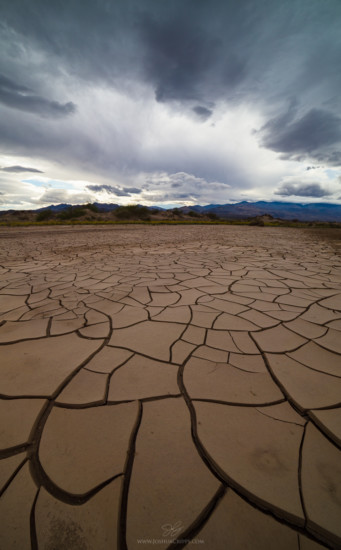
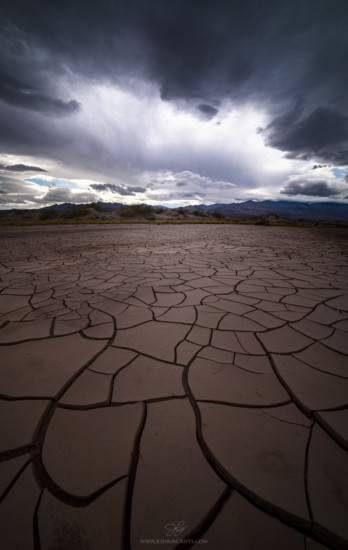
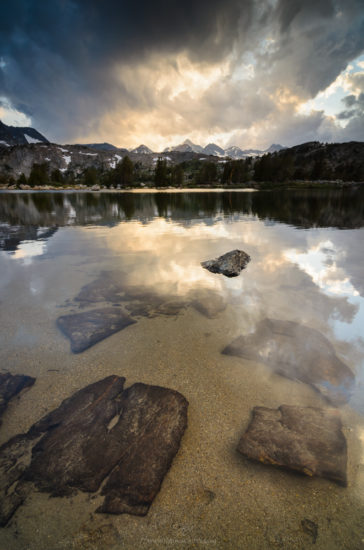
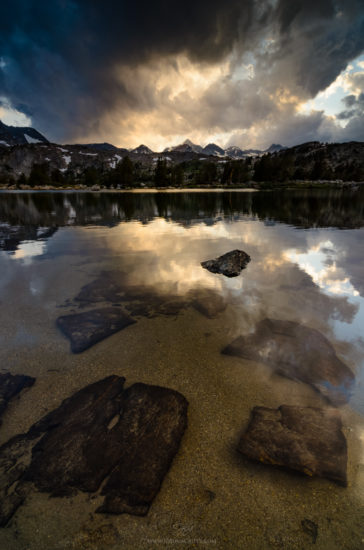
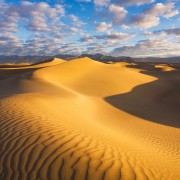
Here are some more nature photography examples where I have used this post processing tip to create a moody effect and add eye-catching highlights.
It’s important to note that this technique doesn’t work for every photo. I’ve found it most effective with images that have a luminous quality or in situations where contrasting the lights and darks serve to highlight a single element.
In each of these nature photography scene, the first photo has a traditionally “good” histogram, with a balance of darks, mids, and brights. Each of the second images have been “mood-ified” in post processing and have a histogram biased toward the dark side. Notice that in these moody nature photos, there is more ‘interest & punch‘ and the method serves to highlight specific parts of the photo.
So… give this technique a whirl. Even though it’s not appropriate for every nature photo, when it does work it adds a beautiful mood and feel to your images.
Thanks for reading and feel free to share your own images to in the comments below.





I think you have some great points and I have used some of these as well, but what I would really like to know is how you spend 700 days a year in the field I could use the extra time. :-)