Cold Weather Photography Gear to stay Warm and Dry
Are you willing to go out and shoot in wet conditions? Nature photographers often shoot in the rain and stay out in some pretty nasty weather… thunderstorms, hail, sand-storms, windstorms, snowstorms. Cold weather photography can be quite difficult. But unless the weather is dangerous, we don’t mind shooting in cold weather. It’s all about being prepared.
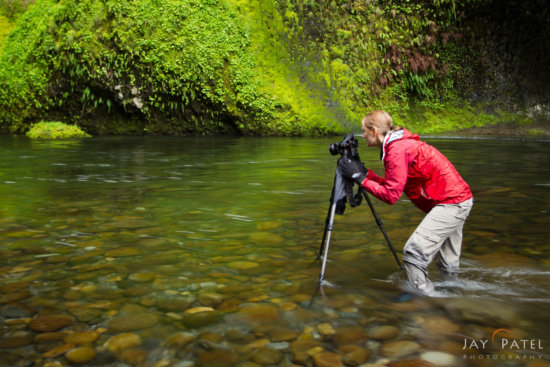
Varina Patel standing in cold water with quick dry pants and neoprene shoes, Columbia River Gorge, Oregon
Cold weather is something Jay and I have to deal with quite a lot. It’s critically important to stay warm when you are out shooting, so having the right gear is key. When safety is not a concern, we often shoot in cold weather. Here are some tips that can make a real difference for cold weather photography.
Protecting Your Photography Equipment
Water Proof Camera Cover
Our cameras are weather-sealed, but they certainly aren’t entirely waterproof. We use simple waterproof covers with elastic to keep them in place. Nothing fancy. If you don’t have a cover, use a plastic bag with a hole cut from one corner for the lens to poke through. It works just a well. Here is a quick video about my camera’s waterproof cover and why I likes its simple design.
Waterproof Camera Bag Cover
A waterproof camera bag cover protects your gear and your bag from the elements. When you are back indoors, be sure to open up your bag and let everything dry out. Moisture can seep in over time and, when you leave the bag closed, it takes much longer to dry out. Even if your bag is dry inside, your camera strap and other gear may collect water while you are shooting. When you put it back in the bag, that water doesn’t evaporate quickly.
Chemical Heat Packs
We keep a couple of these in our pockets when we are out in the cold. In between shots, we can warm our hands by sticking them in our pockets – and we can help extend the life of our batteries by putting our camera inside our jackets. You can also keep one in your camera bag to help keep your batteries from draining because of the cold (we carry extra batteries when shooting in cold weather). These heat packs can also be put in your shoes if your feet are cold.
I’ve even put two inside my hood by my cheeks once. My face was getting really cold in the wind, so I cinched my hood tight and placed heat packs between the two layers against my cheeks. I wouldn’t recommend putting these directly on your skin – especially when you are very cold. A layer of fabric protects your skin from direct heat and helps to radiate the heat more evenly.
Staying Warm and Dry
Quick-Dry Shirts and Pants for Base Layer
We highly recommend that nature photographers use quick dry fabric for their base layers. The first time I visited Columbia River Gorge in Oregon, I didn’t own any quick-dry pants. I waded through the river to get to a waterfall and ended up knee-deep in the water. Wet jeans are very heavy and they take forever to dry. By the time we returned to the car, I was freezing cold. Jay had a pair of quick-dry pants. His were dry within about 30 minutes of climbing out of the river – and he was comfortable and warm. Now, I have several pairs and I always use them when I’m on location.
Gear for Head and Hands
Fleece hat, thin fleece glove liners, waterproof and windproof gloves (we like the ones with a mitten flap that lets us use our fingers to handle the controls on the camera).
Put a few chemical heat packs in your pockets to keep your hands warm – and tuck your camera inside your coat when you aren’t using it. The heat packs and your body heat will help keep it warm – which will extend the battery life and keep everything working nicely.Upper Body
We wear layered clothing when we’re working in the cold so that we can add and subtract as the weather changes. Wear fleece underneath. Fleece makes a great warmth layer – and it holds less than 1% of it’s weight in water so it doesn’t get soggy or heavy when you are working in the rain.
You can pile on the fleece to try and stay warm… but if it’s windy, you’ll find that the wind passes right through and chills you anyway. So wear your fleece underneath your waterproof/windproof layer for best results. When it gets colder, we also carry a down jacket.Lower Body
For the lower body, we wear fleece pants and quick dry hiking pants for warmth as well as waterproof and windproof pants for outer layer. When we went for that hike in the Paria River, we wore fleece pants underneath a waterproof layer. They were in the water with every step, but they didn’t get waterlogged and they helped capture the heat from our bodies.
We will sometimes wear fleece OVER a pair of quick-dry pants. Sounds silly, I know. But the fact is that in many cases, we only need that warmer layer in the morning and evening. We often deal with cold weather in the morning and then end up having to remove layers later in the day. If your quick-dry pants are under your fleece layer, you get the benefit of the warm layer, but you can also remove it quickly. You’ll be ready to keep going in your quick-dry pants all day – and when it gets cold again in the evening, you can put that fleece layer back on and you are good to go.
For Your Feet
Good, waterproof hiking boots and thick wool socks are critical – but if you are going to be standing in water that will likely go over the tops of your boots, we recommend neoprene diving booties. Yes. Really. :) We actually use the same shoes that divers wear. You can purchase them online or at a dive shop.
One year, we spent about six hours standing in freezing water in Utah. We broke through three layers of ice with each step and stood in freezing water that stopped just below our knees. The diving booties won’t keep your feet dry… so that first step was freezing cold… but a few seconds later, our feet felt nice and warm and we were comfortable for the rest of the hike. Of course, our feet looked like shriveled raisins when we took the boots off. :)
We keep a couple of towels in the car, we dry off carefully, and then put on dry, wool socks and our hiking boots. Your boots feel great after that! I let the legs of my fleece pants and waterproof pants get wet – they won’t hold water – and they kept me nice and warm. We always have a dry change of clothes waiting for us in the car.
Please don’t take this as an invitation to go out when the weather is dangerous. Lightning can be deadly and so can serious storms. Please stay in a safe place if there are tornado warnings, hurricane warnings, or other hazardous conditions. We’ve left locations that we felt could be dangerous more than once – because of the possibility of flash flooding, trees that might come crashing down on us (no kidding… it happens more often than you think), high waves, and more. Be careful out there. Cold weather can kill you. Be sure you have the right gear and always travel with someone, if you can.
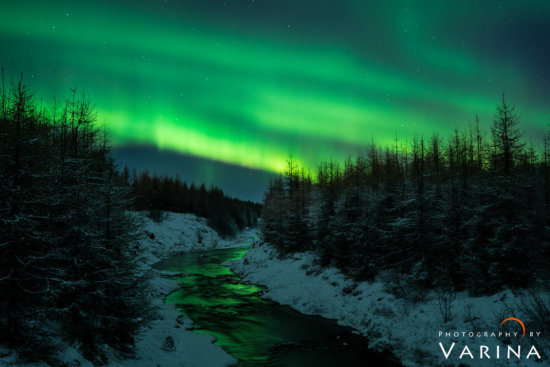
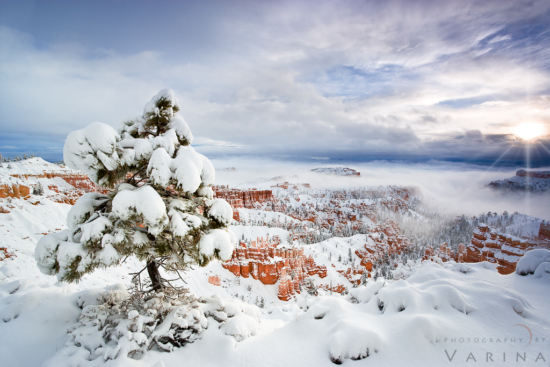
All of the nature photos in this article were taken in difficult weather conditions. But, because we were prepared, we weren’t uncomfortable. Take care of yourself and your gear and you’ll be able pursue nature photography even when the weather isn’t cooperating! Have fun – and stay safe!


