Creative Photography to overcome Midday Blues – Part 2
Continued from Creative Photography to overcome Midday Blues – Part 1
Long Exposures

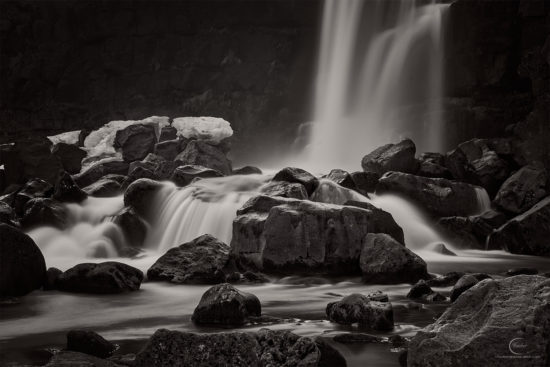
Long Exposure – For moving subjects such as clouds and water, this “cotton candy” look is calming to viewers.
For moving subjects such as clouds and water, this “cotton candy” look is calming to viewers.
Since midday light is not ideal, any moving object can add a creative dimension to your images. Using a deep neutral density filter (or two if it’s a bright, sunny day) and a slower shutter speed, either move the camera during exposure or put the camera on a tripod and allow the movement to flow through the photograph.
Streams, rivers, and oceans work great at creating interesting forms and leading lines. Different types of light results in different looks. For moving water that acts as a leading line into a photograph, diffused light works better than strong contrasted light with bright highlights, so it is best to wait for the sun to go behind a cloud. Ocean waves can look pleasing in many different light sources because of the various colors that make up a wave. Try photographing at different times and with a variety of different shutter speeds.

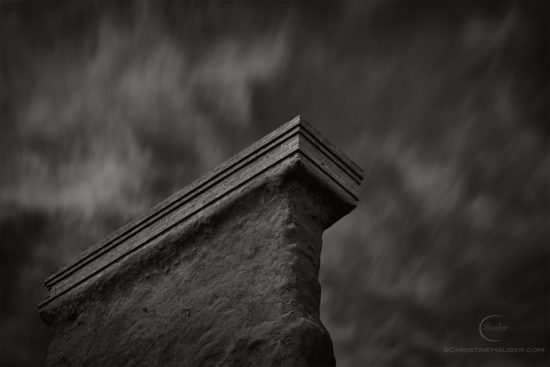
It is the Centennial year of the National Park Service and this image was captured for the New Deal Art Show and Auction. This is a section of the remaining wall of the Ft. Union National Monument. I used a 10 stop ND filter along with my infrared red 25a filter to create a 20 second exposure.
Long exposures of clouds can add drama and interest to any subject. The type of clouds and the amount of clouds are important in creating a pleasing image. Experiment with a variety of different clouds and exposure times. If you are shooting at midday, the scene will be bright – you may consider a 10-stop neutral density filter. I am happy with my Breakthrough ND Filter and on occasion, I have stacked two. (Be careful… as with cheaper filters, stacking further degrades the quality of your image).
Tip: If you are using the movement as an element of the composition, use a tripod to keep non-moving object sharp and in focus while letting the movement be recorded by the camera. If the movement is the most important aspect of the image, try different camera movement options such as panning or zooming in or out during the exposure. This can be done with or without a tripod.
Exercise: Find a subject in nature, place your camera on a tripod, add a neutral density filter, adjust your shutter speed, and photograph something moving within the scene such as clouds, water, or trees in the wind. Take the same photograph without the long exposure. Compare the two images.
Backlit Subjects

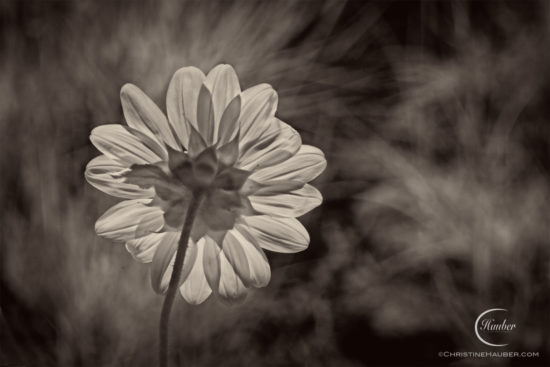
By positioning the subject between the sun and myself, I was able to turn difficult light into interesting light.
When the subject is between you and the sun, you can be creative with this unique light. Get close to your subject and see how the light illuminates subjects that are semi-translucent. Or place the sun behind an opaque subject and see how the sun illuminates the edges of that subject. Different exposures create different looks from dark and dramatic to bright and over-exposed highlights.
Exercise: Find a tree with leaves and use the back-lit sun to illuminate the leaves. Take a similar image but with the sun lighting up the front of the leaves. Keep in mind the importance of composition.
* For a more advance technique, use fill flash or your reflective scrim to add some light to the front of the backlit subject. Expose for the highlights.
Consider Black and White

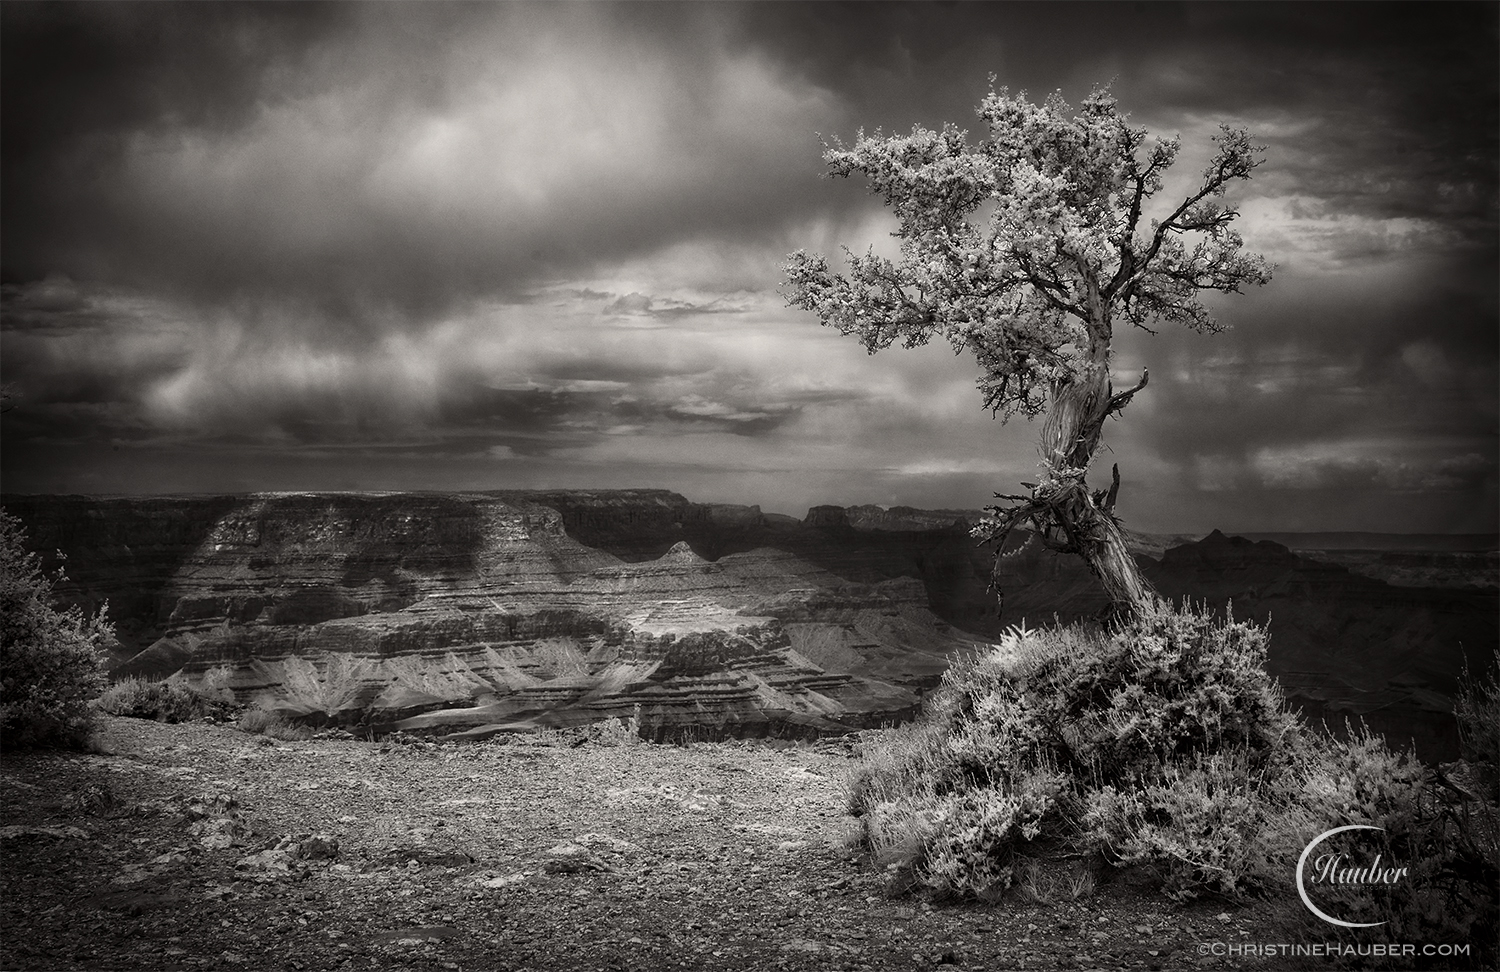
The midday light created a hazy, flat light at the Grand Canyon; by processing it as a black and white image and increasing the highlights and shadows, I was able to create a very dynamic image.
Another way to work with flat light is to see how it looks in black and white. Your composition should have a wide-range of tones so that important elements do not blend in with each other. A quick way to see how a scene will look is to take a test shot with your smart phone and change the image to black and white. If you don’t have a smart phone, switch your camera to JPEG mode and choose the monochromatic setting. Otherwise, just take a risk and shoot in RAW and look at it later as a black and white. With enough practice, you’ll soon be able to “see in black and white”.
Exercise: Photograph a sunlit scene in black and white, incorporating longer shadows and even beautiful clouds.


