Low Light Photography: 4 Fun Techniques to Try
Light is a peculiar commodity in photography. Since you cannot make a photograph without it, you would think that the more the better. But it doesn’t work that way. Sometimes just a small amount of light is perfect for the type of image you want to make.
In my last article on Visual Wilderness, “Tips for Better Low Light Photography”, I reviewed some camera settings and specific skills to help you make the most of low light conditions.
Now that you have those under your belt, here are four fun techniques you can try in low light situations.
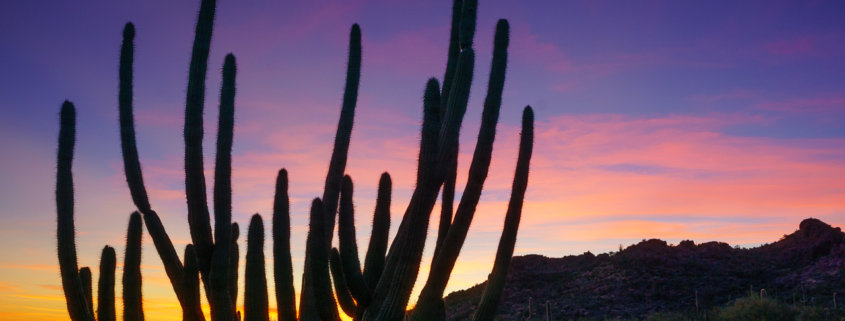
1. Silhouettes
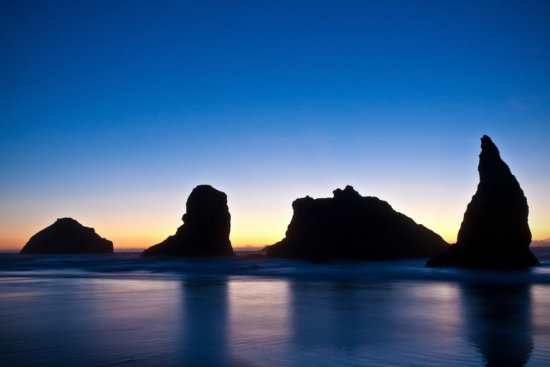
When you have a bit of colour in the sky, one of the most dramatic types of images you can make is a silhouette. The key to making a great silhouette photo is shape.
Because your main subject is going to be completely black with no detail at all, finding a subject with a distinct shape is essential.
Once you have found your subject, use spot metering mode to expose your image for the sky allowing your subject to become completely black.
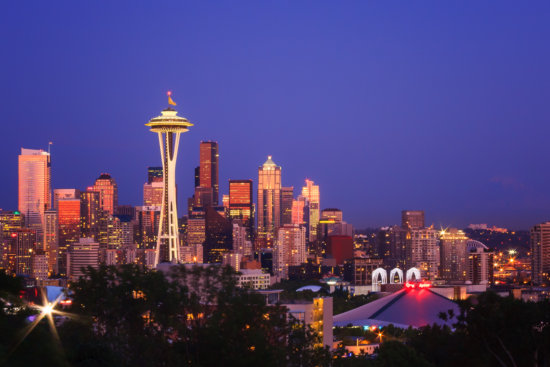
2. City Lights
Combining natural and artificial light is a fantastic way to handle low light conditions. But you don’t necessarily have to use a flash!
Cities tend to be at their best during the blue hour just when the city lights begin to twinkle creating a very pleasing combination of natural and artificial light.
The key to making this type of image is location. Spend you daylight hours finding the perfect location to get a great perspective on your city.
3. Light Painting
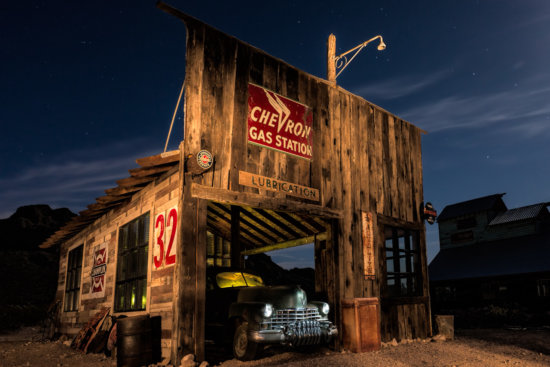
Another way to combine natural and artificial light is with light painting. This is a fun technique to try because every single exposure will be different depending on what type of light you use, how long you flash the light on your subject, and even how you sweep the light across the frame.
The key to making this type of image is patience! It will take several, maybe dozens, of tries to get it just right.
Try gel sticks to create a soft glow of coloured light. You can also try flashlights with different levels of brightness and different sizes of light.
To make this image, I used a gel stick inside the car. Then I used a large flashlight in a sweeping motion up and down to light the side of the building and the foreground. Then I used a pen light to light the car’s headlights making it appear as if they were on.
4. Star Trails
Who can resist photographing the stars on a clear night? Whether you photograph during the blue hour when the stars first start to come out (like in the car photo above), or later on when there are more stars visible, you can do a long exposure to capture the movement of the stars across the sky.
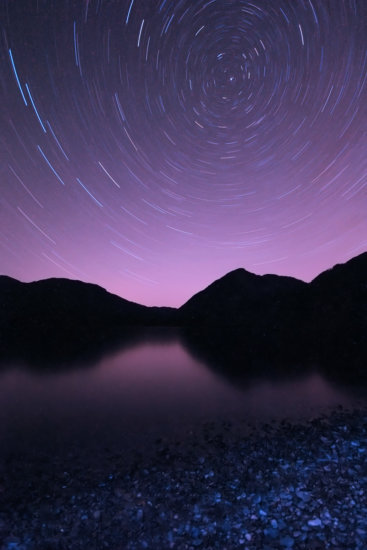
The key to making this kind of image is also location. You must find a location away from city lights, and preferably away from excessive plane traffic. You also have a choice whether you want your foreground to be a silhouette (in which case you need good shape) or if you are going to light it with light painting. Or maybe a bit of both.
To make this image, I used a 50 minute exposure, faced my camera north in an attempt to get the north star in the frame so the stars would go around in a circle, and found a location where the distant mountains had a distinctive shape. Then I used light painting to cast some light from a flashlight on to the foreground rocks.
Of course, using a flash is also an option, but if you don’t have one or don’t like to use them, there are still lots of options available that will keep you entertained during your evening or night out.

