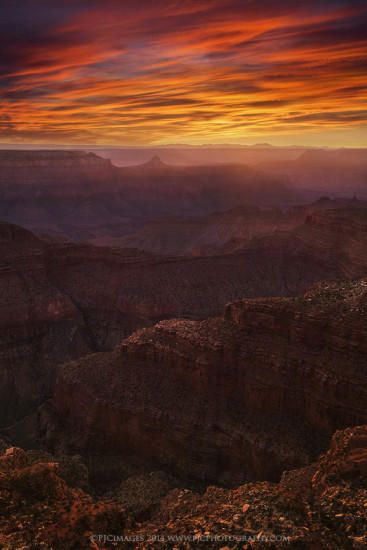
Peter Coskun – Tips for Photographing Intense Colors
Peter Coskun is a self-taught landscape photography who started shooting in high school. His stunning fine art images are captured using intense colors and engaging compositions. When you visit his gallery, you’ll see why he was the 2014/2015 Grand Prize winner of the Arizona Highways Magazine photo contest. InFocus Magazine sat down with Peter to ask him just how he manages to capture and process image such intense colors. Here is what he had to say:
One of the things that draws us to a photograph, for the most part, is the color. Colors that are bold, dramatic, and even subtle can grab the viewers’ attention. There’s more to those vivid colors than pushing to the max the saturation sliders in Adobe Photoshop, Lightroom, or other processing software. Here are five tips that can help you get the most out of those colorful scenes.
1. Shoot towards the light.
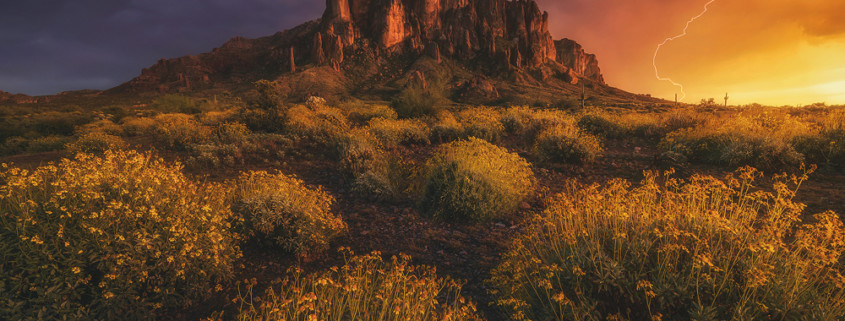
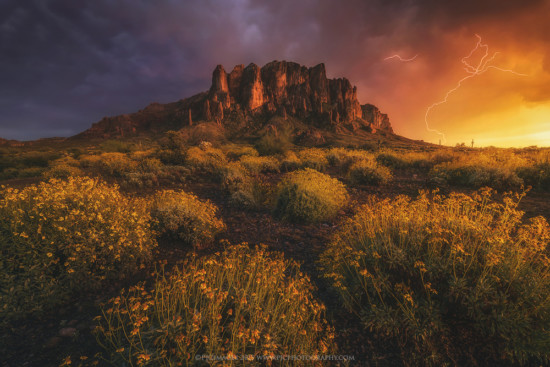
When I first got started in photography, everyone suggested shooting away from the sun to capture the best colors. Don’t get me wrong, I still shoot plenty of images with the sun behind me because the light can be quite stunning. Over time however, I’ve found that shooting towards the light source often provides much more vibrant colors. It also allows the highlights to pop which adds more depth and a wider color palette over the entire scene. While it can be more of a challenge with flare and such, shooting towards the harsh light of the sun can also be much more rewarding.
2. Try shooting longer exposures.
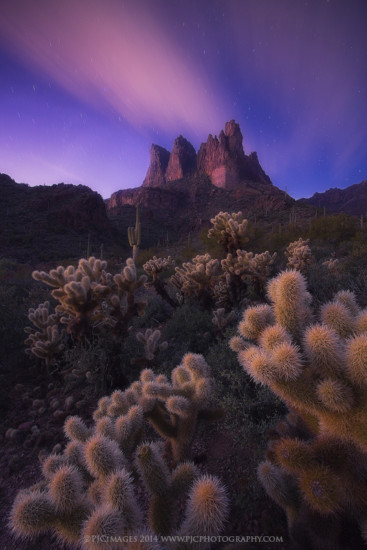
Oftentimes, photographers tend to leave immediately following the last glimpse of golden light despite the fact that these colors can linger well into the night. A long exposure can reveal colors in the sky that are not visible to the naked eye. What may appear to be a gray cloud, can actually take on an orange or pink hue which adds nice pastels to a post-sunset or pre-sunrise image. Also keep in mind that the night sky is full of colors as well and using long exposures can reveal the stunning night sky and features like the Milky Way much more vibrantly than our eyes can see.
3. Look for contrasting colors.
This may seem obvious, but there have been times when I’ve walked by colorful scenes with the mindset of capturing one specific image and have blocked out other potential ideas for photographs. Wildflowers and autumn foliage are perfect examples of contrasting color opportunities. Colors vary from yellows and oranges to blues and purples. The mix of color can add plenty of Wow! factor even when the skies are not at their best. Places like the narrows in Zion National Park are also a great example where many colorful elements can come together to create a very vibrant scene, especially during autumn.
4. Processing your image for stunning colors.
While you can push the saturation slider a number of points to get those vivid colors, there are other ways to really dial in the color accuracy and make it feel more authentic. There are a lot of methods for getting the most out of the colors in your image, but remember… it doesn’t have to bleed colors!
It surprises people when I tell them how I process my images and mention that I hardly ever use the saturation sliders. Processing a RAW file without touching the saturation slider can give much more impact on the colors without going overboard; and it gives you more control over each color. You can individually select colors you want to increase or decrease and you can create layer masks to blend together to get specific elements to pop with color. Pushing the contrast and using a popular action called Orton can also increase the colors of your photograph when used moderately. Using the color balance tool is another way to make colors appear more natural. This helps with the highlights, shadows, and mid-tones. Always remember that sometimes less is more. If it’s too vibrant, many people may not believe the scene is authentic.
5. Visit your shot at the right time.
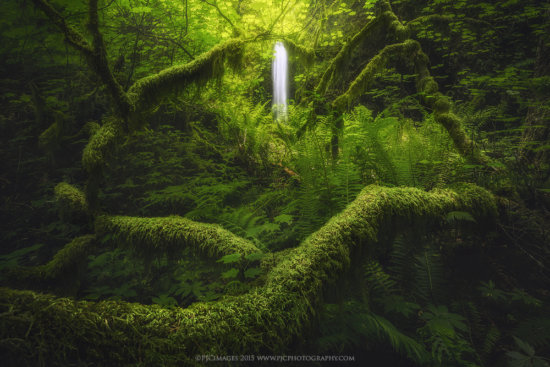
This is another one that may seem obvious, but some locations have perfect times to make images. Most landscape and nature photographers tend to work in the early morning and late evening in what is often referred to as the golden hours. However, places like deep slot canyons are actually most colorful during early and midafternoon when the sun is high above allowing the light to bounce between the canyon walls. Photographing the lush greens of the forest can be best when the sky is a little overcast or after/during a light rain. Dramatic weather or “bad” weather can create the best template for stunning colors… although this usually means spending time in those miserable conditions until the light is just right.
It doesn’t always have to be about the sky. It’s also important to remember the change of seasons to search for colorful photographs. Timing peak wildflower blooms and autumn foliage can add to creating colorful imagery.
We would highly encourage you to check out Peter’s stunning gallery on his website.
Do you have any suggestions to capture photos with intense colors? If so, feel free to share them in comments below.

