Reflection and Diffusion for Macro Photography
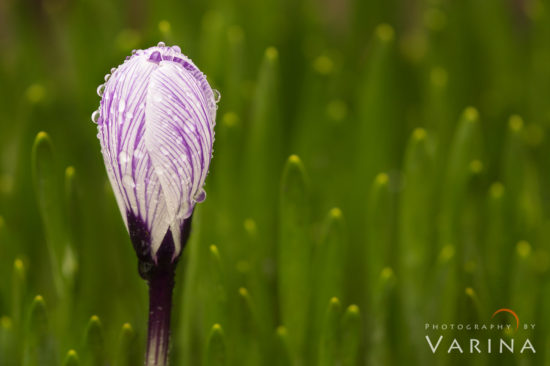
I love a cloud layer for macro photography. A thin cloud layer scatters sunlight – providing soft, diffused lighting, and eliminates the need for a diffuser. Look how soft the light is on my little crocus – you can see the subtle highlights and shadows in the droplets and the petals, and the details are just right.
Cloudy days are great for macro photography – but I have to admit that I love just about any skies when I’m shooting – even bright, harsh midday light, when there’s not a cloud in the sky. The truth is, it doesn’t matter if the sky is perfect – I can always find something to shoot. It comes down to understanding how my camera interprets light, and getting creative with the conditions I have. When the skies are bright and clear, I just have to approach photography a little differently than I would if I were working during the golden hours or on an overcast day.
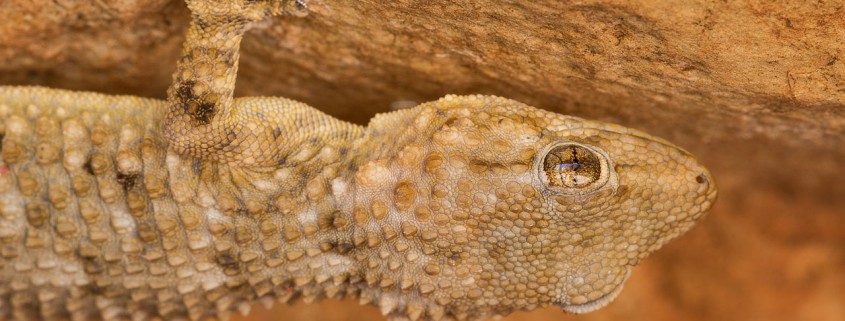
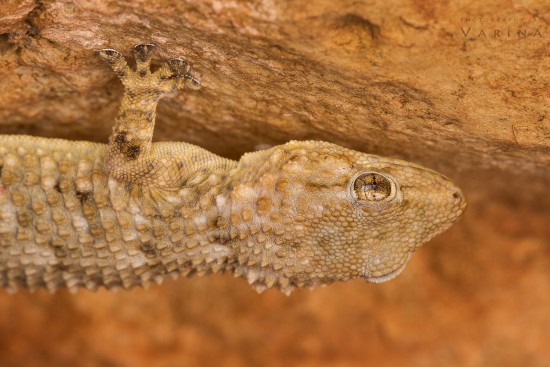
I took this shot of a gecko in Morocco, while hiking with my brother near Ouzoud Falls in Azilal. This pretty little creature hung effortlessly from the rock – upside down and completely still. He saw us before we saw him, and we almost missed him because of his perfect camouflage. In that moment, the light was perfect. Bright sunlight hit the rocky surfaces all around us, and then bounced and scattered into every crack and groove. This gecko’s little body – and his sheltered overhang – caught that reflected light, enhancing the details and producing a soft glow. I didn’t need a reflector or a diffuser for this photograph – the overhang blocked direct sunlight, and the ground acted as a perfect reflector. In fact, it was a quick and easy shot. I set up my Induro tripod and mounted my camera and lens. My 180mm macro lens let me stay back from my subject so I wouldn’t scare him away, while still filling the frame and getting the details I wanted. The tripod held my camera nice and steady, so that I could worry about getting my settings right, rather than worrying about steadying my lens. I needed to be still so that I could focus on the details in that gorgeous eye – and also to avoid frightening my subject.
Tips for shooting in bright sunlight:
- Look for small subjects, shady areas, and reflected light.
- Use a macro lens or shoot details when the light is harsh – you can control the light in a small area.
- Use a diffuser to soften harsh, direct light.
- Use a reflector to bounce reflected light onto your subject to reduce dark shadows and bring out rich details.
- Use a tripod to hold your camera steady while you plan your composition, and adjust your focus and lighting.
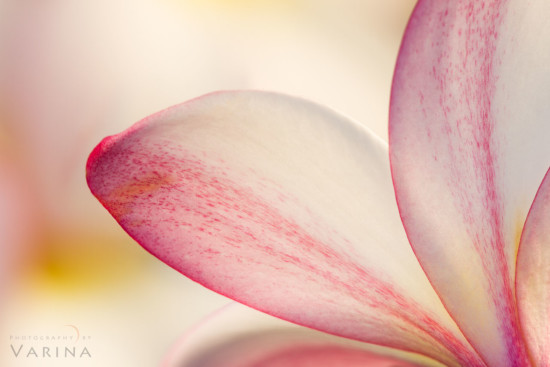
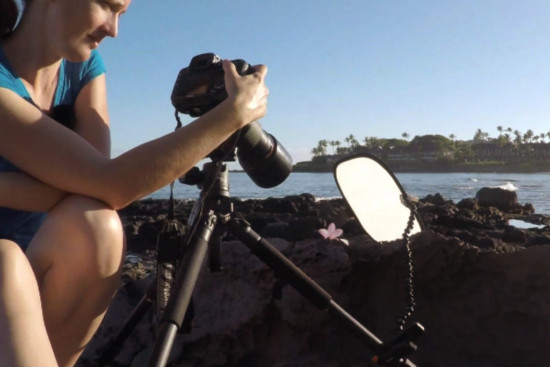
I took this shot of a Plumeria flower on a bright sunny morning on Maui. The sun was still low in the sky, but the light was too harsh for the effect I wanted. I used a diffuser to soften the bright sunlight and produce a soft, even lighting that brings out the details and the colors in the petals. I clipped the diffuser onto my tripod leg using a clamp – and adjusted it so that it rested between the sun and my subject.
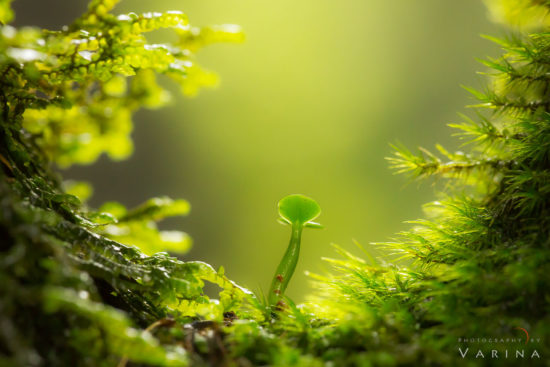
In Nicaragua’s gorgeous cloud forest on the Mombacho Volcano, the incredible quality of reflected light made this miniature landscape even more appealing. I used a reflector to bounce a little extra light back towards that little shoot in the center of the frame. I clipped it to my tripod – just as I did with the reflector for the flower shot – but this time, I placed the reflector between my subject and my lens. I angled it to bounce the natural light that was filtering through the canopy back onto my subject. The reflected light is softer than the natural light, of course, so it doesn’t diminish the beauty of the scattered sunlight.
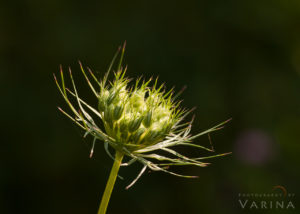
Take a look at the following three images for comparison. The first is a shot of a flower that is lit from behind with bright, morning sunlight. The background is very dark, and the flower itself is pretty bright – though there are darker shadows on the front side of the bloom.
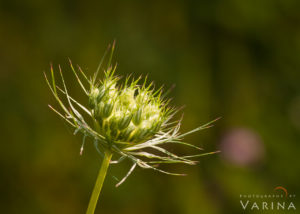
The second image in the series shows the same scene with the help of a reflector placed between the flower and my lens. The reflector bounces sunlight back onto the flower, and onto the out-of-focus background. You get to see more detail in the background and on the front of the flower.
For the third image in the series, I pulled out my diffuser as well. I positioned it right between the sun and the flower, so it softens the light as it enters the frame. Adding the diffuser meant I needed to adjust my exposure so that my photo wouldn’t be underexposed. I used a longer shutter speed to get the exposure just right. The reflector is still bouncing light onto the front of the flower and the soft background. My camera handles the reduced dynamic range much better than the high-contrast of the first image. The difference between these three images is pretty striking.
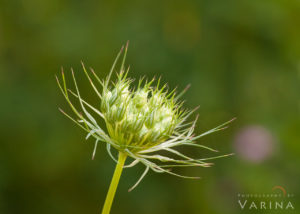
A diffuser softens the intense sunlight, and a reflector bounces light onto the front of the flower.
When you are shooting, pay close attention to the bouncing and shifting nature of the light you are working with. Train yourself to see the way it changes from moment to moment, from different angles, and from one location to another. Learn to think about the light you have in the moment – and consider how you can use it to your advantage in each new situation.

