
Create Your Own Brush Preset in Photoshop
One of the creative ways you can use an image is to create a custom brush shape in just a few simple steps. This allows you to “paint” or add that shape to any of your post-processing.
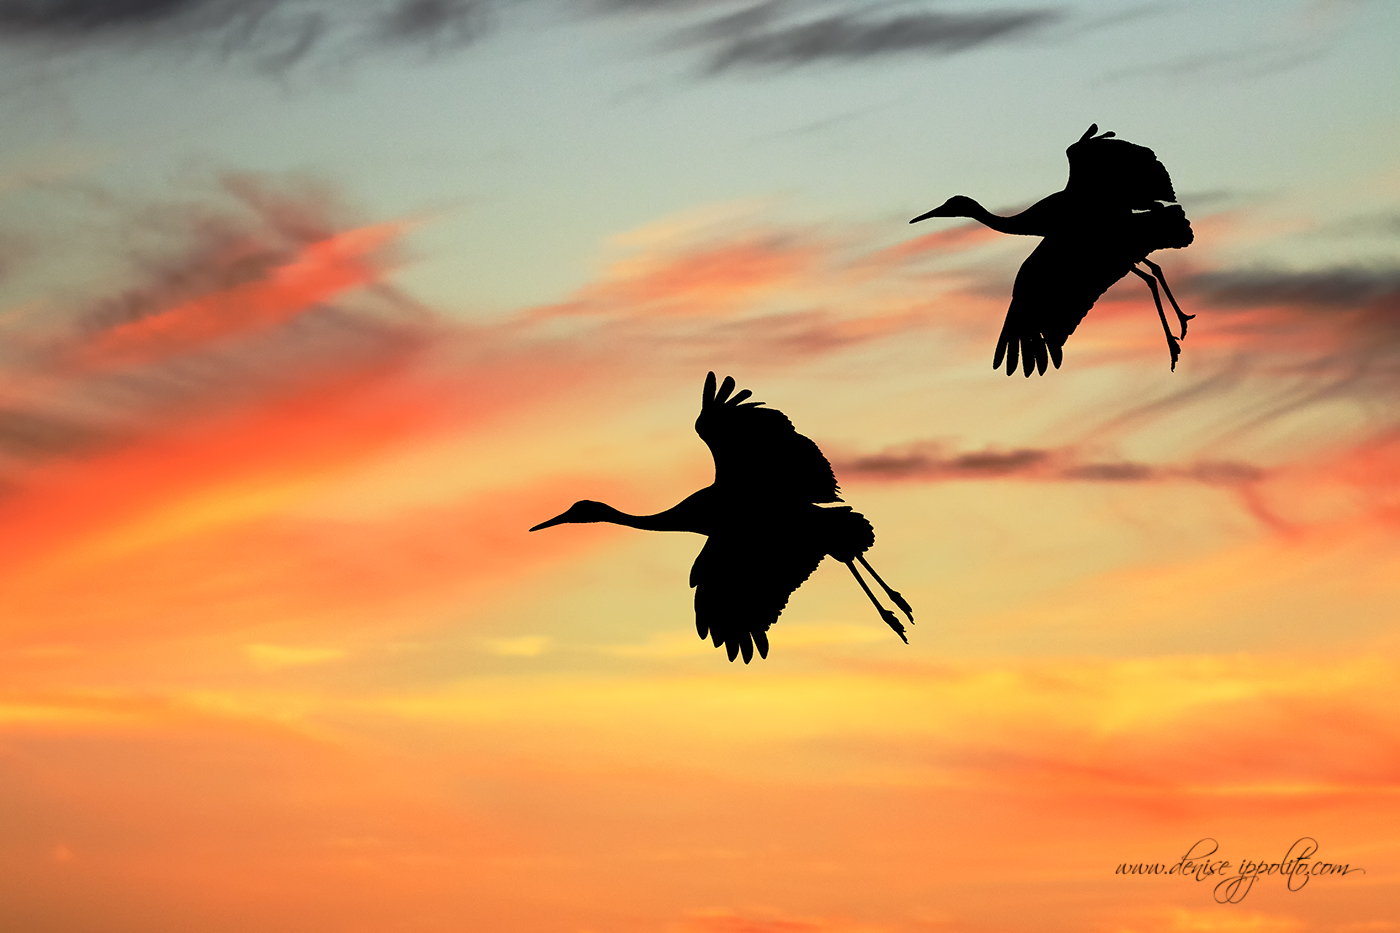
For example, I created my own brush preset which acts like a stamp so I could easily add these cranes (shown below) to any image and at whatever size I want.
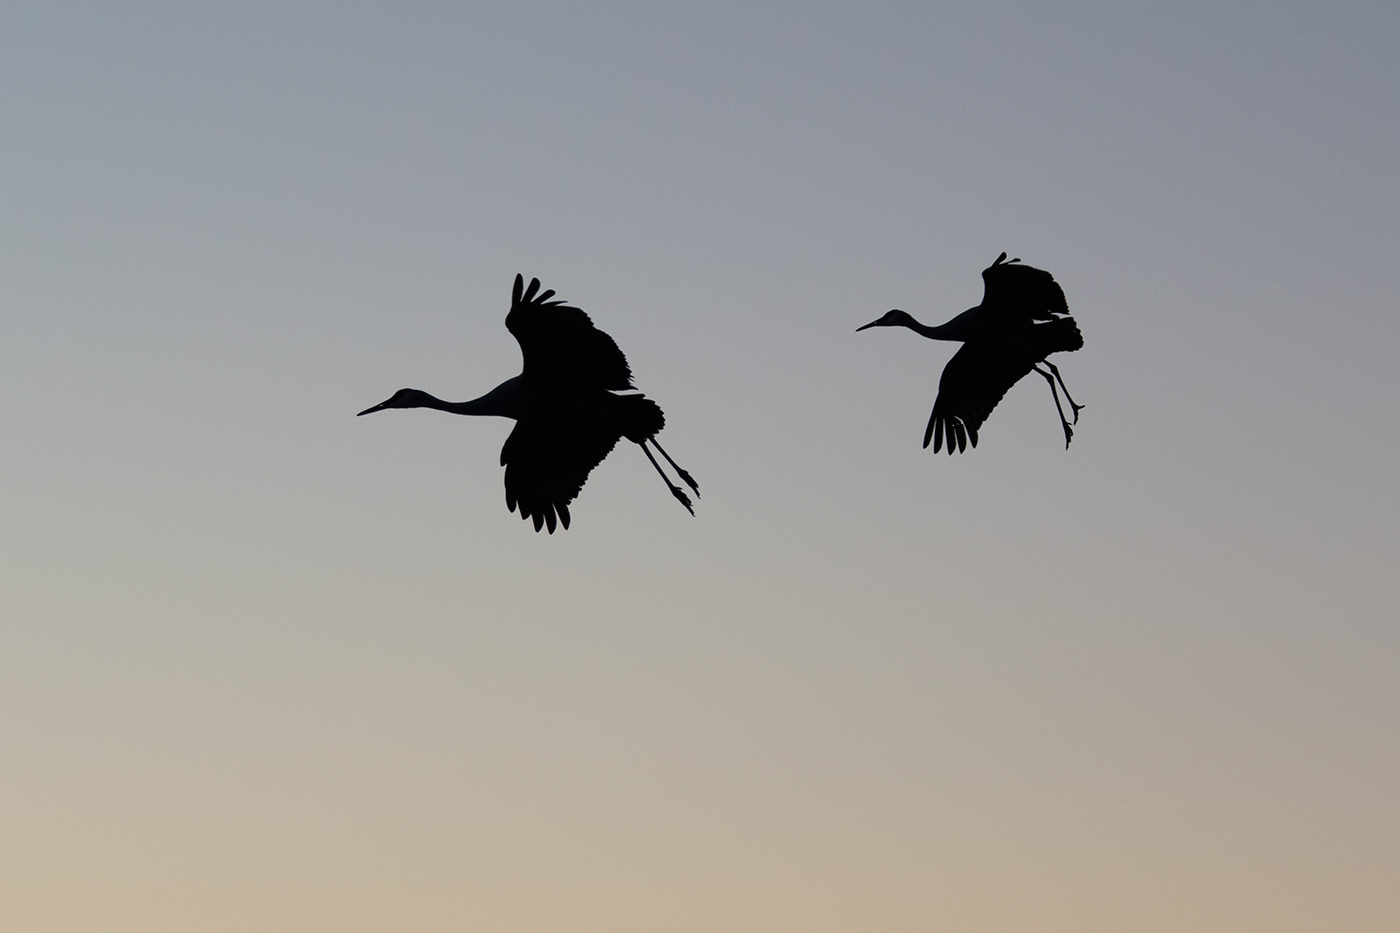
Original silhouette of cranes against a dull looking sky
Here is how created these brushes:
- I select an image that I think will make a good black and white silhouette.
- I open the image in Photoshop and select Image > Adjustments > Threshold. This renders the image completely black and white, kind of like a stamper. You should have a black silhouette with a white background. The white background is important to create the necessary cut-out look.
- Use the slider to adjust the silhouette to make it look the way you want it to look.
- Once the silhouette is adjusted, make sure that your image is no larger than 2500 pixels on the longest side. To do this, go to Image > Image Size. Make adjustments to the image size, if necessary and then close the Image Size box.
- Select Edit > Define Brush Preset. In the dialogue box, type in a name for your brush present and then click OK.
Your new brush is located in the brush tools.
You can change the color and size in the same way you can change the other brushes in Photoshop. For my final image above, I chose to create two brush presets so that I could place each bird onto the background separately.
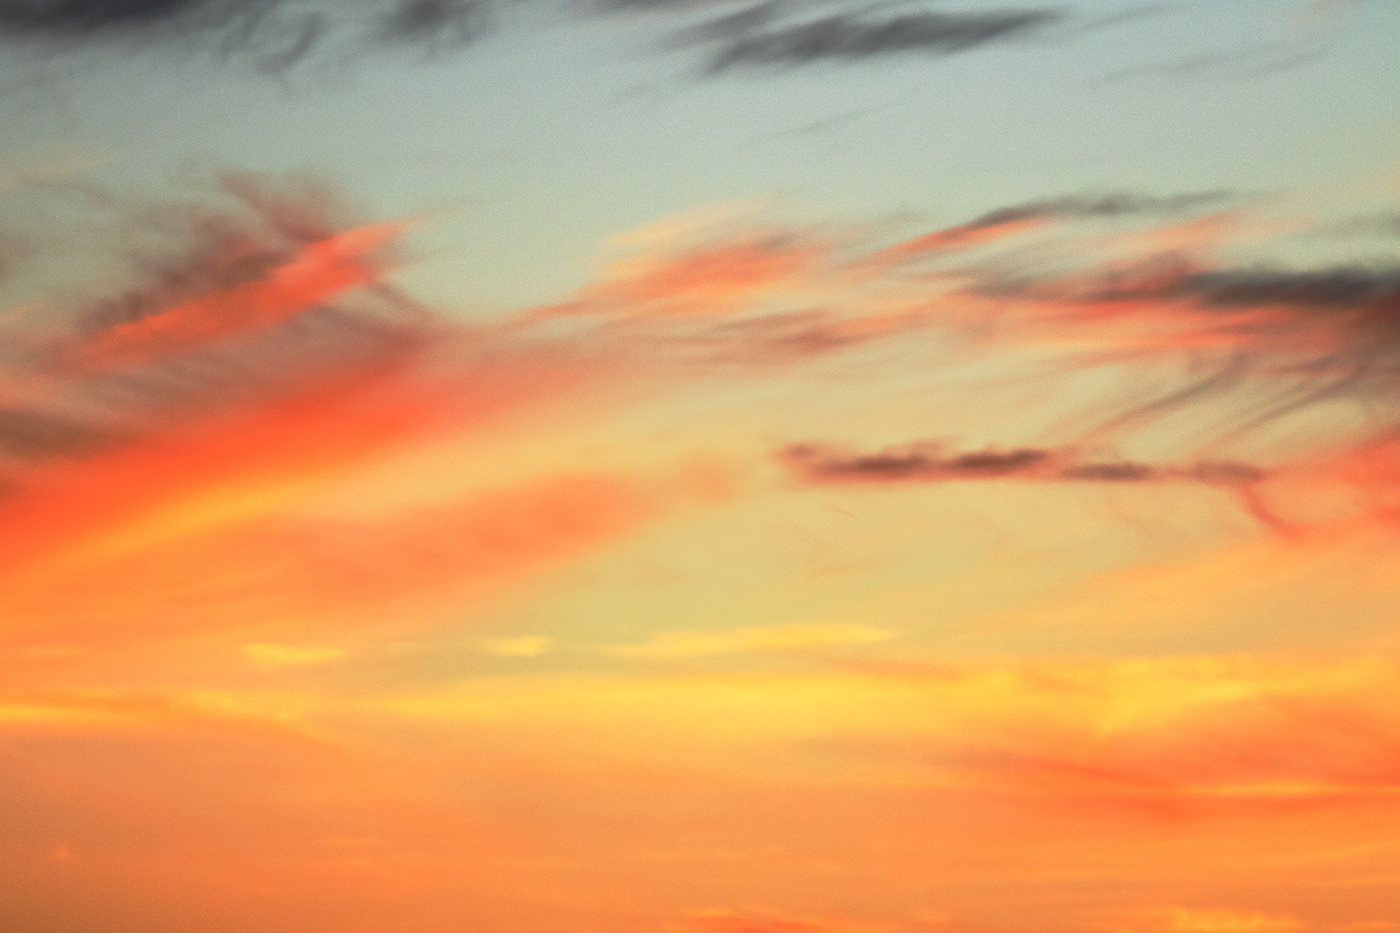
Original image of colorful sky before adding my new brush preset
So… the next time you take a dull photo, try to see if you can use it to create a custom brush shape.
About Author Denise Ippolito
Denise Ippolito is a full time award winning professional photographer, workshop leader, and artist living in New Jersey. Denise travels extensively presenting slide lectures and seminars and teaching photography and Photoshop. Her workshops feature a variety of subjects including: avian, flower, landscape and creative photography.
Denise’s love for nature started at an early age; she has always felt very passionate about wildlife. Knowing, that every living being, depends on the human race to conserve and preserve our natural environment. Through her photography she hopes to broaden awareness and inspire others to share her love for our planet and its resources.
In 2017 Denise’s image titled, Snow Globe was selected as the First Place "Winged Life" category winner for the BigPicture: Natural World Photography Competition. Her image of a Moseley's Rockhopper Penguin was selected as the "Birds" Category Winner in the prestigious Nature's Best 2016 Windland Smith Rice International Awards Competition. In 2015 she also won the Category for "Art in Nature" in the Nature's Best 2015 Windland Smith Rice International Awards Competition.
In 2010 and again in 2014, Denise received a Highly Honored award in the prestigious Windland Smith Rice Nature's Best competition. Also in 2014 one of her images was selected as part of the People's Choice Awards Top 50 Images in the BBC Wildlife Photographer of the Year Competition. She has also won several PSA (Photographic Society of America) awards. Her images have been published in the Wall Street Journal, magazines and books, sold as greeting cards, calendars and featured in a Sierra Club Documentary. Most recently, Denise appeared in an episode of Xploration Awesome Planet for Fox 5 television.

