Five More Tips for Beginner Nature Photographers
Continuing from my previous article, here are the last five out of ten tips I have compiled for aspiring landscape and nature photographers who are just getting their feet wet and want to eventually take their photography to the next level. While it was difficult for me to narrow it down to ten tips, I tried my best to provide as much helpful information as possible.
Learn How to See the Light
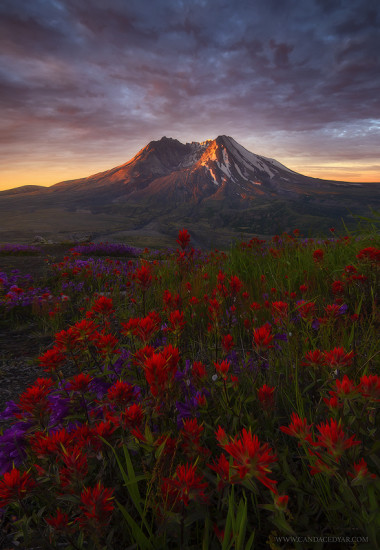
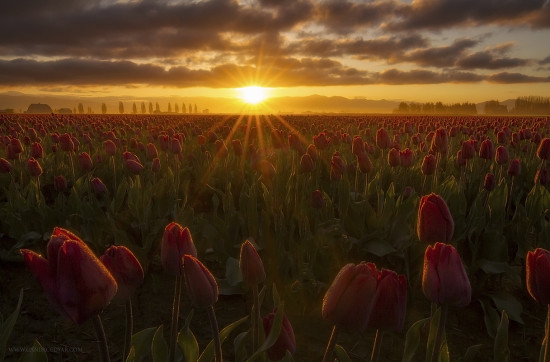
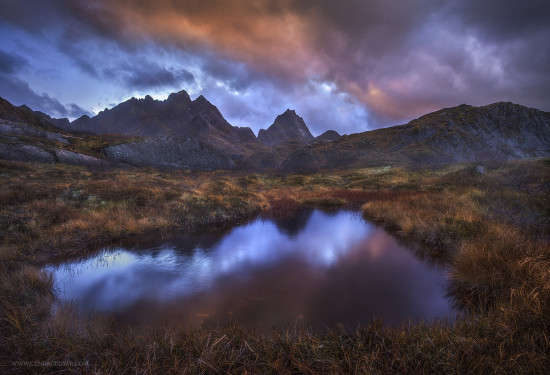
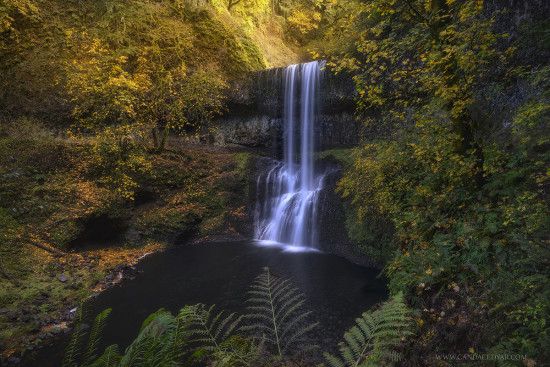
If you are passionate about landscape or nature photography, this is the most important skill that you should nurture and develop. Although it does not apply to all situations, attractive and high-quality landscape photos are frequently defined by the light in which they were taken. This involves looking around for appealing combinations of shadow, light, texture, and color. Keeping the sun in front of you creates silhouette scenes and can also provide a pleasing dramatic or burst type of effect, depending on the conditions and your composition. In contrast, keeping the sun behind you avoids back-lighting and brings out detail in your subjects. Many landscape photographers choose to shoot during the “magic hour” close to sunrise or sunset in order to achieve a more balanced exposure in their photos. This balance is found when the sun is lower in the sky, as the light is less harsh without stark contrast, therefore revealing more details and a more pleasant color palette. Mid-day shooting can have the opposite effect, where it becomes difficult to control the bright contrast and flare. Of course there are exceptions to this rule; there can be a variety of opportunities during the day if you want to make the most of your time or if you’re limited on time and unable to take images during the magic hour. Overcast, foggy, rainy, and stormy days provide a great atmosphere for waterfalls, forest scenes, and dramatic seascapes, among others. And who knows? You might even catch a brief break as that rainstorm clears with dramatic beams of light or even a double rainbow. Getting out there and exploring in all kinds of light and weather conditions really allows you to better observe your own creativity and perhaps reveal unique conditions or options that you didn’t realize were there to begin with.
Shoot RAW
This is one of the most important tips to keep in mind, especially if you plan on doing any post-processing. RAW image files come directly from your camera’s image sensor and are unprocessed, providing the most data for maximum image quality. In a nutshell, they provide a lot more pixel information when compared to JPEG. The downside to this is the fact that they also take up more space on your memory card and hard drive… a LOT more. It can also take a dreadfully long time to upload to your computer from your memory card if you have an older computer. As technology advances, so does the amount of megapixels in cameras and data stored in these image files. The upside, which arguably outweighs the cons mentioned, is that you end up having more flexibility in post-processing, greater detail, and overall higher quality images.
Learn About Composition and Filling the Frame
As a beginner with nature and landscape photography, you are probably already aware that composition is vital to a successful image. So, where do you start? When in doubt, using the rule of thirds for placement can create a more eye-pleasing and effective shot. In order to do this, use the grid lines on your digital camera or divide your frame into imaginary thirds on both the vertical and horizontal axis. Next, place your horizon, subject, or area of interest at the points where the lines intersect. You can use the rule of thirds along with shooting from a unique perspective for greater emphasis or for drawing viewers to your subject using natural lines. But don’t be afraid to break the rules; experiment and be unconventional! Figure out what kind of effect or look you are trying to achieve and go from there. Is it an intimate shot of a flower, a grand landscape, or an abstract image of some ripples in the water? Filling your frame and getting closer to your subject than you think you should with either your wide-angle or telephoto lens can yield surprising results that make a greater impact. Ultimately, what you include and exclude will determine what is important in your composition. Always remember that it is a learning experience. While you might feel like some of the images are “flops”, you just might create something wonderful… your own brilliant masterpiece.
Lastly, reading various articles and books about composition, along with enrolling in workshops held by photographers whom you admire, can do wonders to enhance your skills with photography. One of the most important things you’ll learn during in-field photography workshops is finding the best types of compositions and how to go about composing the most effective images.
Less is More
While it doesn’t apply in all situations, simplicity is often the key to creating a great landscape or nature image. Try composing images to exclude more and include less. This has become my motto and I try to follow it as often as possible in order to try and make stronger, more impactful photos. Often the most impressive and strongest images have just a few areas of interest and avoid any clutter. You are able to simplify more by knowing what your subject is, paying attention to your background to see if it looks crowded , checking the edges to see if anything accidentally slipped into your composition and, most importantly, getting rid of any extraneous elements that don’t support your main subject or areas of interest.
Additionally, try changing your perspective and move around or adjust your camera to try and find the best angle to really make your subject stand out. As photographers, we tend to clutter our photos with extra things that aren’t adding anything of value and they become too “busy”. It’s important to remember that simplifying an image will always be more impactful and it highlights what you want to focus on in your scene.
Always Bring Your Tripod!
Many beginners tend to ignore this advice, but it’s really important if you plan on advancing your skills. For landscape and nature photographers, the one staple item to take along with you everywhere aside from your camera and lens(es), is a sturdy tripod. Using one will help you compose your images more effectively, increase the sharpness of your images, and make a huge difference when longer exposures are required. As a beginner, most tripods will do and finding the most compact tripod that is sturdy enough to handle your camera setup is sufficient. However, if you can afford it, I highly recommend something that is carbon fiber. The lighter the tripod, the easier it is to haul uphill on a strenuous hike or while backpacking and the more likely you will take it along with you in general.
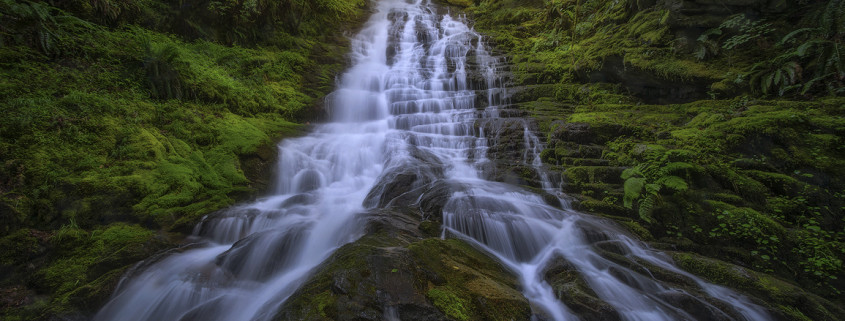
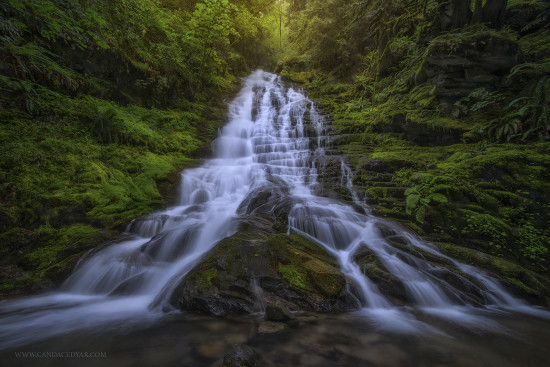
To make your images sharper, be sure to enable your camera’s mirror lock-up feature (if it has one). Also, try coupling your tripod with a remote cable release or self-timer, especially when shooting longer exposures of areas such as waterfalls. While many beginner nature and landscape photographers feel that a tripod is not always necessary, remember that it is better to have one readily available and not need it, than to need it and not have one readily available.
I hope that these final five tips for beginner nature photographers are helpful and will help you to get out there and advance your skills. No matter how important it might seem to capture those wonderful, magical moments to the best of your ability, don’t forget to enjoy yourself and the environment around you as well.
Please feel free to leave any comments or feedback below.

