How to correct colors in Lightroom for Travel Photography
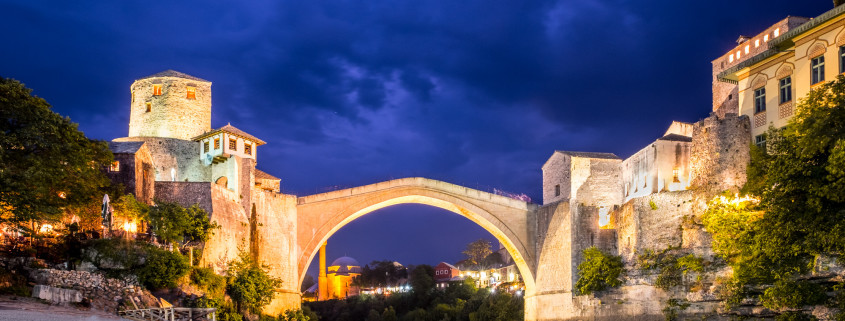
If there’s one thing I learned from photographing cityscape is that you will almost always find yourself dealing with difficult lighting situation. And this made travel photography incredibly difficult. Sometimes it’s hard to capture nighttime travel photos when multiple light sources with varying colors balance with the color of the sky. I’ve seen a number of travel photos where the sky looks muddy brown or dark orange rather than a nice, deep blue.
In this video, I demonstrate a few tricks for travel photography to get those colors right and to create images with rich, vibrant, and natural colors. No software other than Lightroom is required, but it is imperative that you shoot RAW.
Here are the steps that I use for my travel photos to correct colors with multiple lighting conditions:
- Correctly set the white balance.
- Apply global tonal corrections.
- Set temperature and tint.
- Use the HSL panel for more targeted corrections.
- Apply local corrections to problem areas.
While the workflow I demonstrate in this video is generally applicable, the precise values to use for the parameters depend on your particular image, so there is no substitute for playing with the sliders until you get the right look.
Having a properly-calibrated monitor that faithfully displays the final colors is also very important for color correction, especially if you intend to print the processed image.


