Local Adjustments in Photoshop for Bird Photography
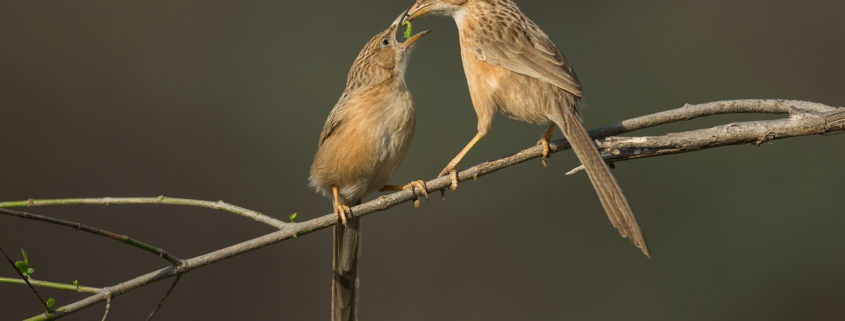
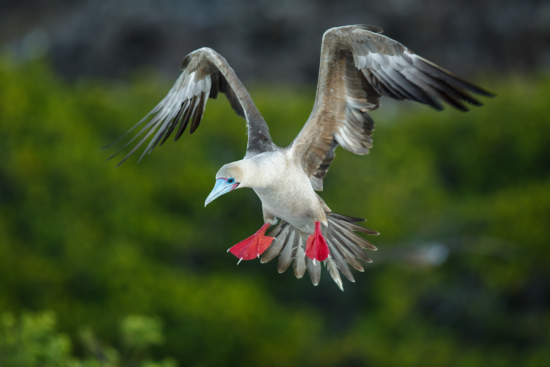
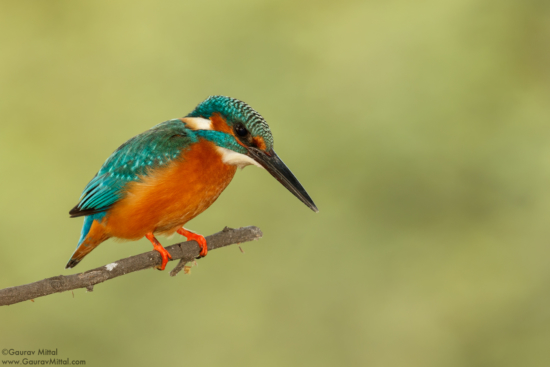
Like many other forms of photography, bird photography requires post processing to bring out the incredible colors and details that are found in nature. Typically, bird photographers capture their bird photos with telephoto lenses. Because of this, these photos often present a combination of sharp details and soft out-of-focus areas. Post processing for each of these areas often requires different strategies which means that you must make local adjustments to these photos.
Post-Processing Options for Bird Photography
Most wildlife photos use the RAW image format which provides professional bird photographers with an incredible range of options for post processing. You can initially convert and process in Lightroom, capture ONE, or Adobe Camera RAW where you can also make some local adjustments.
While Lightroom provides masking tools, its sharpening capabilities are more limited, and its selection tools are not as sophisticated as Photoshop. It is, however, extremely easy to use and works fine for most amateur photographers.
For ultimate control, I suggest that post-processing is best performed in Adobe Photoshop. My personal wildlife photography workflow starts in Lightroom for the RAW converter but then moves to Photoshop for more refined post-processing. For more professional photos, this Photoshop workflow requires an in-depth knowledge of Photoshop and its features.
In this article, we’ll look at some of these features along with a basic overview on how to use each one.
Photoshop Features and Tools for Successful Bird Photography
When considering Photoshop features and tools, there are three that stand out as especially useful for bird photography: selections, layers, and masks. Understanding each of these is extremely important to ensure your final image displays your subject in its best light.
Photoshop Selections
When it comes to post-processing your wildlife photos, the first step is the ability to use a selection tool to isolate your subject from its background. This isolation allows you to apply different post-processing strategies separately for your subject and your background.
Photoshop’s Selection tool allows you to restrict adjustments to the desired localized area. There are several Selection options within Photoshop. Because some work better for certain types or parts of an image, I highly recommend that you take the time to familiarize yourself with all of them. This in-depth knowledge will help you know which one is most ideal for your current project.
While the Selection tool is a necessary one when finalizing exceptional photos, it works hand-in-hand with two other Photoshop features: Layers and Masks.
Photoshop Layers
By creating separate adjustment layers, Photoshop Layers allows you to create a non-destructive workflow. In other words, it allows you to work on a certain area (or layer) of your image without permanently altering the original. At any point, you can delete or hide these extra layers and recover your original image. Photoshop saves the layer information so that, when you save and close the image file, the layer information is preserved.
Layer Masks in Photoshop
To simply define a Photoshop mask, it is a method of applying an alteration to a specific area of an image. It’s an incredibly important tool that includes both clipping masks and layer masks. For our purpose, I’m referring to layers masks in this article.
Using a selection tool to create layer masks in Photoshop allows you to integrate a local adjustment into a non-destructive workflow. You can refine these layer masks to give you incredible control over where the adjustments are applied.
Both Layers and Masks are advanced Photoshop techniques which offer far more control over adjustments than the masking tools built into Lightroom. Note that it does take a steep learning curve to develop these skills.
Let’s now look at real-life examples of how I use these tools to make adjustments to my bird photography images.
Selections in Photoshop for Local Adjustments
The first skill you must master in Photoshop for post processing your bird photos is the ability to create a very complex selection. This allows you to restrict your adjustments to one specific area – either the bird or the background. Here is a video showing how I go about creating selection in Photoshop for bird photography.
Remember that there are several different ways that you can create a selection around your bird photos. There is no one right way to do it. It is best to know how to use different Selection tools in Photoshop so you can pick the best one for the job at hand.
Using Selections in Photoshop with Noise Reduction
Photographing birds is not an easy task. Bird photographers like me often use telephoto lenses and high ISO settings to freeze any unexpected motion. This introduces noise in my bird photos that is readily seen in the low contrast areas. Photoshop is highly effective in reducing this noise, but it also reduces the low contrast details in the birds. To get around this problem, I use the selection tool to isolate the bird and then apply noise reductions only to the background. This creates a silky smooth noise-free background without losing any details in birds feather. Here is a video showing how this works:
Using Photoshop Layer Masks to Sharpen a Bird Photo
I often use Selections in Photoshop to create layer masks. This allows me to apply sharpening, noise reduction, color correction, and various other adjustments to my bird photos. If I need to recover the original image, I simply turn off the Photoshop layers and start over again. The following is a video showing different adjustments that you can apply using Photoshop layer masks.
As you can see, Selection, Layers, and Layer Masks in Photoshop are indispensable in creating a powerful, non-destructive workflow for bird photography. If you are a beginner, the learning curve to master Photoshop may be steeper than it is to master Lightroom. So don’t give up. Be persistent and keep at it. Once you master Photoshop, you will be able to take your bird photography to the next level. Good luck.

