Reducing Noise in Post Processing
With the continual improvement of digital cameras, noise is no longer as big of an issue as it used to be. However, noise can still be problematic if you are shooting in low light, either indoors or at night.
The first step in the battle against noise is to use the right equipment. If you’re shooting at night, you’ll want to use a lens with a very wide aperture, like f2.8 or wider. It also helps if you have a newer camera that performs well at high ISOs. I’ve listed some cameras and lenses I recommend on my website.

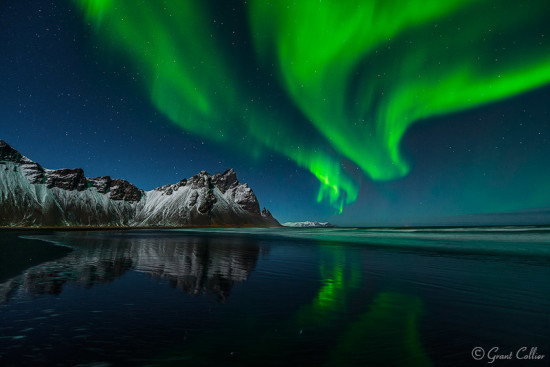
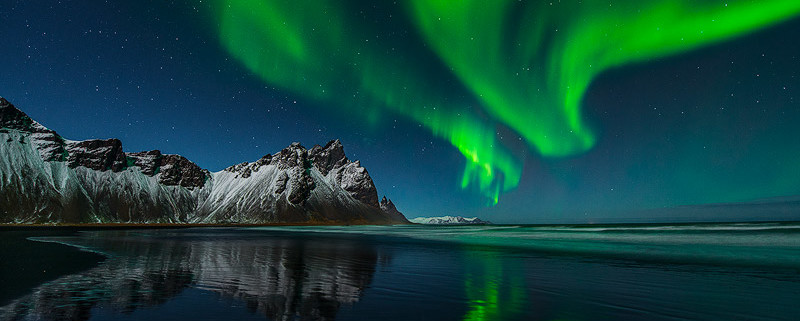
I was able to minimize noise in this image by shooting with a Nikon D800e and Nikkor 14-24 lens @ f2.8.
It is also very important to use the proper settings on your camera. You want a good exposure with data across as much of the histogram as possible. Avoid underexposing the image even if it means using very high ISOs. The Long Exposure Noise Reduction feature that is available in most digital SLRS can be useful if you are doing exposures over one minute. There are also more advanced techniques, like stitching images and stacking images, that can help reduce noise.
Even if you follow the advice above, there can still be a fair amount of noise in images, especially in night shots taken under no moon. You can further reduce noise in post-processing.
NOISE REDUCTION IN LIGHTROOM
Lightroom has some noise reduction features under the Detail panel in the Develop module. Under Sharpening, you’ll see a slider called Masking. This slider attempts to prevent any sharpening done on the image from bringing out more noise in the image. Simply adjust the slider until you get a result you like.
Below the Masking slider, you will see noise reduction sliders called Luminance and Color. The Luminance slider attempts to reduce unnatural fluctuations in the brightness of the image, while the Color slider attempts to minimize hot pixels and other unnatural color variations.
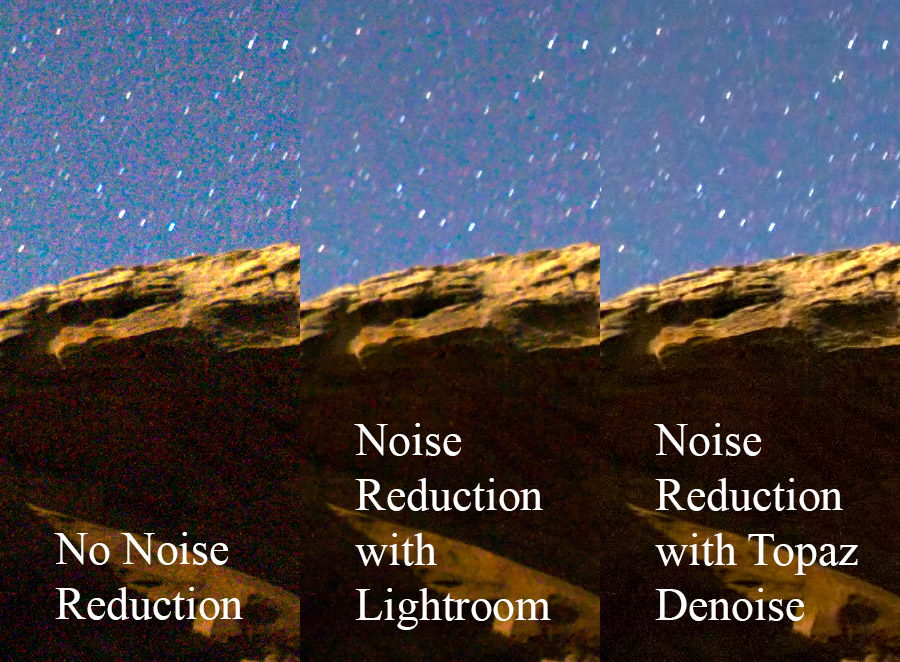
The Luminance slider can be effective at reducing noise, but it can also blur details in the image. I have found that Topaz DeNoise does a better job at reducing noise without blurring details. So I recommend keeping this slider set at zero if you purchase Topaz DeNoise. Otherwise, when adjusting the Luminance slider, make sure you don’t blur any details too much, especially in the land. If you’re blurring details in the land, you may instead want to use the Noise slider that is available with the Adjustment Brush. This will allow you to do more noise reduction on the sky, where you don’t have to worry as much about blurring details.
The Color slider doesn’t blur details too much, so you can use this slider in Lightroom, even if you’re also using Topaz DeNoise. I usually keep the Color sliders near their default settings, which are:
- Color: 25
- Detail: 50
- Smoothness: 50
If you need to adjust this slider more aggressively, you should inspect the image closely to make sure it isn’t causing unwanted fringing along high-contrast edges in the image.
NOISE REDUCTION WITH TOPAZ DENOISE
Topaz DeNoise is the best noise reduction software that I have tried. It can be installed as a Lightroom or Photoshop plug-in and can be purchased at http://www.topazlabs.com/denoise/.
When a photo is opened in Topaz DeNoise, you will see a list of presets on the left side of the screen. You can try the various RAW presets and see which one works best. There will be a preview of how your image will appear in the center of the screen. If you click and hold down the left mouse button on this image, it will show the original, unaltered image.
I recommend using the strongest RAW preset that doesn’t noticeably blur the details in the photo. Usually, one of the presets will work for your image, but you can fine-tune the noise reduction using the sliders on the right side of the screen.

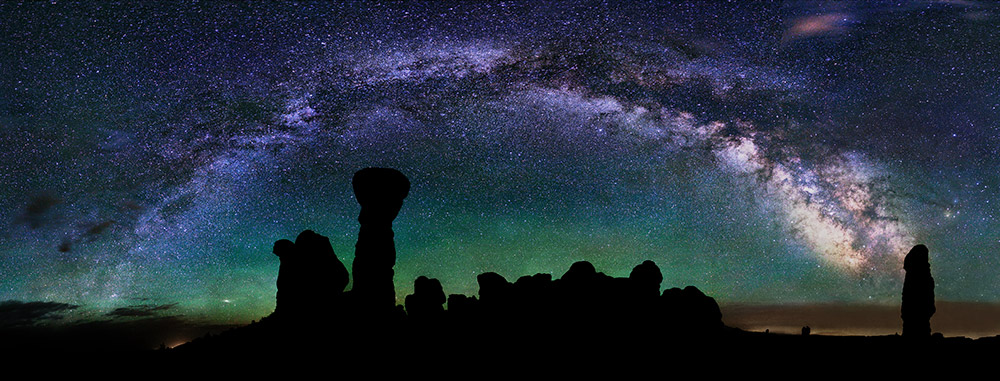
By using techniques in this article and stitching multiple images, I was able to print this photo at 3 feet x 8 feet with minimal noise.
I discuss noise reduction in a lot more detail in my instructional book on night photography, as this is one of the most important aspects of night photography. However, just by using the tips above, you should be able reduce noise significantly and print your images at much larger sizes!


