How to Use Negative Space in Nature Photography Composition
Negative space, the area surrounding the main subject in a nature photography composition, is just as crucial as the subject itself. In fact, negative space can often define the mood, provide a sense of place, and either enhance or compete with the subject. When used effectively, it can elevate a photograph, while poor use of negative space can diminish its impact. As a photographer, mastering the art of composing with negative space is essential. For me, it’s a constant consideration during every shoot.
Negative Space in Nature Photography Composition
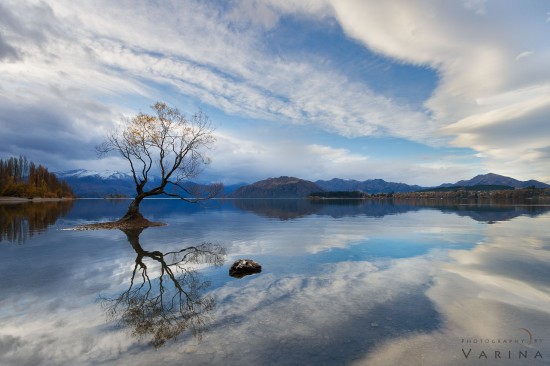
Consider this photo of the iconic Wanaka tree in New Zealand. In this photo, the Wanaka tree is clearly my subject and the space surrounding it is the negative space. Captured on a serene, sunny day, the sky, calm lake, and mountain reflections all contribute to the negative space surrounding my primary subject. Although these elements aren’t the focus, they complement the subject by providing context. Negative space also helps define the mood.
In another image of the same Wanaka tree, shot during a passing storm, the negative space changes dramatically. The main subject of this nature photography composition is exactly the same – the Wanaka tree. The tranquil blue skies and pristine reflection give way to brooding storm clouds, creating a more intense and dramatic mood.
I am not suggesting that one photography composition is better than the other, but the negative space evokes entirely different emotions, demonstrating its power in nature photography.
Negative Space vs Dead Space
When used poorly, negative space can become dead space. Unlike negative space, dead space does nothing to enhance the subject or the mood of the photo. Dead space lacks relevance, fails to define the mood, and often distracts from the subject. Other times, dead space can be made up of elements that are unappealing or irrelevant to the subject you are trying to photograph. In such cases it is often hard to identify your subject in your nature photography composition.
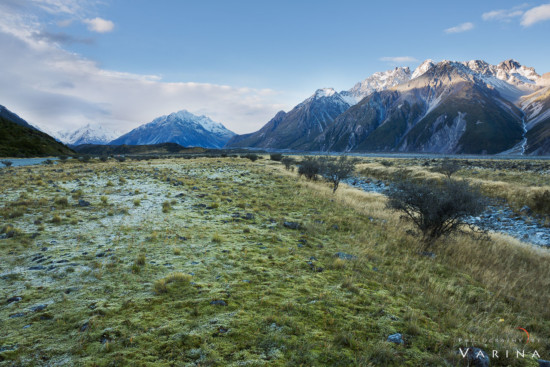
For example, in a photo taken near Lake Pukaki in New Zealand (Image #1) is a good example of nature photography composition with lots of dead space. The large expanse of clear sky and uninteresting foreground creates dead space, making it difficult to identify the intended subject.
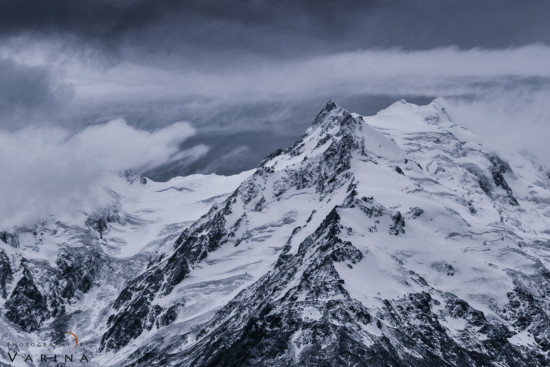
Contrast this with another photo from the same location (Image #2) at the same time. By using a telephoto lens to crop out the dead space, the focus shifts to Mt. Cook. Here, the sky serves as meaningful negative space, with textured clouds from the approaching storm adding depth and mood to the composition.
The best nature photographers understand how to leverage negative space while avoiding dead space, creating compositions that draw viewers into the scene.
Tips for creating effective Negative Space
I firmly believe that negative space is a vital element in creating compelling nature photography compositions. It is just as significant as the main subject of your photograph. The way you utilize negative space can shape your image, influencing its overall impact and the mood it conveys. While dead space can detract from your photo, well-crafted negative space can enhance its visual appeal and storytelling power.
When planning your nature photography composition, start by identifying the most important detail in your frame—this is your primary subject. Next, evaluate the surrounding elements that add context or mood but are less central. These elements form your negative space. Finally, pinpoint any unnecessary distractions or irrelevant details and find ways to eliminate them for a cleaner, more focused image. By thoughtfully incorporating negative space, you can create captivating compositions that draw the viewer’s eye to your subject.
Here are a few tips to create effective negative space around your nature photos.
#1: Secondary Point of Interest
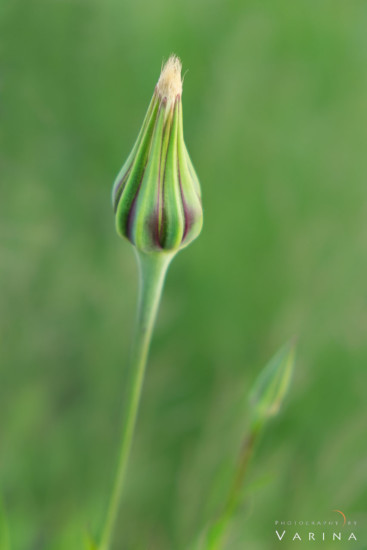
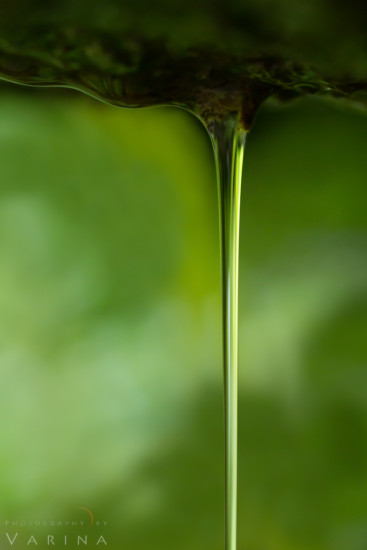
A subtle secondary point of interest can elevate negative space without competing with the main subject. But if I’m using a secondary point of interest, I want to be sure I’m using the background in a subtle way that doesn’t take away from the subject itself. For instance, in the Image #1 below a blurred flower in the background provides a soft complement to the subject, adding depth without distraction. Alternatively, color or mood can serve this purpose, as in the case of a lush green background that conveys a sense of time and place in Image #2 below.
#2: Depth of Field
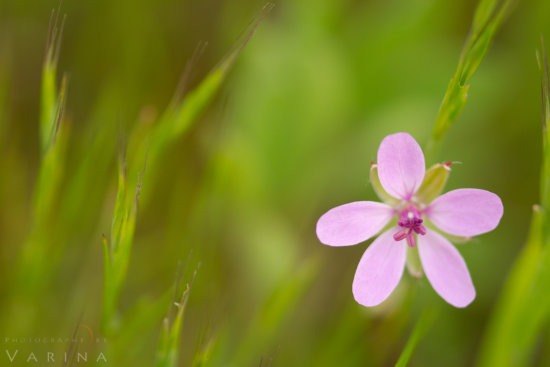
Your choice of depth of field significantly impacts the appearance of negative space. A shallow DOF can blur distractions, isolating the subject and creating a clean, appealing backdrop. For example, a wide aperture in a flower shot from Columbia River Gorge produces a smooth, uncluttered background that enhances the subject (Image #1).
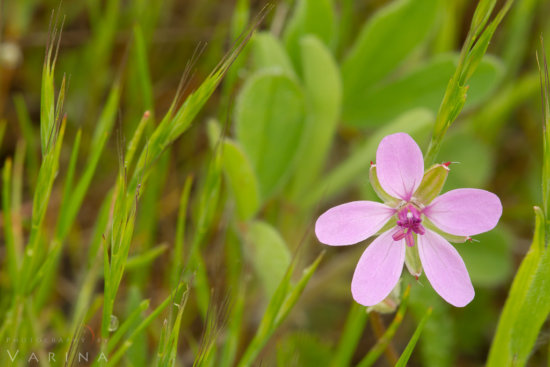
In Image #2, the negative space is cluttered and distracts the viewer’s attention from the main point of interest. In contrast, Image #1 features a clean and smooth background, allowing the flower—the primary subject—to stand out beautifully. The minimal yet intentional details in the negative space provide a subtle sense of place without overwhelming the subject.
#3: Shutter Speed
Just like DOF, shutter speed can be used to eliminate distraction and create pleasing negative space around your subject. a slow shutter speed (e.g., 53 seconds) smooths out water textures and blurs distracting elements like seaweed and clouds, while creating a calming mood. The smooth texture-less nature of the negative space allowed him to draw the viewer’s attention to the sharp rocks in the foreground.
Compare this with Image #2 which was taken with a much faster shutter speed. A faster shutter speed preserves textures in the water and sky, introducing dead space that detracts from the composition.
Final Thoughts
Negative space is a critical element of nature photography composition. By thoughtfully considering what to include, emphasize, or eliminate, you can create powerful images that resonate with viewers. Always aim to reduce dead space and maximize the effectiveness of your negative space.


