Ryan Dyar – Surrealistic Post-Processing Tips
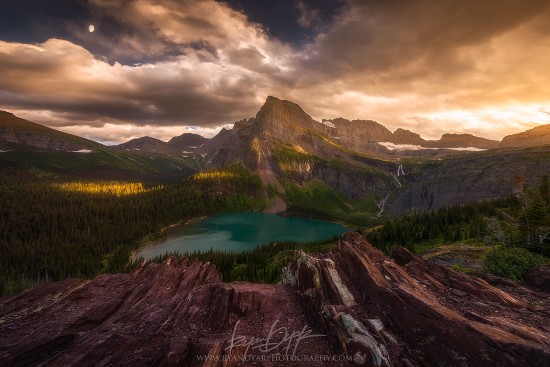
Ryan Dyar’s work is nothing short of inspirational. His gallery is filled with images that make us say WOW!! We were delighted when he agreed to become a regular contributing author to Visual Wilderness. Besides his stunning images, Ryan is known for his post-processing style which gives his photos a surrealistic look. Because of this, it was natural for InFocus Magazine to ask Ryan few questions about this post-processing style.
Tip #1 – How to get started in post-processing
I’m a firm believer that letting inspiration guide your art is the best way to learn. When people sit down to learn how to play guitar, normally they don’t immediately start writing their own music. Instead, they learn the basics for a while and jam along to their favorite songs. This allows a person to become proficient at the craft. The same goes for photography and/or processing. For example, I’m absolutely obsessed with Albert Bierstadt as well as many other landscape painters from the Luminism movement of the 1800’s. Bierstadt’s work often included strong and glowy backlights, thick atmosphere, and big dramatic landscapes. This is something that has been the biggest inspiration in the types of images I create. Allowing myself to be inspired by things like Bierstadt’s work is what gave me a direction for my own “style” and a general path to pursue.
Tip #2 – Bring out colors and details
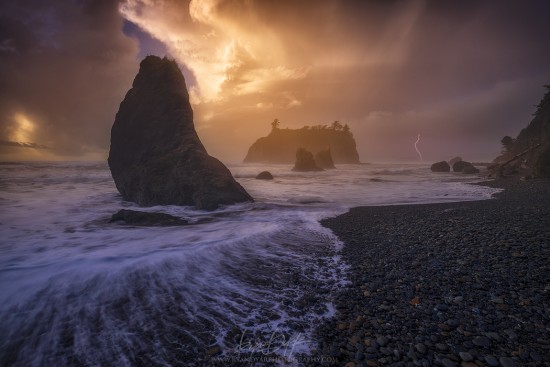
To mimic a lot of the Bierstadt type of light, I find I most often shoot into the sun. I just love the backlight. But then I also like to accentuate the light source, to give it a hazy, glowy, and intense feel. I do this by painting color and brightness by hand into the areas around the sun, working hard to create extra dimension to the light. I also like to put extra emphasis on the direction of the light by burning in deeper shadows in certain areas. Most of this work is simply done with the brush tool on either a 50% grey “dodge/burn” layer set to Soft Light blend mode or on an actual pixel containing layer with the brush tool. You can also set different blend modes to your brush to achieve different results.
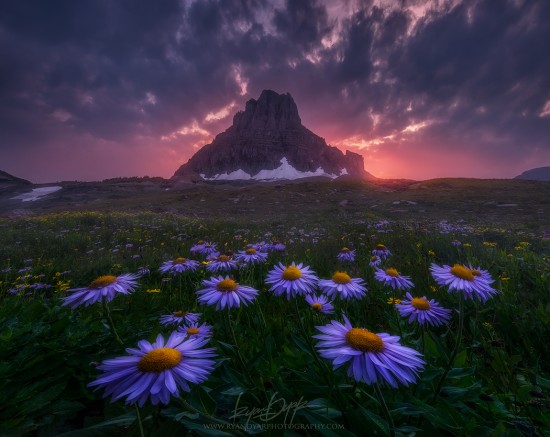
Smoke from surrounding wildfires color the sunset light a deep red behind Clements Mountain. Glacier Park, MT.
Tip #3 – Use fog and mist to create mood
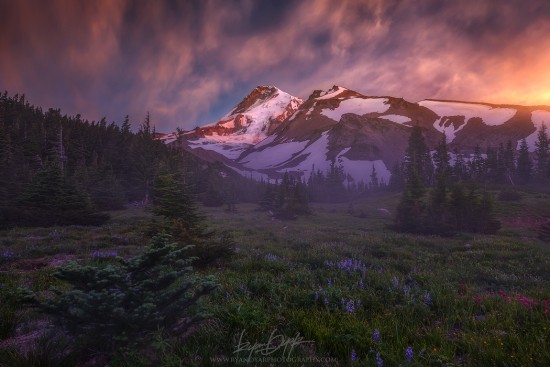
A great way to enhance atmosphere alone is to create haze in the distant background of your image. For example, if you have some mountains in the background, you can reduce their contrast by dodging the darkest shadows of the mountains through a luminosity selection. This helps to create the appearance of thicker, hazier, more particulate air between you and your distant background. Things like this don’t work in every scene, but can help bring a little extra style to certain shots.
Tip #4 – Have a vision for the final product
I tell 100% of my clients that the most important part of processing is simply having a vision for your shot… knowing, before you even start, what you want it to look like when it’s finished. Then you simply follow your mind’s eye (I know, that sounds so lame) to the end goal. You can know all the tools in Photoshop, all the latest techniques and trends, read all the tutorials… but these things won’t help you have a vision.
Some may take issue with your post-processing style and question if it truly represents nature as we see it. What is your take on this?
That’s fine. If people don’t like my images, I understand. It’s a bit heavy for some folks. There are certain types of images I don’t like either, so it doesn’t bother me. I’m not putting out images claiming they are absolutely true to life documentations… I take artistic merits here and there. Things would be different if I worked for National Geographic or Time, but I don’t. I’m out to create images that make ME happy; and, a decade into this, I’m still learning what that means.
I just assume the best way to look at photography is to act like you’re listening to the radio. If you don’t like the song, simply change the channel… it won’t hurt my feelings! Taking things too seriously is the easiest way to ruin the fun.
Needless to say, that we love Ryan’s easy-going attitude and his stunning artistic vision. Check out Ryan’s stunning images and post processing tutorials on his website at: Ryan Dyar Photography

