5 Steps for Mastering Nature Photography Workflow
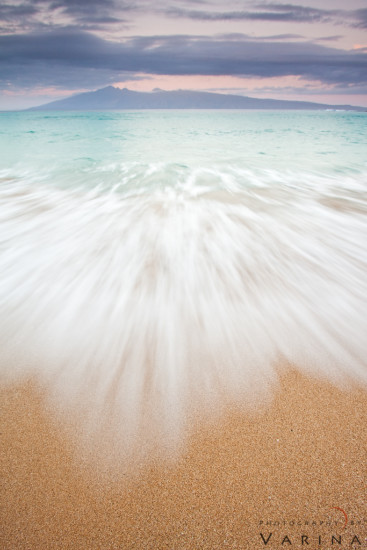
Waking up to a nature photography location like this is absolutely priceless. This is the view of the island of Molokai from Napili Bay on Maui. It’s not difficult to get out of bed when you are in a place like this. :) You want to get up and get out in the fresh air. We stayed at The Mauian – a beautiful hotel right on the beach – so we just hopped out of bed and grabbed our photography equipment. We were standing on the sand a few moments later, hoping for a crazy sunrise.
Need for a Nature Photography Workflow
I will be the first one to admit that it is hard to go to a place like this. You are in a gorgeous nature photography location with fantastic terrain and vibrant colors. All you have to do is wait for the light to show up and you are all set to capture a breathtaking photo. However light and weather in nature photography is quite unpredictable. So no matter how much preparation you have done beforehand, you may not get what you want.
This is where a comprehensive nature photography workflow comes into play. I define a nature photography workflow as a series of steps that I can use to come away with outstanding photos. A well designed nature photography workflow should be flexible enough to come away with a great photo no matter what nature throws at you.
Over the years I have successfully used the following simple 5 step nature photography workflow during my travels:
Step #1: Have a clear vision
Having a clear vision will allow you to focus on what you want to capture. It will help you choose the correct photography gear and come up with a plan to capture nature photos that you have envisioned. Having a clear vision does not mean that there is no room for experimentation. Oftentimes I will go through several iterations before I settle on what I want to capture.
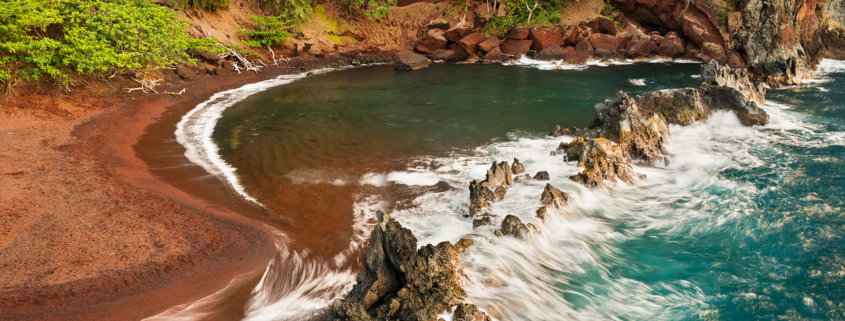
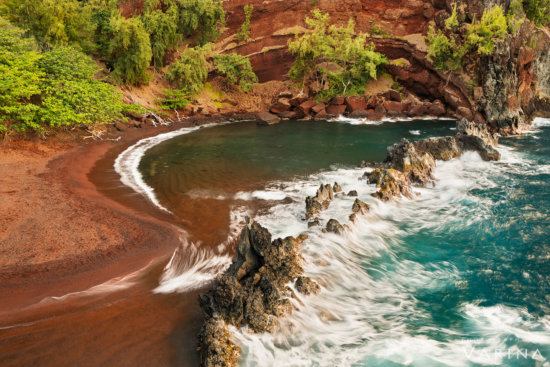
For the above photo from Red Sand beach, I wanted to get a shot that showed the motion of the water as well as the changing colors in the scene. The deep red color of the sand seemed to contrast with the bright green vegetation growing on it – and the turquoise water seemed to fade into the white foam as it crashed against the rock wall.
Step #2: Get your camera exposure right
Choosing a correct exposure for the scene you want to capture is critically important in nature photography. We use histograms on our camera to determine the correct exposure. Not only does the exposure impact the overall brightness of the scene you are trying to capture, but it also impacts motion and depth of field in the photo you are trying to capture.
When I was shooting at the Red Sand Beach in Maui, I needed to choose a shutter speed long enough to capture the motion in the waves, but not so long that it would remove the subtle textures in the water. And I needed to capture the shot before a larger wave came up and washed away the textures in the water. A couple of experimental shots were enough to determine that a 1 second shutter speed would give me exactly what I wanted. I took several photos, one after another – waiting for the waves to rush towards the shore before firing.
As the light continued to change, I kept shooting, capturing the brilliant colors and beauty of the islands. However I noticed that as my shutter speed got longer, I started to lose the flow lines in the water as seen in the photo above. So it is critically important to choose the correct shutter speed and aperture to realize your vision.
Step #3: Know how to use your focus modes & settings
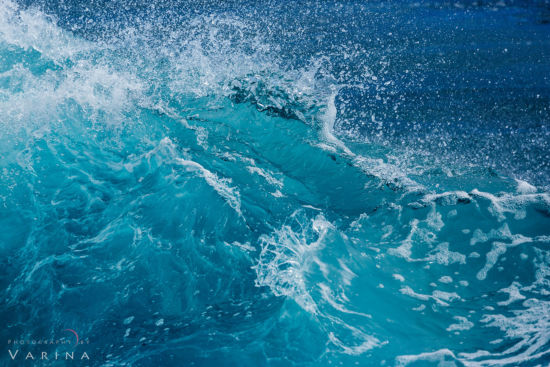
Getting the right focus setting on your digital or mirrorless camera is an essential step in my workflow. I use a manual focus mode along with my mirrorless camera’s focus assist capabilities when I want to get precise focus for macro photography. On the other hand, I used a continuous focus mode to capture the photos of the moving wave below on Big Island of Hawaii.
For the above photo from Maui, I used hyper focal distance to get everything sharply in focus because patterns in the sand were very close to the camera. I had to focus at hyper focal distance and make sure that nothing in frame was closer than half the hyper focal distance. Once in focus, I set my camera to manual mode to ensure that the focus did not change while shooting.
Step #4: Pay attention to your photography composition
I use photography composition to create visual impact with my nature photos. I tend to build my nature photography composition around my subject using photography equipment, camera settings and compositional elements present on the scene that I am trying to capture.
To capture the image below, Jay used a wide angle lens on a full frame camera so he could get close the wave and the sand in the foreground. If you are shooting on the beach, push the legs of the tripod down into the sand so that the waves don’t move you around too much. The water was calm this morning – but be careful out there. A sudden, rogue wave can do serious damage to you and your photography equipment. The ocean should NEVER be taken for granted. No matter how serene it looks.
It is always important to me to remove any distracting elements within the frame in order to keep the your photography composition as simple as possible. My first step is to decide what the image is about. If this shot was going to be about color and motion, then I had to be sure that nothing else would pull your attention from those elements. Jay moved away from the rocks on the beach and placed myself close enough to the water that he could avoid the footprints in the dry sand higher on the beach. He pointed his camera straight out toward the Molokai, making sure that none of the palm trees on my left were in the photo. I let the distant island stretch from one edge of my frame to the other. Using this step-by-step approach Jay was able to build a nature photography composition that capture the motion of the waves and minimized distraction.
Step #5: Use creativity overcome challenges
I have been a professional wilderness photographer for several years. During those years, I have learned is that, while proper photography equipment, knowing how to use your DSLR or mirrorless camera, and Photoshop skills are definitely helpful, they do not guarantee a good photo. This is because light, weather, and environment in nature are unpredictable. And no amount of technical prowess will help you overcome the challenges that you will encounter when faced with unpredictable mother nature. You will have to use out-of-box thinking to overcome these challenges and come away with stunning photos that you are after.
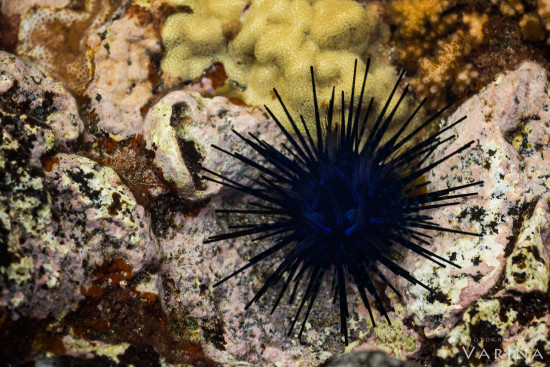
When I am in Hawaii, I am mesmerized by tide pools and can spend hours walking around on the beach looking at all the small sea creatures living in each one. The right tide pools can provide some stunning subject matter for macro photographers like the dark blue sea urchin photo below. However they are often difficult to capture.
The extreme dynamic range and moving tentacles of the sea urchin made it impossible for me to rely on high speed exposure bracketing to capture my subject. To overcome this challenge I used manual exposure bracketing to capture two exposures. I then used Photoshop layers and masks to manually add details, colors and textures in every part of the images.
Over the years, I have used this simple 5 step nature photography workflow to capture compelling image no matter what. If you are a beginner nature photographers, I would encourage start developing your own nature photography workflow. It will help you to capture compelling nature photos no matter what. Happy Shooting.

