6 Mountain Photography Tips for more Impactful Images
Sometimes the high of being on a mountain is so good that you don’t even want to think about coming down. After you have felt the rush of mountain air blowing across your face, the inspiration to capture that feeling with your camera takes hold. Although, mountain photography comes with challenges. Following these 6 photography tips will improve your mountain photography without having to move those same mountains for impressive images.
Forget Everything You Know About Weather
The beauty of mountain photography is that all four seasons can be experienced in one day above the alpines. First, carry gear protection for extreme cold and/or wet conditions. There have been plenty of times in the summer months, especially at higher elevations, where I needed a jacket or wind protection. Additionally, I always have a rain jacket in my pack. For mountain scenery, rain is a good thing. It brings the clouds and the atmosphere. Right before or after a storm is the perfect time to be shooting. Those clouds bring atmosphere and interest to the scene. Naturally, please ensure safety first and being out in the elements as a second priority.
Second, remember that patience and perseverance are key to capturing the shot. Mountains have strong influence over the weather. Clouds may linger and cover up the mountains for what seems like forever, only to have the wind whisk them away in an instant. Some of my favorite mountain locations are near mountain huts or alpine restaurants where I’m able to take cover from the elements but still watch and wait for the right moment to go out and shoot.
Third, looking out your window from your peaceful slumber to determine if you want to go for that sunrise hike isn’t going to cut it. Check the available area webcams and weather forecasts regularly. For example, the bottom of the mountain will be covered with fog and rain while the top of the mountain peaks above the clouds will be crystal clear or vice versa. My motto is “I’m here, let’s go,” even if the weather is trying to convince me otherwise.
Adjust For Sunrise And Sunset Times
Lighting can be extremely challenging in mountain photography. Depending on the location, golden hour may be drastically reduced. Those mountain summits will block the sun’s colorful climb into the sky. This means that the sun will appear in the sky later than anticipated. The flip side is that sunset can happen much earlier. This doesn’t mean to lose all hope for golden hour. It simply means to adjust your wait times accordingly and keep your fingers crossed that the mountain gods of light will be good to you.

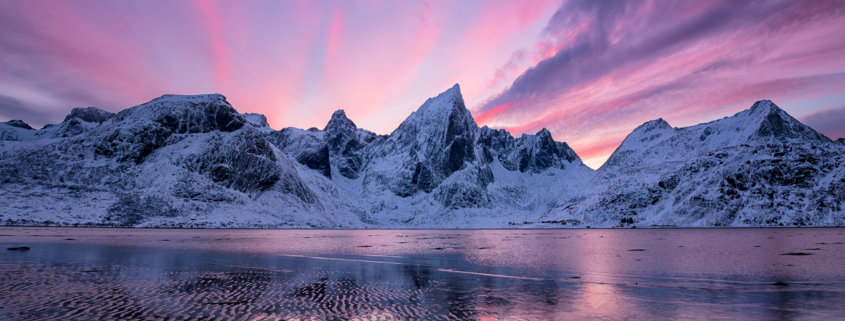
Mountain Photography from Norway by Landscape Photographer Chrissy Donadi
Use Different Types of Camera Lenses
Surprisingly, it can be difficult to capture a stunning sweeping mountain vista scene. Many times, mountains are overwhelming and finding compositional hierarchy or focal points is a challenge. Mountain photography images can lack leading lines to guide the viewer through the image. Moreover, depending on how difficult it is to reach the shooting location, the light and clouds may not be lighting up. This is why mountains require a photographer to harness their creative side.
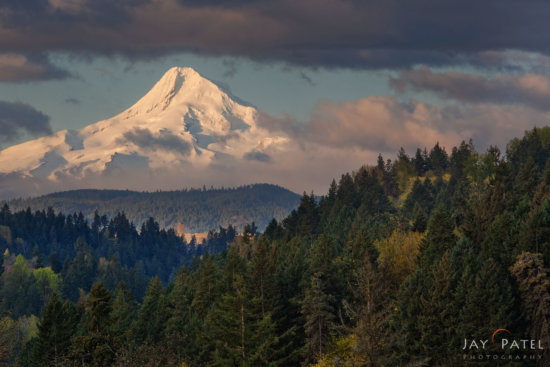
Personally, I tend to use both wide-angle and telephoto lenses in my mountain scenery. With wide-angle lenses, challenge yourself to find foreground elements to anchor your image and pull the viewer into the scene. For foreground elements that are very close to your lens, be sure to learn or brush up on focus stacking or hyperlocal distance to ensure sharpness throughout the entire image. For telephoto shots, try to isolate the most interesting parts of the mountains. Look for abstract patterns. Pay attention to the light as well as the clouds as they move and dance across the sky.
Explore Creativity Photography
No matter the lens, changing your perspective, even slightly, can dramatically change your final image. It is easy to be so impressed with the mountain scenery that you can grow roots once you put your tripod down. Remind yourself to hike around the area and look for different angles or compositions. If possible, scout for multiple shooting spots ahead of time so you are ready when the weather decides to throw you a bone.
Additionally, try to show a sense of scale. The most significant thing about mountains is just that, it’s an enormous mountain. Sometimes that vastness doesn’t come across in the image so you need to help the viewer see the grandeur of the location. Including a person to show a sense of scale is ideal and often inspiring.
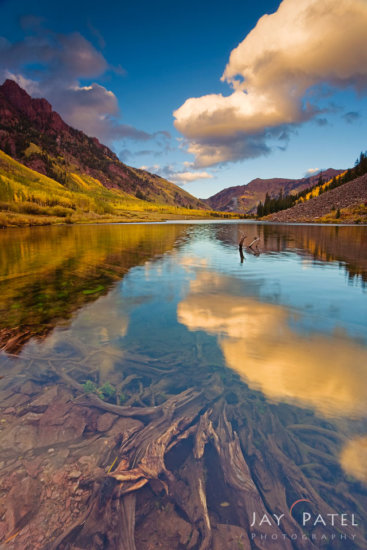
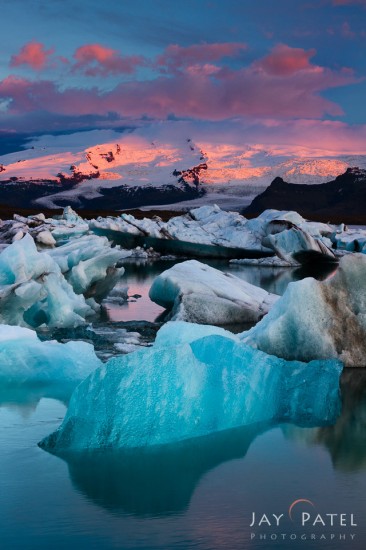
Last and probably my favorite suggestion, mountains and water are a winning combination. A mountain reflection scene is iconic. Even with blue skies and no clouds, a shot of a mountain reflection makes me smile inside. If you find ripples in the water, try using an ND filter to increase the exposure time and introduce a smoothing effect in the water. Here are few examples of mountains and water:
Bracket Your Photos
Once again, lighting in the mountains can be perplexing. During the daylight, valleys will have deep shadows and introduce more contrast than you prefer to the image. Sunrise and sunset tend to have a large dynamic range. For this reason, it is important to check your histogram and ensure you are not clipping any highlights or shadows. If you find that you are unable to capture the entire scene in one shot, then bracket your photos.
Even if my histogram appears acceptable, I tend to bracket anyway and ensure I haven’t overlooked something when I’m back home. Once you get the hang of it, it takes only a few seconds to take an additional bracketed shot. Bracketing photos provides more flexibility when editing. Typically, in post-processing mountain photography, I like to combine one image exposed specifically for the sky and incorporate another image exposed properly for the scene to bring out the details in the darker areas of the image. For bracketed shots, I will take either 3, 5, or 7 shots depending on the dynamic range.
Setup For Sharp Images
A general rule of thumb is that a small aperture (large f-stop number) will allow you to keep more of the scene in focus. This is the typical goal of a mountain image since you want the foreground element and the peaks in the distant all to be in focus. Often, people think shooting at f/22 will deliver the sharpest image. Unfortunately, this will not be the setup for automatic sharpness. Most lenses have a range where they deliver the sharpest images. Normally, this range is between f/11 and f/16, rather the extreme of f/22. Therefore, it is important to test your lens and understand how it will perform in the field. If you are unsure, take a few shots at different apertures to compare upon your return.
As mentioned above, learning to use focus stacking when foreground elements are close to a wide-angle lens will ensure sharpness throughout the entire image. Focus stacking is a technique where you take multiple photos of the same composition. Each shot the focus is set on a different area, such as the foreground, mid-ground, and background. Then, the three images are combined in post processing for a great depth of field (DOF). The final result is an image where the entire scene is in focus. Hyperlocal distance is another technique that will enable you to get in close to your foreground element and keep that foreground element and everything behind it in sharp focus in one shot. Both techniques are easy to learn and implement into mountain photography images.
Now, the mountains are calling so you must go! Happy shooting!


