Dos and Don’ts of Photographing Lava Fields
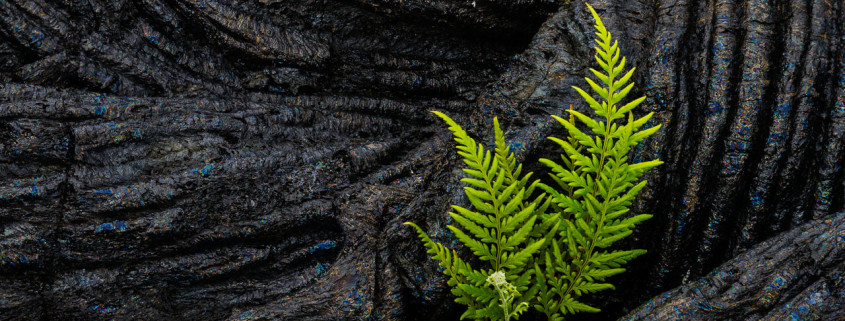
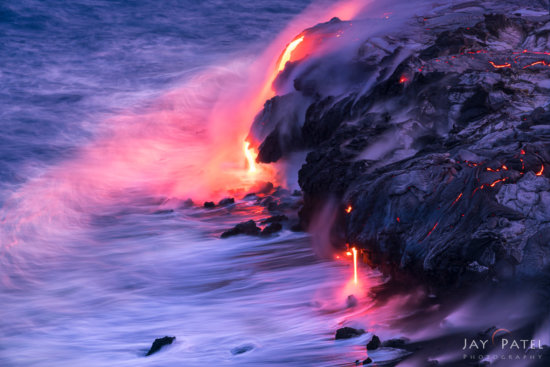
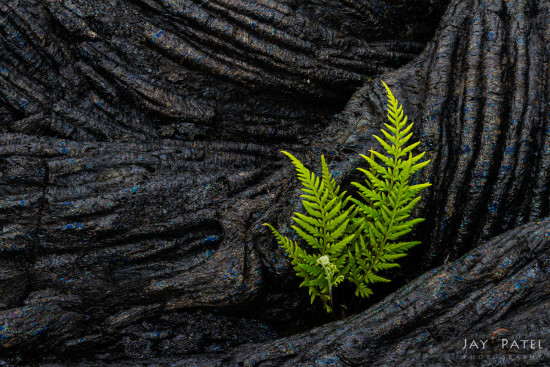
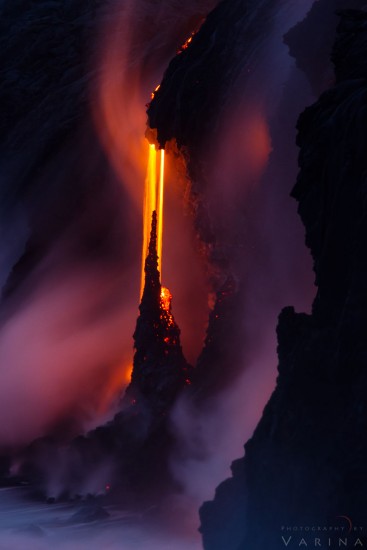
When you look at images like the ones above, it’s hard not to get inspired to quit your job, grab a camera, and go photograph the lava fields on Hawaii’s Big Island. But the question is:
Just how do you come away with stunning photos like these?
Getting photos like these takes a lot more than just technical skills. Although technical skills with your camera are essential, some knowledge about what you should and should not do while photographing lava fields is critical for achieving fantastic photos. Here are few tips to get your started.
Research
Before you book that ticket and hop on the plane, find out all you can about photographing lava. Access to lava is difficult and it is not always possible to view it (sometimes lava flows stop entirely or is located in area where access is impossible). Make sure that you are physically capable of the long hike that might be necessary to get to the flowing lava. Even with the required research, I also highly recommend that you arrive well before it is time to photograph the lava flows. This extra time gives you opportunities to explore the area and look for alternative subjects and compositions to photograph.
Equipment
When considering equipment, make sure you think about both photography equipment and non-photographing equipment to carry with you. Besides the obvious photography gear like tripods, camera, lenses, water, and food, here are few other things we recommend you bring along:
- Macro lens: Besides flowing lava, the lava field offers numerous opportunities to create stunning images of details and macro shots. We like to use our Indro tripod with a small center column to get close to the subject.
- Headlamp: Flowing lava is best photographed in low light around sunset or sunrise. This means that you’ll be hiking back from (or hiking to) your destination in near darkness. A good headlamp can help you navigate your way in total darkness.
- Good hiking shoes and a medical kit: Hardened lava fields often contain shreds of glass which are very hard on your shoes. They can easily cut exposed skin when it scraps against this sharp glass shreds. We recommend that you bring good hiking shoes and a medical kit. Try to avoid walking on lava with your bare feet.
- Weather protection: The weather in Volcanoes National Park on Hawaii’s Big Island can be unpredictable. It’s best to carry rain protection for both your gear and yourself. We have encountered numerous down pours, strong winds, and cold temperatures while photographing these lava flows.
Technical Knowledge
- There is a very short window of optimal light (during sunset or sunrise) when the ambient light and light from the lava is balanced enough to capture good photos. During this time your exposure changes rapidly as the ambient light changes. Frequently check your histogram and make changes in your exposure as necessary.
- Avoid camera shake by stabilizing your tripod. We do this by attaching a weight on the center column of our Indro Tripod and by using a 2-second timer or remote release.
- If you are trying to capture dynamic photos of lava flows (such as the explosions that occur when the lava comes in contact with ocean), you’ll need remote release.
- Dark rocks combined with low light make focusing difficult during low light conditions. Avoid focusing on dark rocks and try to focus manually on a high contrast edge located close to your subject.
- Avoid focusing on thermals created by intense heat. This will throw off your focusing sensor and may cause blurry shots.
- If you are taking macro shots, use the Depth of Field feature on your camera to ensure that your focus is set correctly.
Creativity
Photographing lava fields is not just about lava flows. A little bit of creativity goes a long way for creating stunning images that show-case the mood and diversity of subjects found in the area. Here are few tips to get you started
- Use long exposure to capture some unique patterns and light in the smoke swirling around the flowing lava.
- Look for creative moody shots like these in the surrounding areas. Here is a shot we took from the overlook in Volcano National Park during an heavy overcast skies.
- Even after the sun had gone down, you can capture some stunning shots of the Milky Way and/or stars with lava lighting in the foreground. We use our Indro Tripod for long exposure shots like these.
Now that you know the dos and don’ts about photographing lava fields, the only thing remaining is for you to take a trip and try some of these out yourself. And if you have experienced this, feel free to share your own experience and images in the comments below.


