How Pros Find interesting Macro Photography Subjects
Macro photography reveals a world most people overlook — from the shimmer of dew on a spiderweb to the geometry of ice crystals on a cold morning. Professional photographers don’t just stumble upon these scenes; they train their eyes to see differently and follow a consistent workflow to find and capture hidden beauty.
In this guide, you’ll learn how pros find macro photography subjects, where to look, when to shoot, and how to refine your technique. You’ll also find real-world examples from professional photographers working in places like Rickett’s Glen, tide pools in California, the Big Island of Hawai‘i, and the icy mornings of New Zealand.
🌿 1. Go Slowly and Observe
The first secret of macro photographers? Slow down. Walk slowly and continuously scan your surroundings — look for details that catch light, form unique textures, or show contrast in color and pattern.
- Move your head side to side to see how light glances off textures.
- Notice how droplets or small shapes stand out from their background.
- Take in the environment like a painter searching for composition.
Example – Rickett’s Glen, Pennsylvania:
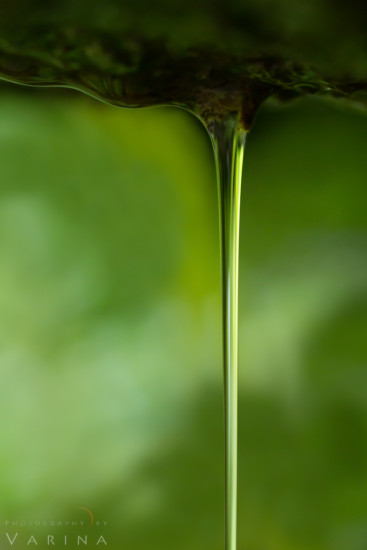
While Jay captured the grand waterfall scene, I explored nearby cliffs and discovered delicate rivulets of water creating tiny waterfalls. They were quiet, subtle, and easily overlooked, yet just as beautiful as their roaring counterpart. After taking a few shots of the main waterfall, I moved closer to find these miniature cascades — proving that slowing down helps reveal beauty invisible to the hurried eye.
🔍 2. Look in Unexpected Places
Professional macro photographers approach each scene like a treasure hunt. The most interesting subjects often hide in the least obvious places.
Try exploring:
- Under rocks, ledges, and logs
- Inside hollow branches or tree bark crevices
- On mossy stones and shaded forest floors
- Even everyday objects like a car bumper or wooden railing
Changing your angle can transform a messy scene into a clean composition.
Workflow Tip:
Before pressing the shutter, remove small distractions like dust or twigs from your frame. Doing so in the field saves hours of post-processing later.
☀️ 3. Find Bugs, Insects Early in the Morning
If bugs and insects are your favorite macro subjects, timing is everything.
- Early morning offers soft light and calm air — perfect for macro work.
- Cooler temperatures make these creatures less active and easier to photograph.
- Morning dew may adds natural sparkle and reflections.
Listen carefully for buzzing grasshoppers or rustling leaves; sound often gives away your next macro subject.
🌊 4. Explore Tide Pools for Marine Macro Subjects
Tide pools are natural aquariums filled with micro-life — and some of the most rewarding places for macro photographers.
You can find everything from sea anemones and urchins to textured shells and algae patterns. Each pool offers endless variations of color, shape, and texture.
Pro Tips for Tide Pool Photography:
- Move carefully to protect fragile marine life.
- Use a polarizing filter or shoot at an angle to reduce glare.
- Wait for low tide when pools are calm and reflective.
- Overcast days can help minimize harsh contrast.
Example — California & Hawai‘i:
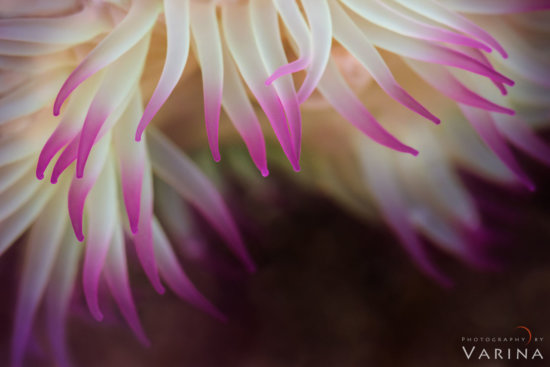
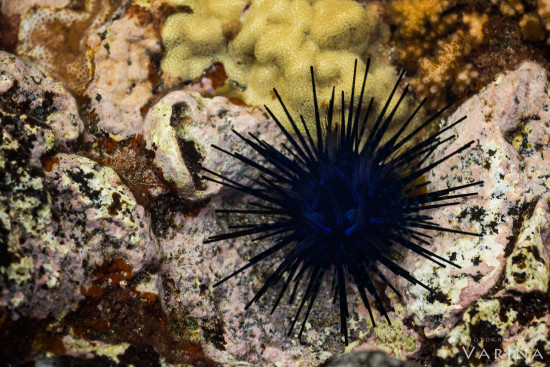
In the tide pools of Redwood Forest National Park and the Big Island, photographers have found stunning compositions featuring sea anemones and sea urchins. The key is patience — spend time observing, and let the best subjects reveal themselves.
🌺 5. Visit Greenhouses or Botanical Gardens
For consistent macro opportunities year-round, professionals often turn to greenhouses and botanical gardens.
- Controlled humidity creates ideal dew-drop scenes.
- You’ll find diverse plants and flowers in one location.
- The diffused lighting conditions are perfect for even exposures.
These environments let you practice technique repeatedly — an excellent setting to master composition, focus stacking, and exposure control.
💧 6. Look for Water Droplets
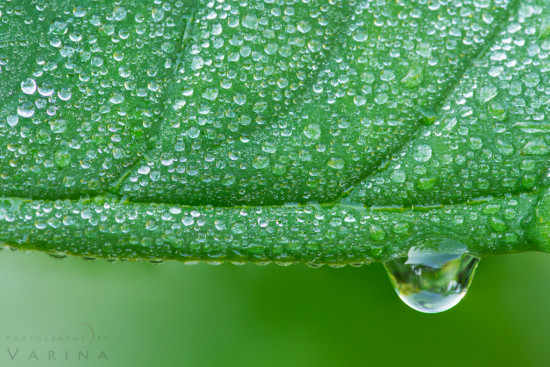
Few macro subjects captivate like water droplets. They refract light, magnify textures, and add dimensional sparkle to any frame.
Try shooting:
- Dew on spiderwebs or flower petals
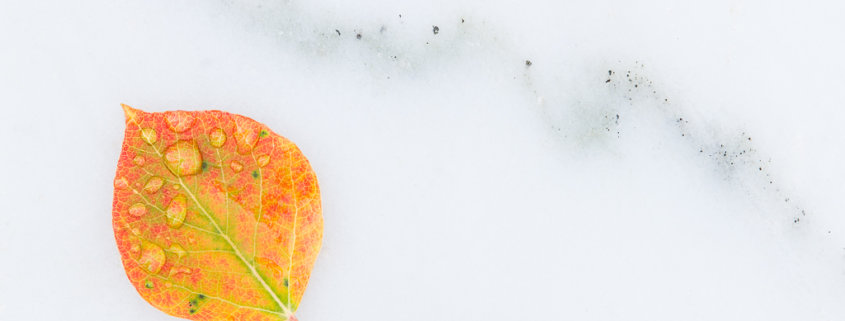
- Raindrops beading on leaves
- Artificially misted plants in your garden or greenhouse
Creative Tip:
Move slightly to catch reflections inside droplets — sometimes you’ll see a whole inverted flower or leaf reflected within a single bead of water.
🍂 7. Photograph Trees and Leaves
Trees are a treasure chest of macro opportunities. Get close to reveal the micro-textures that define each species.
- Focus on bark patterns, lichen, and tree buds.
- Capture autumn leaf veins and color transitions.
- Use side lighting to emphasize texture and depth.
A single leaf edge or curling tendril can become an abstract macro composition when isolated properly.
🌰 8. Study Seed Pods — and Learn to Clean Before You Shoot
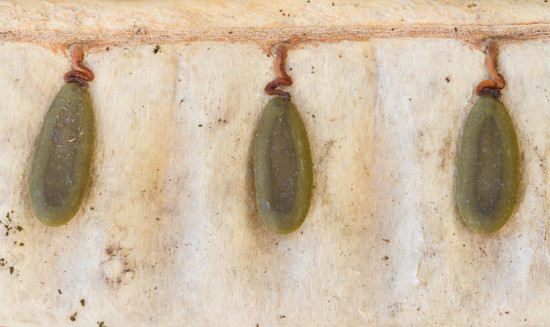
Sometimes the best macro subjects are found by chance. While returning from a hike in Hawai‘i, one photographer noticed an interesting seed pod lying near the road. The pattern of tiny seeds was irresistible, so the shot was taken right on the car bumper.
However, dust particles appeared later in post-processing — creating unnecessary cleanup work.
Lesson Learned:
Take a moment to inspect your subject before shooting. Remove dirt or debris gently with a brush or air blower. This small step ensures a cleaner capture and reduces hours of cloning and healing in Photoshop later.
Post-Processing Workflow:
Use Photoshop’s Patch and Spot Healing Brush tools, ideally with a stylus and tablet for precision. Always zoom in for detail work, but remember — it’s faster to fix dust before taking the photo.
❄️ 9. Capture Ice Crystals in Winter
Ice and frost can form mesmerizing miniature landscapes — but require patience and technical precision.
Example — New Zealand:
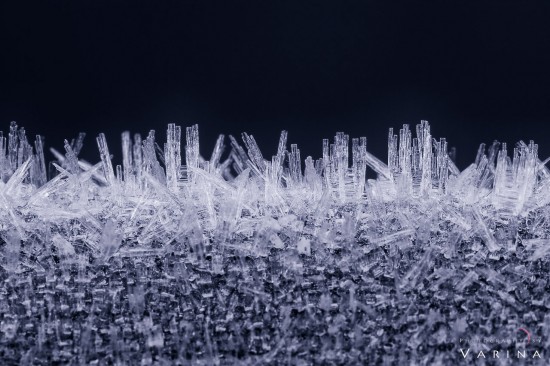
On a freezing morning, frost blanketed everything from grasses to benches. Using a 180mm macro lens, I filled the frame with intricate “skyline-like” ice formations. With a narrow depth of field, only a few millimeters of ice stayed in focus, creating depth and softness around the main crystal structures.
My professional workflow for ice cyrstals include the following:
- Use of a tripod and tight ball head to prevent frame drift.
- Switch to manual focus and live view zoom (5x–10x) for precise focusing.
I had to protect your hands and work quickly before melting changes your subject. These icy “mini cities” showcase the artistry of patience and technical control.
🌍 10. Respect Nature and Leave No Trace
Macro photographers often work with living subjects and delicate ecosystems. Always:
- Avoid handling or moving insects.
- Step carefully around tide pools and vegetation.
- Replace rocks and logs as you found them.
- Follow local park and conservation rules.
The goal is to capture beauty without altering it.
Conclusion
Finding stunning macro photography subjects isn’t luck — it’s a skill built on patience and awareness. Walk slowly, explore hidden corners, and embrace nontraditional angles. Search tide pools, gardens, and forest floors. Shoot early for calm light and sleeping insects.
Professional macro photographers discover beauty in places most people overlook. The roaring waterfall draws a crowd, but the delicate rivulet below it, the frost crystal by the boardwalk, or the sea anemone in a tide pool hold a different kind of magic.
By slowing down, observing mindfully, and refining your technique, you can uncover these hidden worlds — and photograph them with clarity, precision, and emotion.
So next time you head outdoors, remember: the best macro subject might be right under your feet.

