Inexpensive Macro Gear Alternatives
When I first started learning macro photography, I was on a tight budget. Purchasing an expensive macro lens was not going to happen. I learned a few sneaky techniques and work-arounds using these inexpensive macro gear alternatives that produced great results. With a few additional accessories, I was able to branch into new creative techniques and step out of my basic comfort zone. Below are the options I still work with today.
Flipping/Reversing Your Lens
My first purchase was the “nifty fifty” Canon EF 50mm f/1.8 lens. It’s still available on Amazon and B&H for around $100.00. This technique can be applied to any 50mm or kit lens. Just flip it around so the rear element faces outwards and the front element faces the camera sensor. Hold it tight against the opening of the camera so light and dust don’t leak in. This provides a very close-up view of your subject.
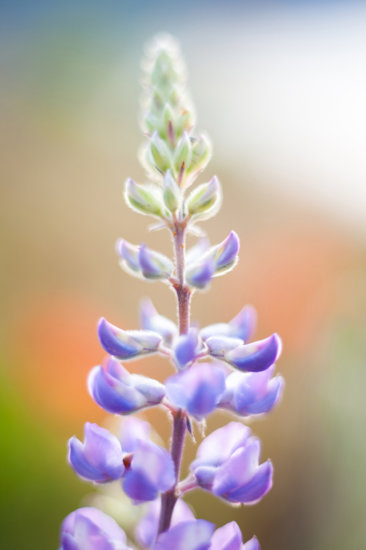
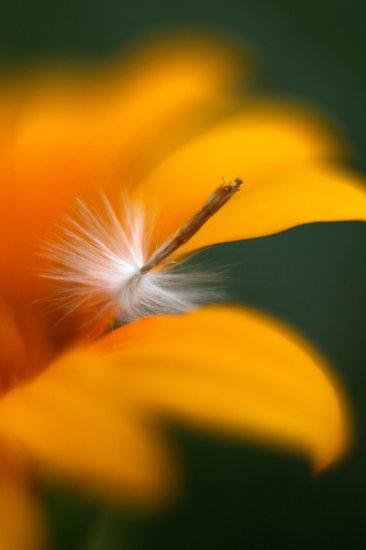
Exposing your sensor to the elements when hand-held can get a little dicey but there are reversing rings that you can purchase to keep everything snug together. These rings are really affordable. The depth of field is super shallow with this technique and it does take some practice nailing the focal point. If you are looking for a soft dreamy flower photo like below, this technique works nicely.
Extension Tubes
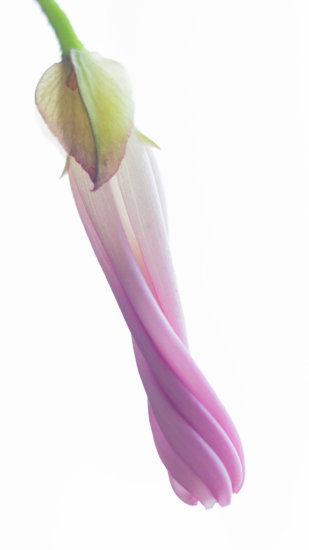
Another great macro gear to carry around are extension tubes. The tubes have no glass elements, just mounts on each end that act as a pass-through for the lens data terminals. Extension tubes do not magnify, they just create more space between your lens and the sensor. The lens is forced to focus much closer than normal due to the space. The greater the length of the extension tube, the closer the lens focused. This brings you much closer to your subject. They come in a set of three, (12mm, 20mm, 36mm) and you can stack and combine them in any variation you need. I used two tubes for the image below.

There are two types of extension tubes. The really cheap kind doesn’t maintain the electrical connections between your lens and camera body. This means you can’t use auto focus and you lose aperture control. The lens aperture remains locked although you still have control over shutter speed through your camera.
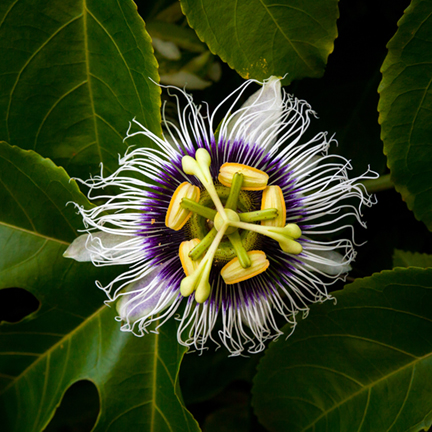
The more expensive tubes cost around $100 and have electrical contacts. This means you can still use auto focus and the camera still controls aperture settings and exposure. Third party brands like Kenko make tubes for Canon and Nikon and are available on Amazon. I have used them on my 50mm and my 16-35mm lens. Use caution with extreme wide angle lenses, the minimum focal distance is pulled back into the inside of the lens. I didn’t have any issues at 35mm with the photograph below, but my subject was almost touching the glass.
A disadvantage of extension tubes is that you lose light. You have to compensate by increasing your ISO or using a longer shutter speed. Also, your depth of field will be shallow. If you want a larger depth of field you need to increase your aperture. So again you will be juggling ISO and shutter speed. Also the tubes put you very close to your subject… sometimes right up against it. This works well for flora and still life objects, but living creatures may not let you get that close. If it is a windy day, then you must deal with your subject moving around and with finding the correct shutter speed.
What other macro gear alternatives do you use? Feel free to discuss them in the comments below.

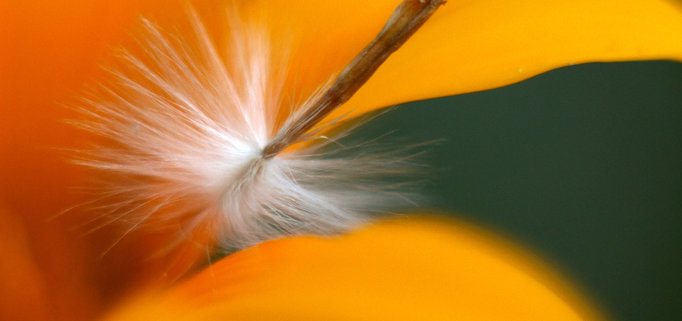
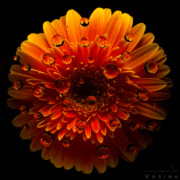




My first close-up gear was a set of used screw on close-up filters I bought from a friend for $10. I used them on my 50mm and 135mm lenses that I purchased with the camera. I do not remember the power of each filter but they could be stacked to increase the magnification. They were actually a really great and inexpensive way to get into macro photography when I first became interested in photography back in high school and had little spare cash. I have since graduated to 55mm and 105mm Micro Nikkor lenses which were far more expensive than the $10 filters!
Once I used a magnifying glass in front of my 8 mp camera. I’ve also tried more natural magnifying features.
https://www.flickr.com/photos/risks_log2/albums/72157594216528583
I often use the Macro magnifying filters to do the macro photography and it is not expensive either. I use a +4 Hoya filter and find the results have been satisfying so far
I have found using extension tubes with longer focal length lenses allows me to get macro shots of things I couldn’t get close t!
Love my CL49-200 screw on macro diopter on my Sony tele and kit lenses…
Where did you get it? And is it better than Hoya 72 mm HMC close up lens recommended by B&H chat guy?