Photographing Birds in Flight in Snow
I shoot in manual mode almost all of the time and always when photographing birds in flight. Why manual mode? Well, for me, I like to have complete control of my camera. I like to decide which of the factors I need to adjust to come up with the correct settings for any given situation. Understanding how to work in manual mode will help to make you a better photographer as you will learn intimately how ISO, shutter speed and aperture relate to each other and your exposure. Once I determine and set the right exposure for the bird I am photographing I can keep making properly exposed images no matter the background as long as the light does not change.
Comfort plays a big part on how well I’ll do in the field. Included in my comfort factors are my clothing: Do I have freedom of movement? Am I warm enough? Do my gloves interfere with my handling the camera and pressing the shutter button? These and a ton more of little factors add to my comfort.
Position: standing, kneeling, or sitting? It is much harder to capture a fast moving bird in flight from a kneeling position than it is from a standing position. You should stand fully erect and not bent over your tripod for flight photography. You will also need to level your tripod and make sure that your camera and lens are well balanced on your tripod. The goal is to have the weight on your head distributed so that once you have the tilt and pan mechanisms loosened it will stay balanced. Doing so will allow fluid movement in any direction. You will also need to have quick and easy access to your tele-converters. In the early morning when there are low light/low contrast conditions, I keep my tele-convertors in my pocket and not on my lens.
A sturdy tripod and gimbal head is a must when you are photographing birds. I use an Induro GIT304L Grand Series 3 Stealth Carbon Fiber Tripod with the Mongoose 4th Generation M-3.6 Action Head w/the Integrated Low Mount Arm.
I use AWB 100% of the time unless I want to mess with the color tones or if I notice the images are looking funky. I also use Evaluative metering almost all of the time. I always use AI Servo and rapid fire (High Speed Advance) when photographing birds in flight. I prefer not to use flash whenever possible, so no flash here. I also like to use a fast shutter speed when photographing birds in flight or wildlife in action; therefore my starting ISO when in those situations is ISO 400.
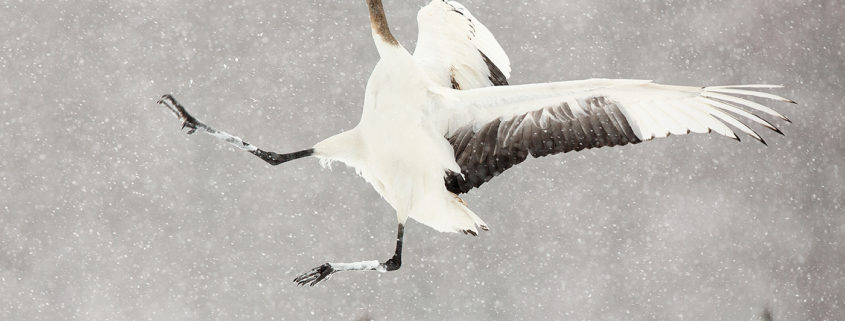
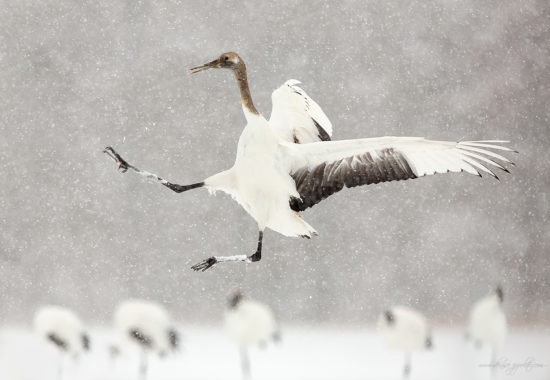
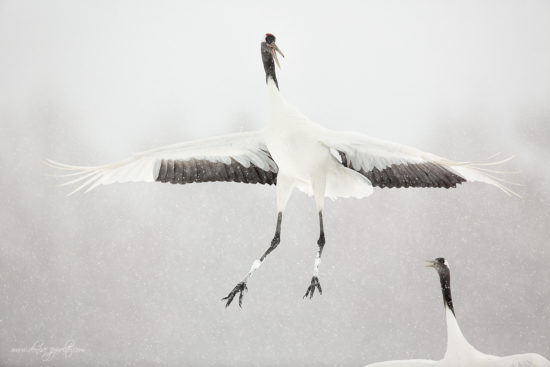
Let’s talk about shutter speed and how it relates to the snowflakes in the scene. I try to keep my shutter speeds between 1/800 sec. and 1/1600 sec. when it is snowing to capture the snow without any streaks. If you use a slower shutter speed the snow would be rendered as streaks; that would be OK if that is what you wanted. I prefer my snow as dots. I suggest experimenting with your shutter speeds in the field to obtain the result you want.
It is important to understand how distance affects depth-of-field (d-o-f). If you are far from your subject using a telephoto lens then choosing to use a wider aperture –like f/5.6 is often a good choice as it will allow you more shutter speed or it will allow you to use less ISO. If, however, you are close to your subject using a telephoto lens and you are filling the frame with your subject you will need to stop down (choose a smaller aperture) in order to capture sharper detail over a greater area.
It is also important to understand how distance from subject to background will affect your image and most especially the background. If your subject is far away from the background then it is quite easy to create an image with a blurred out background. The problems start when your subject is set closely against the background; creating a pleasing blurred background in these situations will be problematic at best especially if you choose to use a small aperture.
When photographing in the snow with cloudy or overcast skies you will most likely need to add between 1 1/3 stops of light and 2 1/3 stops of light (or even more in some situations) to the meter reading off the snow in order to avoid having the snow look grey. I always expose to the right (ETTR). To expose to the right means to have information in the 5th box on the right side of the histogram for Canon users and the fourth box of the histogram for Nikon users. If you are not sure if you have the best exposure I suggest taking a test shot and checking your histogram to see that you have some information in the fifth box and check for blinkies (flashing highlights). Be sure to enable the Highlight Alert feature on your camera’s menu so that you will be able to see flashing highlights on your LCD screen. If you have blinkies then you will need to back off of the exposure by using less exposure compensation when working in AV mode or adjusting the shutter speed, aperture or ISO when working in manual mode.
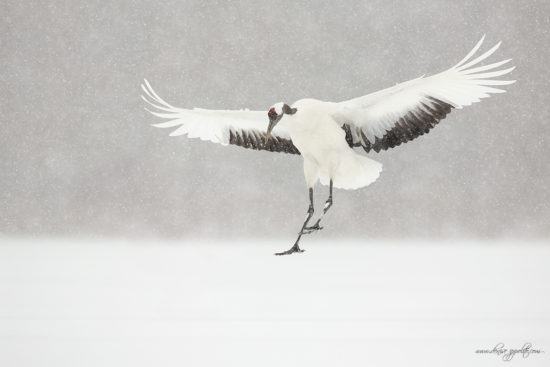
For the shot above there simply was not enough light in the early morning to acquire focus so I had to rely completely on focusing manually. It wasn’t long until autofocus was able to pick up the birds. To help it along, I pre-focused on a tree that was about at the same distance as the landing birds. That helped a lot with acquiring focus. Between the snow and low light the contrast was at an absolute minimum; many of my images looked like whitewash on the back of my camera. It wasn’t until I set my black and white points in post processing that I could even see my true images.
I hope that reading through this you get a sense of what I am doing in the field. I encourage you to get out there and give these tips a try.


Hi
Wonderful article and nice tips.
Thank you so much.
Could you please tell me which hand gloves you use in extreme cold like 10 to 20 f
Hi Utpal,
Thank you, I am glad you found it useful. I use North Face gloves but I put a hand warmer on the backside of my hand where the blood flows from. I also pull my hand back into my jacket sleeve when not in use. I have tried some of the mitten styles and heat gloves but I find them too cumbersome, thanks. denise