Photographing Lava from Air – Part II
In my last article, I discussed photographing lava in Hawaii from the land. In this article, I’ll be discussing how to photograph lava from the air. If you never get the chance to shoot lava, most of the tips can be applied to any shots taken from a helicopter or plane (though you can usually get away with shorter exposure speeds on a plane, as it will be less turbulent).
I recommend booking a tour with helicopters that have no doors, so you won’t have to shoot through any glass windows. Try to book a tour as close to sunrise or sunset as possible to get the best light.
You’ll need a camera strap and you won’t be able to change lenses on the helicopter, as they don’t want any loose objects that might fall out. If you want to shoot with two different lenses, you’ll need to bring two cameras and have them both around your neck.
One issue with shooting in a helicopter with no doors is that there will be a lot of wind from the rotors. This can make it very difficult to hold your camera still, especially with a longer lens. You’ll therefore need to use a very fast shutter speed to get images that are in focus. If you have vibration reduction on your lens, it can be somewhat helpful.

I recommend taking a lot of test shots as soon as you take off, so you can check your exposure and focus. It will take a little while to get to the lava, so you’ll have plenty of time to make sure your shots are coming out well. Zoom in all the way on your images on the LCD screen to make sure they are sharp with your selected shutter speed.
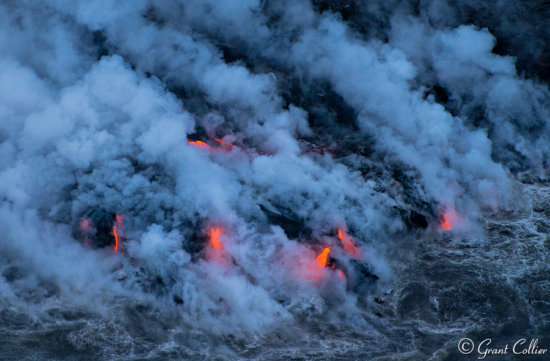
I shot most of my images with a focal length of 200-300mm. With this focal length, I found that I needed exposures of 1/2000 secs or faster to get sharp images. This required me to raise the ISO to 4000 and use my widest aperture, which was f5.6. The images were nosier with such a high ISO, but this was much preferable to out-of-focus images.

Once you are over the lava, you won’t have a whole lot of time to shoot it, as they’ll only make a couple quick passes over it. The helicopter will be moving fast enough that you will have little time to compose your shots. I therefore recommend taking as many shots as you can while you are over the lava. I fired off 130 shots in 2 ½ minutes.
If you don’t get perfect compositions, you can later crop some of the images to improve the shot. You can even attempt to stitch two or more images together, as you’ll probably get a lot of shots of overlapping scenes. You can stitch images in Lightroom by selecting all of the images you want to stitch, right-clicking on them and selecting Photomerge > Panorama. Sometimes, the smoke will move too much between shots to stitch the images, but I was able to stitch a number of my shots together.

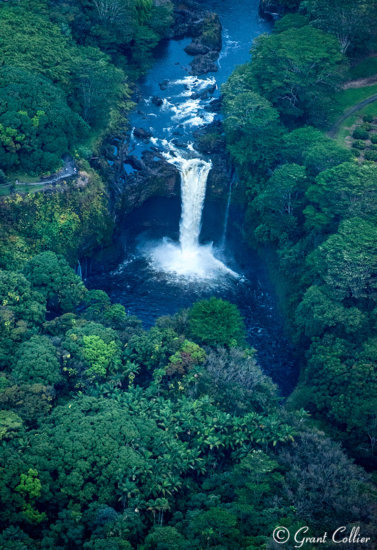
After you pass over the lava, keep an eye out for more compositions. You’ll pass over huge lava fields, which can offer some good photos opportunities. They will then take you over a couple waterfalls. While these aren’t the most photogenic waterfalls from the air, it’s still worth taking some shots. However, you’d probably need to take a different tour to see the best waterfalls.


Oh! It was a great post. Thanks for sharing.
Excellent photography. Thank you for sharing.
Amazing! Is it from a drone photography?
I think this was done via a helicopter. Drones are not allowed in National Parks.