Aaron Reed – Tips for Creating Large Format Prints
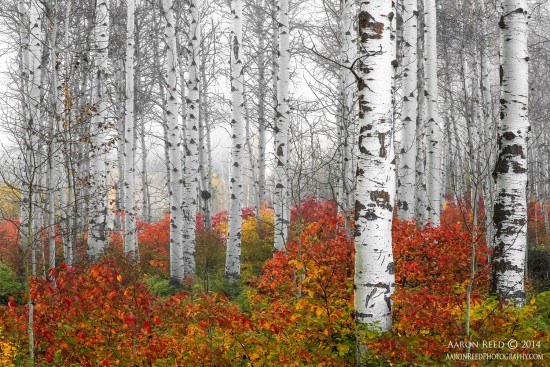
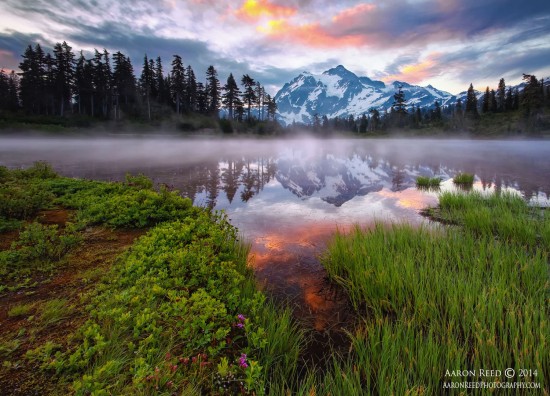
Aaron Reed is a professional landscape and nature photographer. He makes his living selling fine art prints. If you view his gallery, you’ll see that the size of his prints and the incredible detail in them are breath-taking. His prints draw us into the scene and make us feel like we’re looking out of a window. After viewing his prints, the natural question is… What exactly does it take to make a large print like this? Infocus Magazine decided to talk to Aaron about large prints.
What kind of camera do you need to create such large prints?
Recently, Apple unveiled its World Gallery. It shows in very dynamic fashion many different cameras take images for large prints. Cameras that include the one on your smartphone. When it comes to producing high quality, large format prints that stand up to close scrutiny, the quality of the file itself is often more important than the camera or the original file size. Small imperfections, out of focus areas, and other details are often indiscernible when viewed on the web or even on larger monitors, but become glaringly obvious when looking at a 60” wide print. More than once, I’ve been forced to turn down large print sales due to someone finding an old image I shared online that simply would not look good printed at that scale.
What if I don’t have fancy equipment? Can I still create large prints with my everyday camera?
As photographers, we are our own worst critics and do far more to hold ourselves back than our equipment does. I previously mentioned some older images being unsuitable to print; they were unsuitable due to limitations in my experience as a photographer and not because of the equipment I was using. A Canon 50d, which is a crop sensor 15mp camera, paired with a $300 “budget” lens took a few of my best selling images. Printing is all about the details. With proper shooting technique and clean processing, you’d be surprised by the prints you can make with less than cutting-edge equipment.
What do I need to do while taking a photo to maximize my chances for a large size print?
Specifically speaking to landscape photography, there are considerations you should take in the field to give yourself the best chance of creating a quality image file for printing. First off, a tripod is a must. Even with a Kung Fu grip and shoulders the size of footballs, you shouldn’t take your chances shooting handheld. To print, you are looking for the cleanest, sharpest images possible.
Secondly, a well-balanced, accurate exposure will give you the greatest amount of information when working with your files. Even if your goal is to create a dark moody image in post-production, do yourself a favor and get the best exposure you can in the field.
Lastly, adjust your aperture or shutter speed before you boost your ISO whenever possible. Technology is continuing to advance in this area with each new camera, but the noise and lack of detail produced when using a high ISO can severely affect the quality of your images which translates to a poor quality print.
What do you do before you send a file to a printer?
There are a number of steps that I take throughout my workflow that relate directly to printing. The most important is viewing the entire file at 100%. This includes slowly scanning the image in rows in an effort to find any issues. This includes sensor dust spots, blown pixels, and any other undesirable element such as a beer can or a Snickers wrapper in the foreground.
Equally important is adjusting your white and black points. An inaccurate white point can make an image appear dull or flat, which reduces the impact of your highlights. An inaccurate black point can lead to darker-than-expected prints or areas of shadow that lose all detail. There is no magic setting for these adjustments and each must be made according to the image itself. In fact, I often make adjustments to these depending on the final print size; the amount of blacks you have in an image will affect a small print differently than a large one.
Finally, I sharpen the image specifically for the size of the print I am producing. When I create a Masterfile my “final” image is an unsharpened tiff. Then, I create multiple files with unique adjustments made to each file according to the final print size in mind.
Where should I get it printed?
The answer to this question depends greatly on the size, medium, and finishing options you are looking for and the price you are willing to pay for quality work. I’ve worked with many print houses over the years and their quality, consistency, and customer service vary greatly. Instead of naming a specific print shop, I make a suggestion. Research online reviews and/or take recommendations from friends who have experience with a particular vendor. Many print shops offer samples of their products either free of charge or at a reduced rate. When you are prepared to try one out, start small and always produce a test print before you drop $700 on a 60” metal print.
Check out Aaron Reed’s website for some of most stunning fine art landscape photography you’ll ever see.

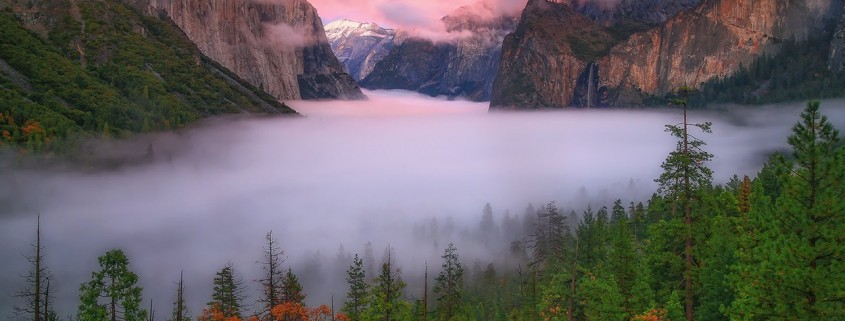
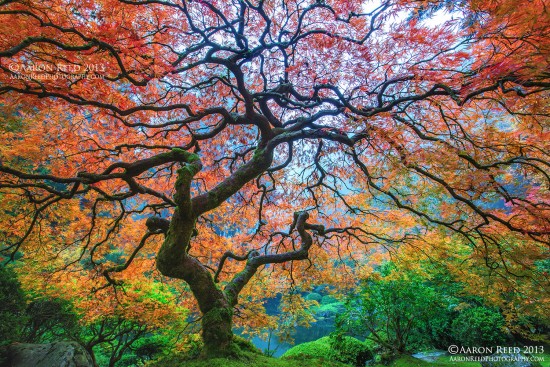
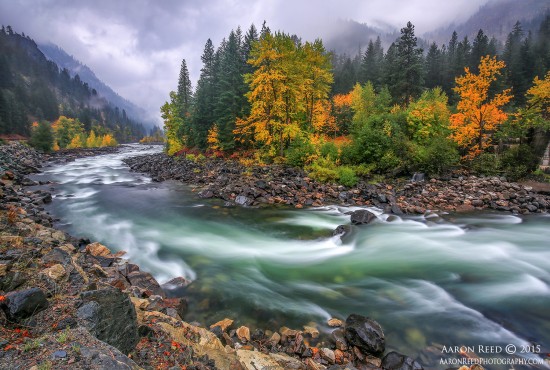
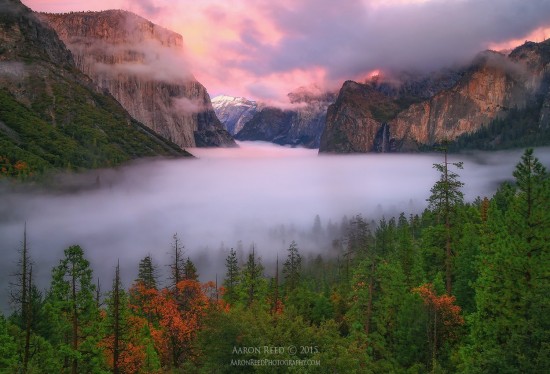


Aaron, these are some very beautiful shots! I’m wondering if you’ve tried printing your photographs on papers/materials other than photographic papers, and if so, did you like the turn out?