Exposure Is a Creative Choice
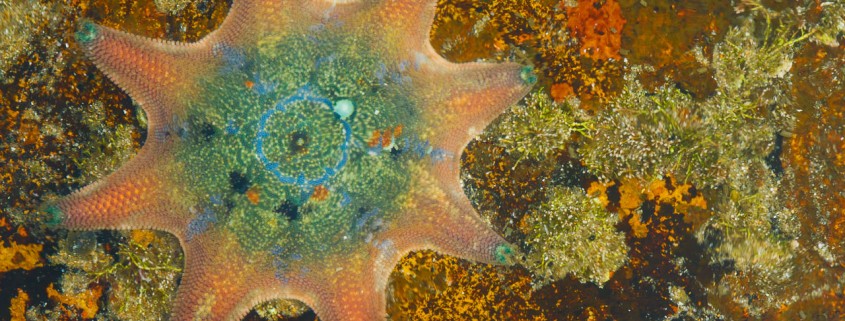
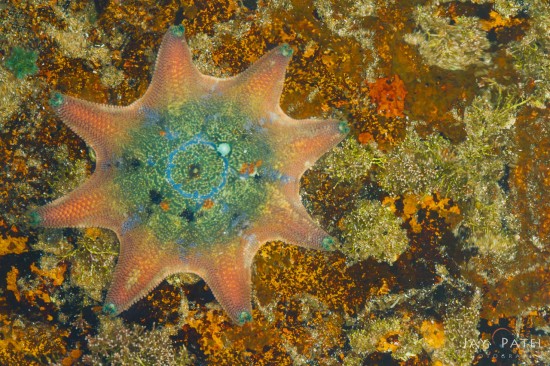
Just as we control focus, aperture, shutter speed, and other camera settings, sometimes we must creatively control exposure as well. In the finished image below, the starfish is brilliantly lit and stands out from the background. It’s the clear point of interest and leaves no doubt regarding what should draw the viewer’s eye.
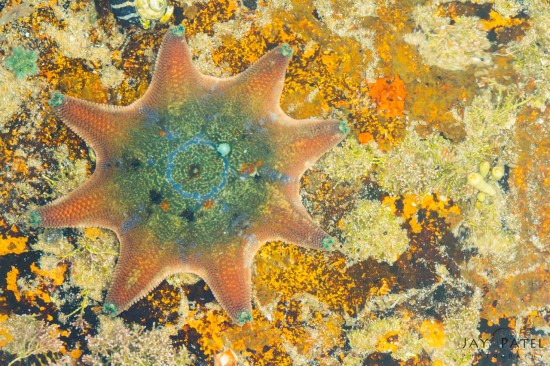
Straight from the camera and shot in the normal way, the photo doesn’t automatically appear like the finished image above. If you process the image to enhance the starfish (as in the photo below), both the starfish and the background would have the same tonality because both are brilliantly lit by the sun in equal measure. The coloration and textures of both would also be too similar.
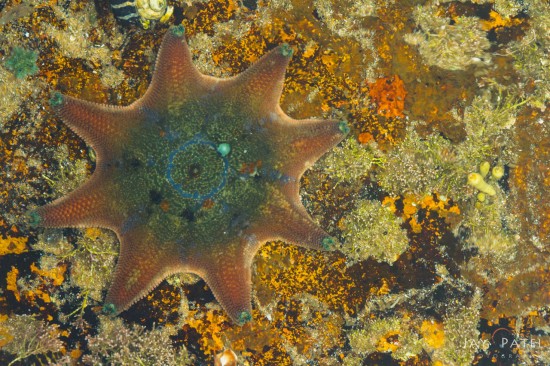
On the other hand, underexposure for the right background look (as in the image below) would cause the image as a whole to be too dark.
So, how does creative exposure come into play in an image such as this? One method is to take a single shot of both the starfish and the background but then, using Adobe Camera RAW, process the image using two different setting – one to enhance and brighten the starfish and the other to bring out the details and the colors in background. Once individually processed to achieve your desired results, the two images can then be combined to create the finished look.
Considering exposure as a creative photographic technique can properly enhance tricky images and help create the photo for which you were shooting.

