Print Sharpening in Photoshop for Landscape Photography
When preparing a file for printing, you want to ensure that all the fine detail you worked so hard to enhance and maintain throughout post processing translates to the finished printed image. In this article, I walk you through a technique for print sharpening in Photoshop that I frequently use when preparing a file for printing.
The following steps may differ for you depending on your workflow but, as long as you are working with the highest resolution uncompressed file possible, than it all works the same.
Print Sharpening Workflow
- With your master file open in Photoshop, duplicate the entire file by selecting Image > Duplicate. This safety measure ensures that nothing accidentally happens to your master file.
- Once duplicated, close your master file. Create a stamp visible layer atop your layer stack or merge all layers.
- Press command or Ctrl+J to duplicate the layer (or right-click and select duplicate layer).
- With this new layer selected, go to Filter > Other > High Pass and select a radius of around 2 px.
- Change the layer blend mode to soft or hard light (depending on your file). Hard light may require an opacity adjustment because it will be a very harsh sharpening.
- Now, create a stamp visible layer on top of the high pass layer with the following keyboard short cut: Command/CTRL+ Option/Alt + Shift + E.
- Once generated, select that pixel layer and copy it using the following keyboard shortcut Command/CTRL+ A to select, then Command/CTRL+ C to copy.
- In your channels pallet, make a new channel and then paste the selection into the new channel using Command/CTRL + V.
- Go to Filter > Stylize > Find Edges. Once complete, you will see that Photoshop applied black along most of the high contrast edges in the photo. You can use this as a mask to apply to your sharpened layer to prevent over sharpening.
- With your new channel made active by Command/CTRL and clicking on it, return to the layers panel, select your high pass layer and apply this selection as a mask. Now delete the stamp visible layer.
I urge you to use the shift key and click the mask of this layer disabling and enabling the mask while zoomed at 100%. This will allow you to see the benefit of the edge masking! You can experiment with different light blend modes like vivid light, overlay, soft light, and hard light. You can also adjust opacity to suit, but I like to be slightly over-sharpened so that the print retains as much detail as possible.

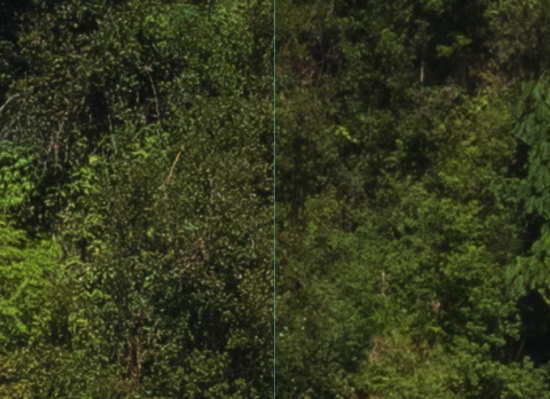
The left half is sharpening applied through the edge mask at 400% zoom. The right half is all sharpening masked out.
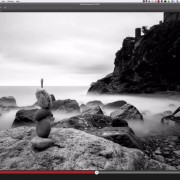
Here is a helpful video showing you step by step everything talked about in this article!
Feel free to share your own print sharpening techniques in photoshop in the comments below.


 Grant Collier