Sean Bagshaw’s Photoshop Workflow for Landscape Photography
Sean Bagshaw is an Oregon-based photographer who produces some stunning work. Sean is best known for combining multiple exposures to create natural-looking high dynamic range images. His Photoshop workflow is fined-tuned to make viewers feel like they are looking out of the window. Infocus Newsletter sat down with Sean and talked to him about creating natural-looking using Photoshop Layers and Masks. Here are some simple-to-follow tips from Sean about capturing and processing high dynamic range photos.
What is a High Dynamic Range Landscape Photo?
I’m not sure about the official definition of a high dynamic range landscape photo and the term has been largely co-opted over the years by a certain type of software processing. My definition of a high dynamic range photo is one in which the range of tonal values cannot be recorded in a single digital camera exposure. If more than one camera exposure is required to render detail across the entire tonal range, then it is a high dynamic range photo. By this definition, what constitutes high dynamic range is always changing as new cameras become better at recording high contrast light. Additionally, different digital cameras on the market have different dynamic range capabilities, so this affects what might be considered high dynamic range by my definition. A multiple exposure, high dynamic range situation for one camera may be comfortably within the dynamic range of a single exposure of a different camera.
How to capture a High Dynamic Range Landscape Photo?
I do not use any special photography equipment to capture high dynamic range light in a scene. My standard outdoor photography equipment consists of a camera, lenses, a tripod, usually a polarizing filter and sometimes a cable release. For my landscape photos, the main tool I use to evaluate the dynamic range is the camera’s histogram. By using the histogram for my landscape photography, I easily know when to switch between shooting single exposures for standard dynamic range light and multiple exposures for high dynamic range light. Sometimes this requires just two exposures and other times it requires as many as five or seven or even more exposures.
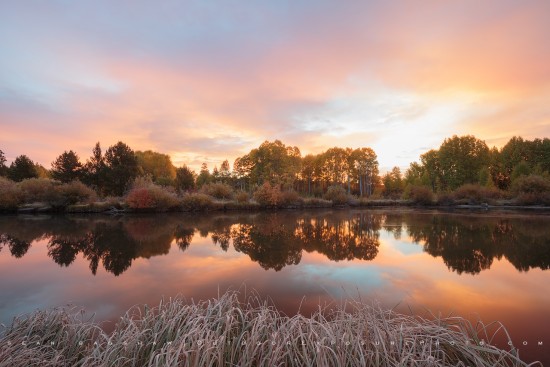
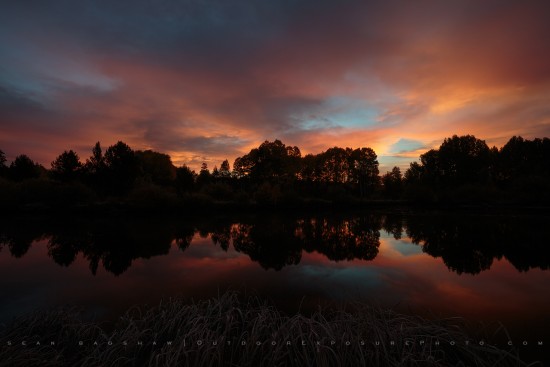
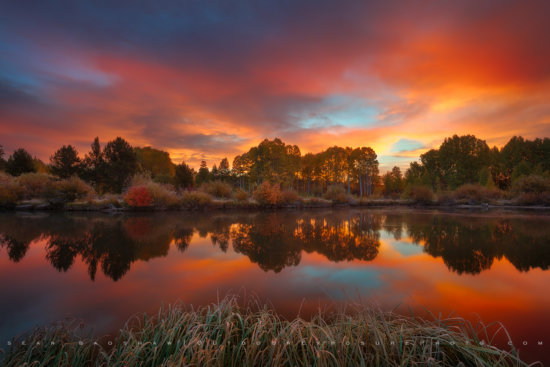
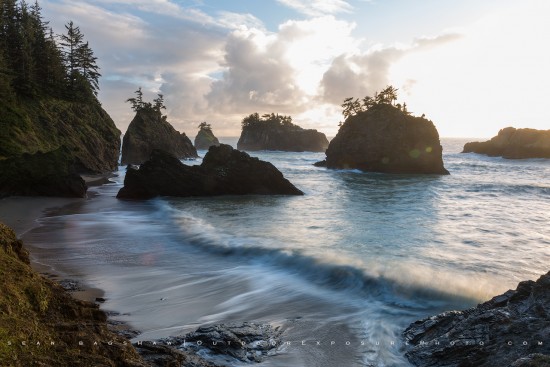
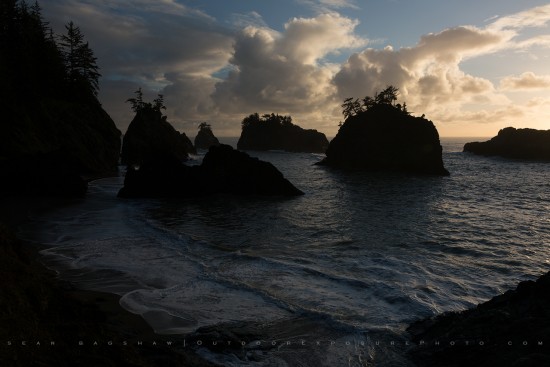
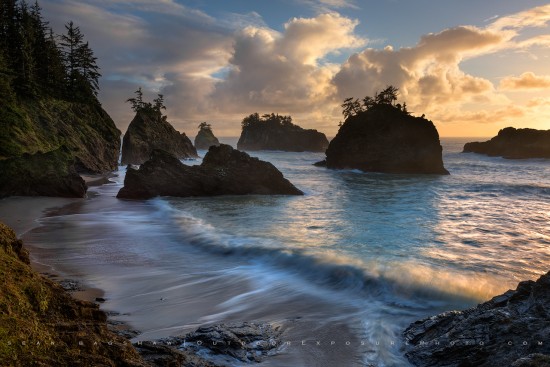
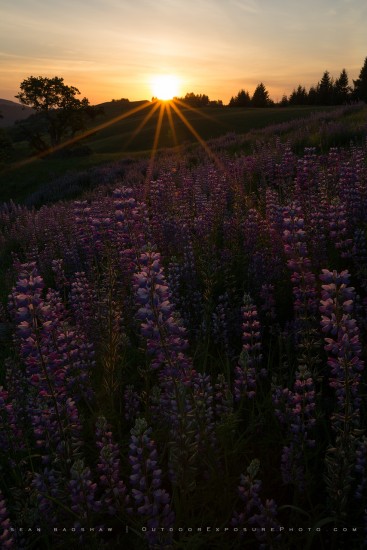
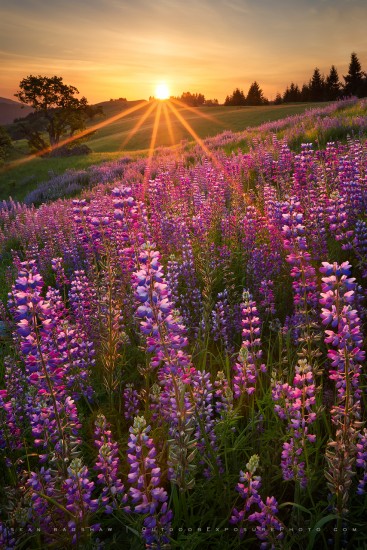
Here is a landscape photography example where I had to used multiple exposures to capture the dynamic range of the scene.
Using Photoshop Layers & Masks
My exposure-blending post-processing workflow begins in Lightroom (or Camera Raw) where I make basic raw adjustments such as perspective control, chromatic aberration removal, noise reduction (if needed), input sharpening, white balance, and dust spot removal. I synchronize these adjustments across all my camera exposures and then I open the exposures as layers in Photoshop. In Photoshop, I begin by ensuring that all my Photoshop layers are aligned and arranged with the lightest camera exposure on the bottom and darkest camera exposure on the top. Then I place black layer masks on each Photoshop layer but the bottom layer, lightest layer. Using Photoshop Masks, I begin masking in the properly-exposed pixels from the darker exposures to replace areas of the lightest layer that are over-exposed. While the concept is simple, the skills and techniques can be quite complex. Photoshop masking techniques that I use include hand-painted masks, gradient masks, color-range masks, and other types of masks made from selections, including luminosity selections.
Getting Started with Photoshop Layers & Masks
It is important to note that manual exposure blending skill requiring proficiency with Photoshop layers, selections in Photoshop, and Photoshop Layer masks. If you are new to Photoshop, you should begin by becoming familiar with its basic layout, tools, menus, panels, adjustments, and filters. You should also learn to make general photo developing adjustments for exposure, contrast, color, and clarity to single exposure images. There are many good books and video tutorials on Photoshop available for beginners landscape photographers. Many people find that they learn best visually, so I would highly recommend taking a online class or watching instructional videos on Photoshop Layers and Masks. I offer a Photoshop Basics video tutorial for landscape photographers, as do some of my colleagues.
Next Steps
Once you become comfortable within the Photoshop environment, it’s time to start adding new skills and more advanced techniques to your repertoire. The next step is to begin working with adjustment layers, filter layers, selections, and layer masks to accomplish very targeted and localized adjustments and affects. Don’t rush. Add new Photoshop skills one at a time. When you feel you are proficient using Photoshop layers, selections in Photoshop and Photoshop layer masks, you are ready to begin learning exposure-blending techniques for landscape photography. There are books, e-books, videos, and classes available for learning more advanced techniques but they can be harder to find than more basic materials. I offer several video series on Advanced Photoshop Techniques.
Sean is a founding member and one sixth of the Pacific Northwest based photography team known as Photo Cascadia. He frequently teams up with fellow Photo Cascadia members leading workshops.
Original Article Published in May 2015.

