Photoshop: Technique for Manual Blending
Here is a quick and easy Photoshop technique for creating a layer mask to separate the sea and sky from the ground in landscape photos. This technique involves two basic steps:
- Create an initial layer mask.
- Refine the layer mask.
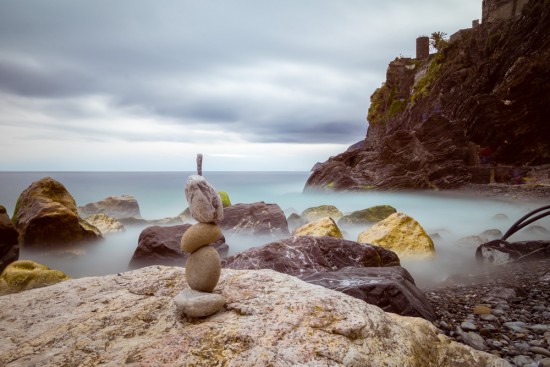
In shooting this scene, I was drawn to a cool stack of rocks that somebody had put together on a beach. Because I wanted to make it stand out against the sea and the sky, I used an ND filter to lengthen the exposure and smooth out the otherwise distracting waves. I liked the idea of using contrasting textures and colors to make the foreground pop against the background.
My first version, obtained by doing some global adjustments in Lightroom, was pretty nice, but I wanted the texture of the rocks to be more evident.
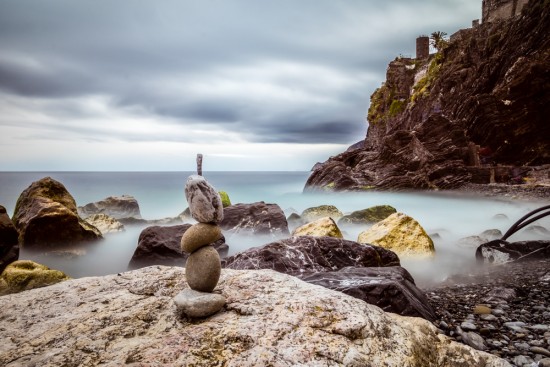
My first attempt involved pumping up the Clarity slider in Lightroom. This gave me the necessary detail in the rocks but added too much contrast in the sky and the sea. What’s worse, it generated some nasty halos around the darkest rocks.
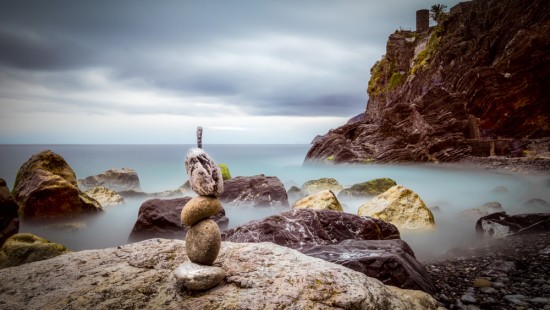
At this point, it was necessary to make a virtual copy of the base version, enhance the clarity on the copy, and then open both versions as layers in Photoshop. There I created a layer mask that would reveal the sea and the sky from the base image and the rocks from the enhanced image. I owe my introduction to the basics of using channels to create layer masks to Robin Griggs Wood, to whom goes my gratitude.
I then used the dodge and burn tools to refine the layer mask and cloned out some distracting elements. Finally, I brought the image back into Lightroom to add some finishing touches such as cropping and a bit of vignette.
Because I only had to blend in detail, replacing the sky didn’t require a high degree of precision. If I wanted a neat sky replacement, I would have to be far more precise in my selection.
You can watch the video below to see all the necessary steps as I apply them. Enjoy!

