Essential Macro Photography Equipment Guide for Beginners
Macro photography allows photographers to slow down and discover the unseen world. At high magnification, the camera reveals textures, patterns, and details invisible to the naked eye. It’s an exciting and meditative experience that awakens the explorer’s mindset — encouraging long walks, patient observation, and a deeper connection with the tiny subjects around us.
But macro photography also presents a unique technical challenge. Capturing sharp, beautifully lit, high-magnification images requires specialized macro photography equipment. From dedicated macro lenses to diffusers and flashes, the right tools can make all the difference between a flat snapshot and a mesmerizing close-up.
In this guide, we’ll explore the essential gear for macro photography — what it does, why it matters, and how to choose the right setup for your style and budget.

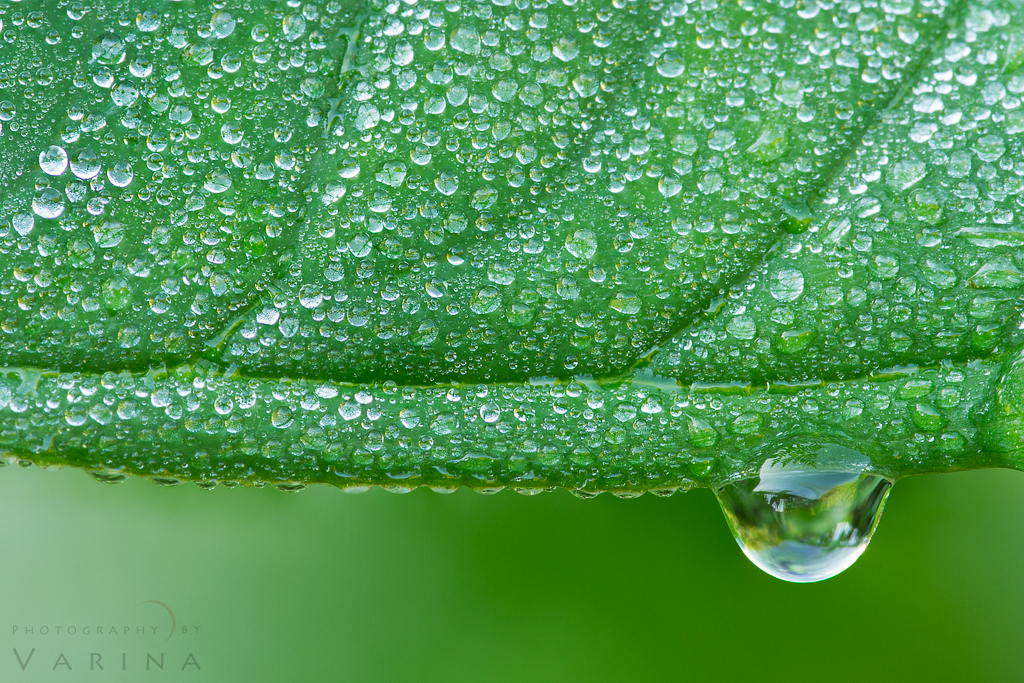
Backyard macro photography example by Varina Patel
About Macro Photography Equipment
Unlike most photography genres, macro photography focuses on extreme close-ups — capturing subjects at life-size (1:1) or even higher magnifications (up to 10:1). For example, if you photograph a 10mm insect at 5:1 magnification, it will occupy 50mm on your camera sensor. Because a full-frame sensor is only 36mm wide, you’ll only see part of the subject in the frame.
This level of magnification introduces several challenges.
- Light loss: As magnification increases, available light decreases because the lens projects a smaller portion of the scene onto the sensor.
- Limited depth of field: The closer you get, the thinner the focus plane becomes.
- Camera shake: Even the slightest vibration can blur the image.
To overcome these challenges, you need dedicated macro photography gear — including macro lenses, flash units, extension tubes, and stabilizing tools. These items allow you to achieve proper magnification, maintain sharpness, and manage lighting effectively.
The best macro photos combine two key qualities — high magnification and precise sharpness in the focused area. To achieve these results, you’ll need a setup that provides both optical power and stability.
You don’t need to buy everything at once. Many professional macro photographers start with a single lens and build their kit gradually. Let’s look at the essential pieces of equipment for macro photography and how they can help you elevate your images.
1. Macro Lenses: The Heart of Every Macro Photography Kit
Your choice of lens is the most critical decision in macro photography. While standard kit lenses (like an 18–55mm) can focus relatively close, they usually only offer a magnification ratio of 1:3 — insufficient for true macro work. To capture life-size details, you need a dedicated macro lens with at least a 1:1 magnification ratio.
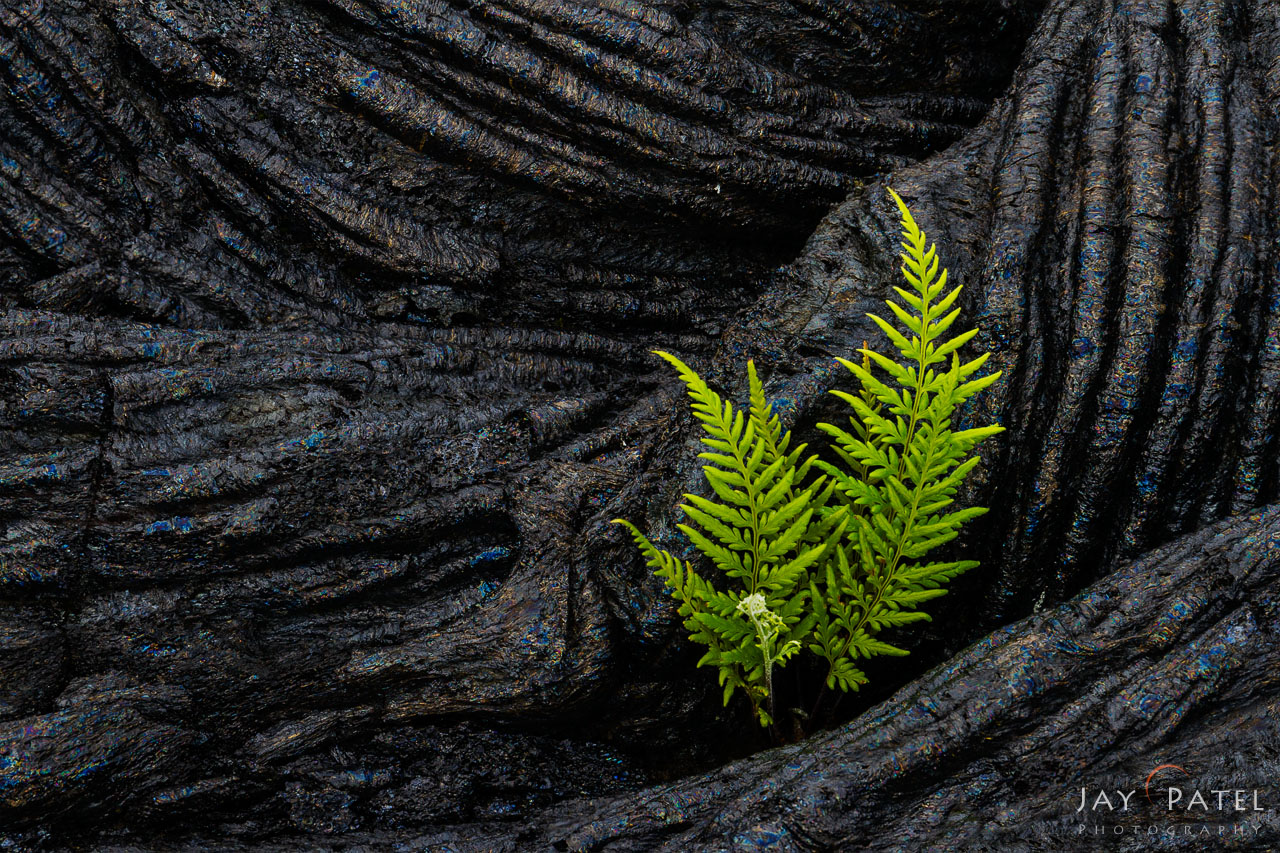
Macro photography from Hakalau, Big Island, Hawaii by Varina Patel
Key Factors to Consider When Choosing a Macro Lens
- Magnification Ratio:
This is the first thing to look for in a macro lens. Many lenses labeled as “macro” only offer a 1:2 magnification ratio, which won’t provide life-size reproduction. For true macro photography, choose a lens that offers at least 1:1 magnification or higher. - Aperture:
Macro lenses often feature wide apertures (f/2 or f/2.8) to help counteract the loss of light at close distances. A wide aperture allows more light to reach the sensor and helps you maintain faster shutter speeds for handheld shots. It also lets you create beautiful background blur (bokeh) when isolating your subject. - Focal Length and Working Distance:
Focal length plays a big role in how you work with macro subjects. When photographing skittish insects or amphibians, a longer focal length macro lens gives you a big advantage — you can stay far enough away to avoid scaring your subject while still achieving 1:1 magnification.- Short focal lengths (30–60mm): Light and compact, great for photographing stationary objects like flowers or textures, but they require you to get very close to your subject.
- Medium focal lengths (90–105mm): Offer a balanced working distance, ideal for general macro photography.
- Long focal lengths (150–200mm): Provide excellent working distance, allowing you to photograph insects and other small living creatures without disturbing them. However, long focal length macro lenses are heavier and more expensive, which can make them harder to handle for extended periods.


Macro Photography Lens field of view at different focal length.
- Minimum Focusing Distance:
This is the closest distance at which your lens can achieve focus. It directly relates to the focal length — shorter lenses let you focus very close to your subject, while longer lenses give you more working space. - Focus Control:
Some macro lenses rely on manual focus, while others include autofocus. Because macro photography requires precision within millimeters, many photographers prefer manual focus for better control. You can set the focus ring and gently move the camera forward or backward until your subject appears sharp.
Using single point auto tracking focus for macro photography
- Image Stabilization:
At high magnification, even the smallest vibration can blur your image. Lenses with optical image stabilization (OIS) help reduce camera shake, especially when shooting handheld or in natural light. This feature lets you use slower shutter speeds while still maintaining sharpness. - Weight and Portability:
Macro lenses vary greatly in size and weight. A 30mm macro lens might weigh around 150g, while a 180mm lens can exceed 1kg. If you plan to hike or travel light, consider a compact lens. But if your main focus is photographing wildlife or insects, the extra weight of a long macro lens is worth it for the greater working distance and subject comfort.


Popular Macro Lenses for Different Budgets:
- Beginner-friendly: Tamron 90mm f/2.8 Macro or Sony 30mm f/3.5 Macro
- Advanced users: Canon EF 100mm f/2.8L IS USM Macro or Nikon 105mm f/2.8G IF-ED VR
- Professional level: Canon 180mm f/3.5L Macro or Sony FE 90mm f/2.8 G OSS Macro

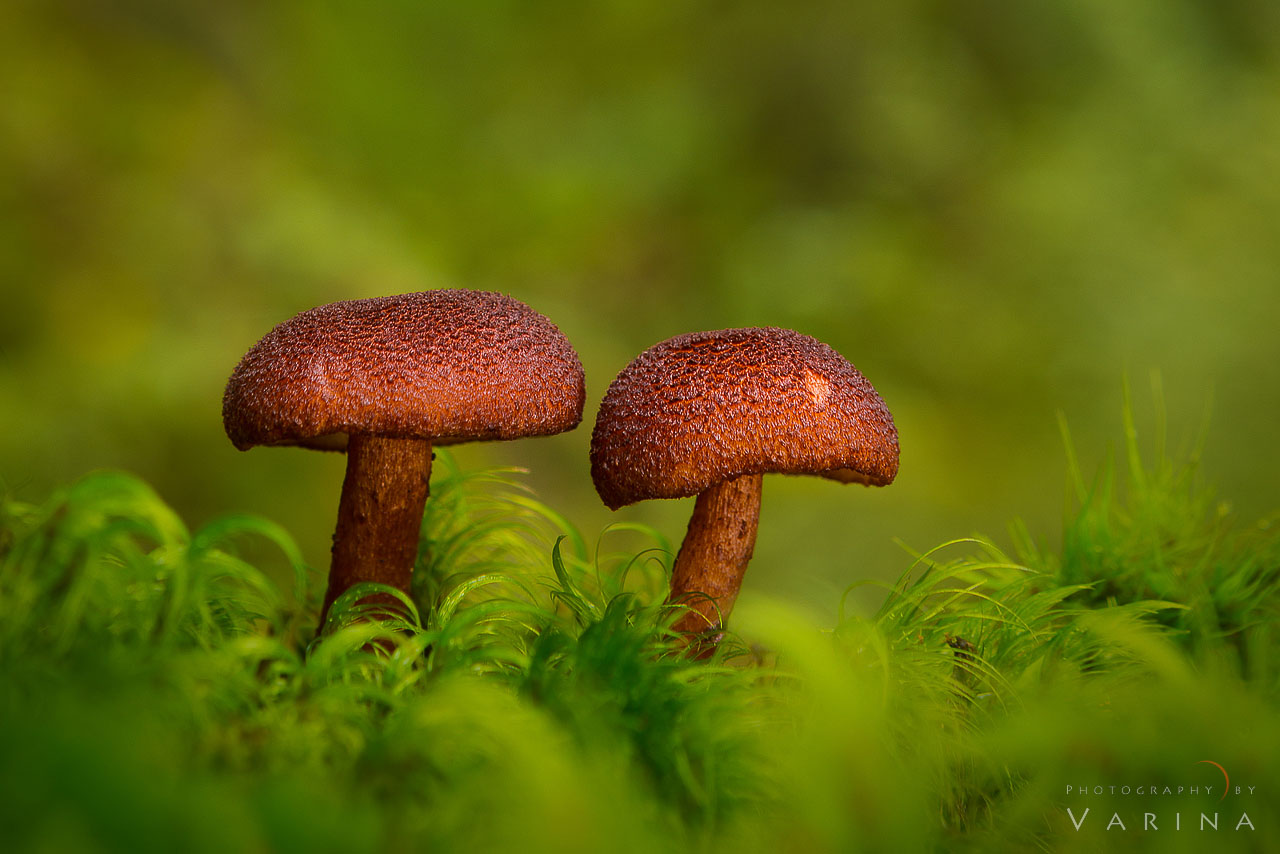
Macro Photography with shallow DOF from Costa Rica by Varina Patel
2. Budget-Friendly Alternatives: Macro Filters and Extension Tubes
If you’re just starting out, you can experiment with affordable macro photography accessories before investing in an expensive lens.
- Macro Filters
These screw onto the front of your regular lens, functioning like magnifying glasses. They increase the lens’s magnification, allowing closer focusing distances. However, macro filters can introduce distortion, color fringing, or reduced sharpness. - Extension Tubes
Placed between your camera body and lens, extension tubes reduce the minimum focusing distance, effectively increasing magnification. They’re inexpensive (around $100) and can even be stacked for higher magnification. - One drawback is that extension tubes reduce working distance — sometimes leaving you so close that lighting becomes difficult. Still, they’re a fantastic entry-level option for experimenting with macro photography.
- Lens Reversal Rings
These allow you to mount a lens backward, turning it into a magnifier. They’re an extremely cheap solution but disable autofocus and electronic aperture control.

Macro Photography using Canon 180mm F3.5 from Maui, Hawaii by Varina Patel
3. Flash and Diffusers: Mastering Macro Lighting
Lighting is one of the biggest challenges in macro photography. At high magnifications, even bright daylight might not be enough to properly expose your subject. Using a dedicated macro flash can dramatically improve your results.
Why Use Flash in Macro Photography?
- Compensates for light loss at close distances
- Freezes motion in small, moving subjects
- Enables smaller apertures for greater depth of field
- Reduces the need for tripods
Types of Macro Flash Units
- Ring Flash:
Mounted directly on the lens, a ring flash produces even, shadow-free lighting — perfect for medical, jewelry, or botanical photography. - Twin Macro Flash:
Two small flashes mounted near the front of the lens allow directional control of light. You can adjust intensity and angle to create more depth and texture. - Twin Flash with Flexible Arms:
These offer ultimate control — mountable via the camera’s hot shoe, allowing custom light placement from any direction.
Use a Diffuser:
Even the best flashes can produce harsh light. A macro light diffuser softens illumination, reduces glare, and creates more natural results. You can buy diffusers or make DIY versions using white plastic or tracing paper.

Varina Patel using a reflector for Macro Photography in New Zealand


For natural light photography, a reflector and diffuser disc can help soften harsh sunlight or direct extra light onto your subject. This setup is lightweight, portable, and budget-friendly.
4. Tripods and Supports for Macro Photography
While handheld shooting is possible with stabilized lenses or flashes, a sturdy tripod remains an essential tool for many macro photographers.
When choosing a tripod, look for:
- Flexible legs that move independently for uneven terrain.
- Low shooting capability to position your camera close to the ground.
- Rotating or removable center column for better positioning.
Weight is an important factor — remember that macro photography often involves long hikes and slow, deliberate exploration.
Some photographers use macro rails, which allow precise forward–backward movement of the camera for fine focus adjustments at high magnification levels.
5. The Right Camera Bag for Macro Adventures
Macro photographers spend hours exploring, crouching, and moving slowly through fields, gardens, or forests. A comfortable, lightweight camera backpack is a must.

Varina Patel crouching down with a camera bag in Vestrahorn, Iceland
Choose one with:
- Padded compartments for lenses and flashes
- Easy side access for quick lens changes
- Waterproof or weather-resistant materials
- Adjustable straps for comfort during long walks
Staying organized and quiet is key when photographing sensitive wildlife subjects such as butterflies, dragonflies, or small reptiles.
Getting Started with Macro Photography Equipment
When building your macro photography kit, start small and grow with experience. The most critical investment is a dedicated macro lens, as it determines image quality, sharpness, and magnification.
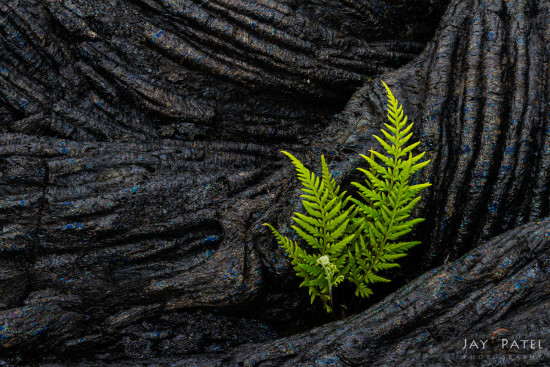
Macro Photography from Big Island, Hawaii by Jay Patel
Next, consider adding a macro flash — it expands your creative options, letting you shoot in low light or capture fast-moving insects with crisp detail.
A tripod or focusing rail can be added later for more controlled, studio-like setups. And don’t underestimate the impact of a simple light diffuser — sometimes the smallest accessories make the biggest difference.
If you’re on a budget, start with extension tubes or close-up filters to learn the basics. As your skills improve, upgrade to a true macro lens and lighting system.
Final Thoughts: Gear Helps, but Passion Matters Most
While the right macro photography equipment will help you achieve technically excellent images, the true secret to captivating macro photography lies in your curiosity and patience.
Macro photography teaches you to slow down, observe carefully, and appreciate the beauty of the small. Before investing heavily in gear, spend time connecting with your subjects. Notice their shapes, colors, and movements.
Once you’re ready, a good macro lens, a steady hand (or tripod), and a creative lighting setup will unlock an entirely new world of photographic opportunities — one tiny subject at a time.
About Author Jay Patel
I could startoff like this – “Seeds of Jay Patel’s appreciation for beautiful places were planted early in his childhood….” but it would get boring really fast. I will just sum it up and say that I am a Landscape and Wilderness Photographer who loves to capture dramatic light. My photographs have been published in various magazines, calendars and advertising materials throughout the world.
Patience is a virtue...unless you are chasing your dreams


