How to Use Selective Focus Setting for Macro Photography
For many, spring is finally beginning to emerge and the earth is coming back to life. The flowers and plant life of spring are perfect for practicing the use of selective focus. So, what exactly is selective focus? In close-up or macro photography, selective focus is used to bring the viewer’s eye to one area of an image. This is done by focusing on the part of a subject you want to emphasize or draw the eye to and letting the rest fall into a beautiful blur. Selective focus requires a shallow depth of field or shooting in the lower apertures. Depth of field is controlled by three things:
- Aperture choice (the smaller the aperture number the less depth of field you will have),
- Distance to your subject (the closer you are to your subject, the less depth of field you will have)
- Focal length of your macro photography lens (longer focal length lenses will produce more blur)
If you are new to macro photography, a good place to start is to experiment with aperture and study the results. I often coach beginning macro photographers to choose a subject and shoot it in every aperture. Start wide open and work your way up the aperture scale. You will quickly learn what your particular lens is capable of. With experience you can begin to predict what aperture will give you the result you visualize.
When I first started photographing flowers and other botanicals, I most often chose to photograph them with a higher aperture, ensuring the whole flower was in focus. With time I found myself bored with this way of shooting, and with that boredom I hit a creative bump in the road. There is nothing wrong with shooting this way; I still utilize it when I want to emphasize details and texture throughout my subject, but I didn’t want to limit myself to one way of shooting. At that particular time, spring was just beginning and I decided to dedicate myself to shooting with selective focus for the entire season, limiting my use of aperture from f/2 to f/5.6. I wanted to completely immerse myself in this new way of shooting. Not only did I find this way of shooting freeing and more creative, but it also helped me to see my subjects in a new way. Rather than seeing my subjects as a whole, I began seeing them in a more abstract way – in terms of lines, curves, textures, colors and patterns. It completely changed my photography.

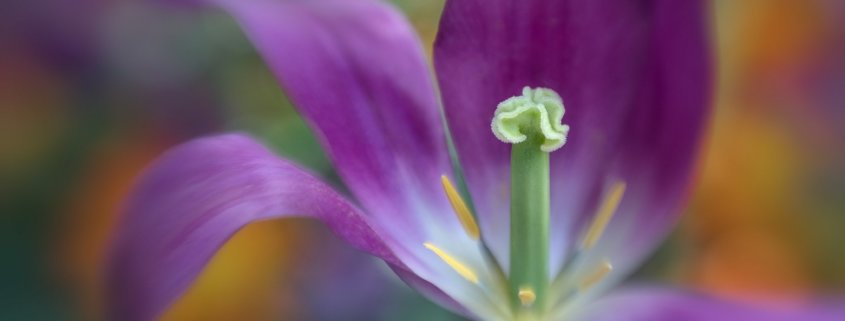
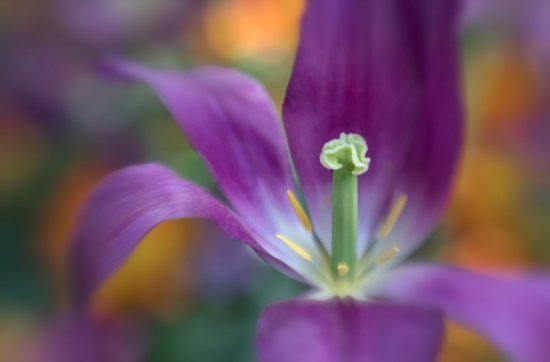
Curves of the Tulip – 100mm Macro, f/5
When using selective focus, my first step is to slow down and study my subject. I ask myself a series of questions. What drew me to this flower or plant, what is the most interesting part of my subject? Where will I place my focus? How can I compose my image to best bring that to the viewer’s eye? How much do I want in focus and what aperture might bring that vision to life? When using selective focus, I shoot in Aperture Priority so that I can easily move between apertures as I experiment with how much I want in focus. Even though I may have a good idea of what aperture will work, I most often shoot in a range of apertures to see which is most effective and give myself choices. If I am working on a tripod, I always use Live View to zoom in and get the most precise focus where I want it.

Blue Flame Century Plant – 180mm macro photography lens, f/3.5
Shooting in those lower apertures will often solve the problem of distracting backgrounds by creating beautiful blur to your background. One of many reasons I love shooting with Lensbaby lenses is their ability to produce beautiful blur with a sweet spot of focus to draw the eye. The Lensbaby Velvet lenses (56mm and 85mm) as well as the Composer Pro II and optic swap system are perfect companions for shooting subjects with selective focus. Whatever lens you are using, it is important to be conscious of what is happening in your background and position yourself to get the most pleasing, clean background possible. Distractions in your background will only serve to pull the eye away from the main subject. Move around with your camera to find the best possible background before putting your camera on your tripod or pressing the shutter button.
I find shooting with selective focus the most creative and fun way to shoot flowers and other botanicals in nature. You, as the artist, get to determine what to focus on and how much will be in focus. You and I could be shooting the same flower but come up with very different interpretations of our subject. The possibilities are endless – you could focus on the center of the flower, a petal edge, a raindrop, a beautiful curving line – but your image will be uniquely yours. I love having that creative control.
Don’t limit yourself to flowers; any number of natural or man-made objects are fun to experiment with. You can apply these principles to any kind of macro photography. Happy spring – it’s the perfect time to get out and try selective focus!


