Macro Photography Tips for Beginners
Macro photography provides a fascinating extension to landscape and nature photography. It allows photographers to slow down, observe, and appreciate the tiny details that often go unnoticed in the natural world. When viewed closely, every leaf, droplet, and insect reveals its own miniature landscape — a world of texture, color, and form.
For landscape photographers, macro photography offers an opportunity to explore creativity in new ways. It encourages patience, precision, and mindfulness while uncovering subjects that exist just a few inches from the ground. However, macro lenses are not as simple to use as they might appear. To achieve successful results, photographers must first understand their unique characteristics, limitations, and the challenges of working with small subjects in outdoor environments.
This guide explores what macro photography is and shares six indispensable macro photography tips designed to help beginners capture stunning close-up images in the field.
What Is Macro Photography?
Macro photography is a style of photography that focuses on capturing small subjects at very close range, revealing fine details that are often invisible to the naked eye.
In technical terms, a true macro lens can reproduce a subject on the camera sensor at a 1:1 magnification ratio, meaning the subject appears life-size on the sensor. However, macro-style photography isn’t limited to 1:1 magnification. Many photographers successfully capture beautiful close-up images using lenses with close focusing capabilities, extension tubes, or zoom lenses that offer less than 1:1 magnification.
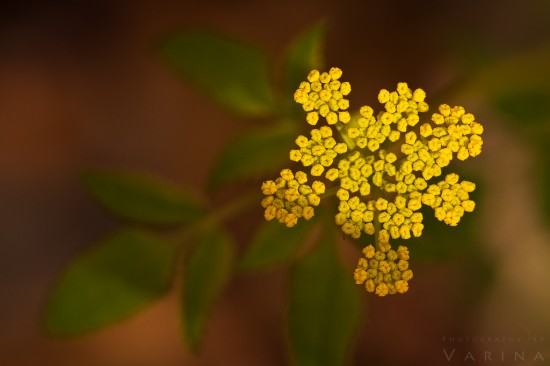
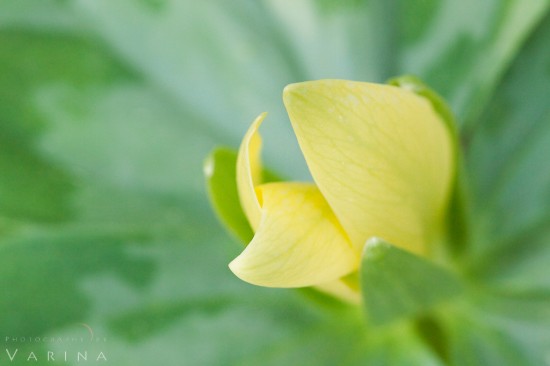
Macro photography opens up a world of possibilities — from tiny salt crystals to delicate flower petals, insects, or patterns in rocks and leaves. It reveals the intricate details that are often invisible to the naked eye and showcases the extraordinary beauty of everyday objects.
Unlike landscape or portrait photography, macro work requires precise focusing, careful handling of light, and a creative mindset. It’s also an excellent way to develop composition skills, attention to detail, and patience, all of which improve a photographer’s overall craft.
Tip #1: Find the Right Macro Photography Subject
Finding the perfect macro subject is both the biggest challenge and the greatest reward. Larger subjects such as flowers, shells, or leaves are often easy to spot, but smaller subjects — like grains of salt, dew drops, or insects — demand a slower, more observant approach.
For instance, while photographing tiny salt crystals in Death Valley National Park, photographers often discover that they must get extremely close to even notice the textures and shapes. In some cases, it helps to look through the macro lens while exploring; the lens acts as a magnifier that reveals hidden details invisible to the naked eye.
Many photographers make the mistake of rushing through a scene, quickly deciding whether a location is “worth shooting.” By doing so, they overlook countless macro opportunities right under their feet. A more effective strategy is to explore slowly, observe the environment carefully, and take time to understand the terrain. This approach frequently leads to unique and compelling macro photography compositions.
Macro photography tip: Slow down and immerse yourself in your surroundings. The best macro subjects often appear only after spending time getting to know the environment.
Tip #2: Use a Tripod for Stability and Precision
A tripod is one of the most essential tools for outdoor macro photography. Because macro photography frequently involves slow shutter speeds and shallow depth of field, even small vibrations can result in motion blur.
A stable tripod allows photographers to fine-tune their composition, experiment with different angles, and make minute adjustments without losing alignment. When photographing living subjects, such as insects or reptiles, the tripod head can be kept slightly loose to allow smooth repositioning as the subject moves.
For example, while capturing a Hawaiian gecko on the Big Island, stability from a tripod ensured sharp focus, while the flexible ball head made it possible to follow the gecko’s subtle movements. The result was a crisp, well-composed image that showcased the vibrant details of the gecko’s scales and eyes.
Pro tip: Use a sturdy tripod with adjustable legs for shooting at odd angles or low to the ground — a frequent necessity in macro photography.
Tip #3: Work with Available Light and Weather Conditions
Outdoor macro photographers must constantly adapt to changing light and weather. Wind is one of the most common obstacles when photographing small subjects such as flowers, spider webs, or leaves. Even the slightest movement can throw off focus or blur an image.
A fast shutter speed can help freeze motion caused by wind, but achieving proper exposure may require increasing ISO or adjusting aperture settings. To control light, photographers often rely on a combination of filters, diffusers, and reflectors:
- On windy days, raise ISO to allow faster shutter speeds.
- Under bright sunlight, use a diffuser to soften harsh light and prevent blown highlights.
- To fill in shadows, use a reflector to bounce light back onto the subject.
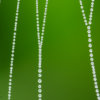
When photographing tiny water droplets on a spider web in Hawaii, for example, a diffuser and reflector were used together to balance contrast and prevent glare. The combination created a soft, glowing image that preserved the intricate detail of the web.
Macro lighting tip: Learn to observe how natural light interacts with small subjects. Subtle adjustments in direction and intensity can completely transform the look of a macro photo.
Tip #4: Master Focus Settings for Macro Photography Subjects
Achieving perfect focus is one of the biggest challenges in macro photography. Because the depth of field (DOF) at close range is extremely shallow, even a fraction of a millimeter shift can throw the subject out of focus.
For stationary subjects, manual focus is often the best option. Photographers can carefully focus on the most important area — such as the eye of an insect or the center of a flower — to ensure the sharpest result. For moving subjects, autofocus can be helpful but tends to hunt or struggle at very close distances.
When photographing a tiny hermit crab in Maui, for example, pre-focusing on a fixed spot where the crab was expected to appear allowed for precise timing and sharp results. Once the subject moved into position, a fast shutter speed froze its motion, resulting in a crystal-clear macro image.
Macro focusing tip: If the lens struggles to focus at extremely close distances, simply step back slightly until it regains focus. Backing off a few centimeters can make all the difference.
Tip #5: Compose Creatively for Stronger Macro Images
Composition is where creativity plays the leading role in macro photography. Because the frame often contains only a small portion of the subject, lines, shapes, textures, and colors become crucial elements of design.
To find the best composition, photographers should experiment with different shooting angles — from directly above to eye-level or even below the subject. Each perspective tells a different story and can dramatically change the visual impact.
Varina Patel often demonstrates this by composing shots straight down for symmetry or positioning the camera parallel to the subject to create a shallow background blur. A simple, uncluttered background is especially important in macro photography, as it helps isolate the subject and eliminate distractions.
Macro composition tip: Always evaluate the background carefully. A smooth or softly blurred background enhances focus on the subject and emphasizes its details.
Tip #6: Develop a Creative Macro Photography Workflow
Technical skill is essential, but creativity and adaptability are equally important in macro photography. A strong workflow allows photographers to respond to the environment and make quick adjustments when things don’t go as planned.
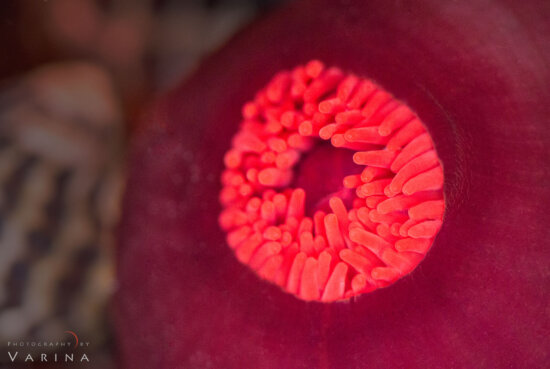
During one photography workshop in Australia, participants encountered a challenge while photographing sea anemones at low tide. Most of the anemones were closed and unphotogenic. To encourage them to open, fresh seawater was gently poured near the creatures to simulate the movement of an incoming tide. Within minutes, the anemones responded, opening to reveal vibrant textures and colors that were perfect for photography.
This simple creative solution demonstrates how problem-solving and observation are crucial parts of a macro photographer’s workflow. Often, achieving the perfect image requires thinking beyond camera settings — finding ways to engage with and understand the natural behavior of a subject.
Conclusion: Embrace the Small World of Macro Photography
Macro photography opens a window into a world that most people never notice. It teaches patience, precision, and an appreciation for the fine details that make nature extraordinary.
Whether capturing salt crystals in Death Valley, a gecko in Hawaii, or sea anemones in Australia, macro photographers are rewarded with images that reveal hidden beauty and tell stories at a scale smaller than the human eye can see.
The most effective way to learn macro photography is through experimentation. Try various lighting setups, focus methods, and creative compositions. Use these tips as a foundation, but don’t hesitate to explore new techniques and make personal discoveries along the way.
Macro photography invites photographers to see the world differently — one tiny, fascinating subject at a time. When approached with curiosity and patience, even the smallest objects can become breathtaking works of art.


