Common Mistakes to Avoid with Light in Landscape Photography
Light is integral to all genres of photography; travel and landscape photography are no different. However, what makes travel and landscape photography more challenging is the fact that, unlike some other forms of photography, you cannot predict the light in these two genres. Although this unpredictable nature of light can be frustrating, a bit of out-of-box thinking can easily allow these photographers to still come away with spectacular images.
I recommend that you learn to understand how light interacts with the elements you are trying to photograph. With this understanding, you can avoid common mistakes while trying to capture that breathtaking scene before you.
To help you get started, here are a some common landscape photography mistakes that you should avoid.
Using the Wrong Photography Equipment
Light enters your DSLR or mirrorless camera through the camera lens. This makes your camera lens a great tool to control the light in landscape photography. Choosing the wrong type of lens can be the difference between a great photo and just another tourist snapshot.
While filming our Illuminated Course in New Zealand, I wanted to capture the storms that were creating breathtaking and moody scenes. I decided to restrict the light entering the camera by using a telephoto lens. This allowed me to magnify the storm clouds behind the famous Wanaka Tree (Image #1) and create a spectacular moody photo of this iconic location. The use of a wide angle lens, on the other hand, failed to create the mood minimizing the storm behind the Wanaka Tree (Image #2). As you can see, I was effectively able to restrict the light in landscape photography with a telephoto lens to capture the photo I envisioned.
It is important to understand that the quality of light entering your DSLR or mirrorless camera is affected by the quality of the camera lenses and filters that you use. A cheap UV filter on my wide angle lens left me with a diffraction pattern in the “greens” while photographing the Northern Lights in Iceland. Make sure that you are familiar with the limitations of your photography equipment and learn to choose the right equipment to get the job done.
Not Returning to a Location
We often get this question: Why would you want to return to the same landscape photography location if you have already photographed it?
My answer is always the same: Because the varying light in landscape photography always gives a different mood and feeling to the image.
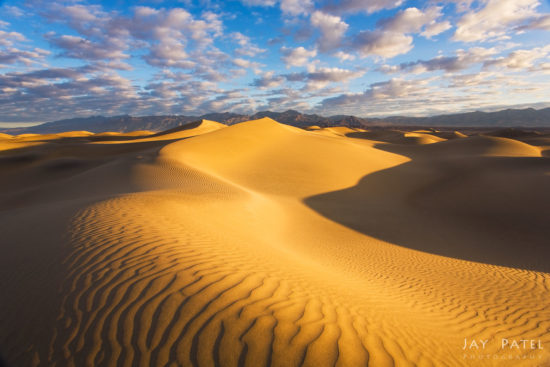
I have visited Mesquite Dunes in Death Valley National Park several times. Each time I have been able to capture these magnificent dunes in a different kind of light.
Sometimes when you arrive at your desired landscape photography location, you find that the light is not ideal for photographing your selected subject. In this case, you either must find another photography subject or return when the light conditions are just right.
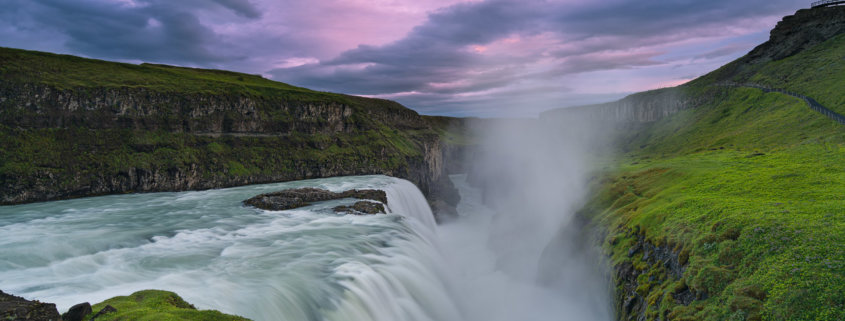
My first attempt to photograph Gullfoss in Iceland under harsh light resulted in less than spectacular photos. My second attempt to photograph this magnificent location in soft light created by overcast skies resulted in a more pleasing image.
Not Using Exposure Bracketing
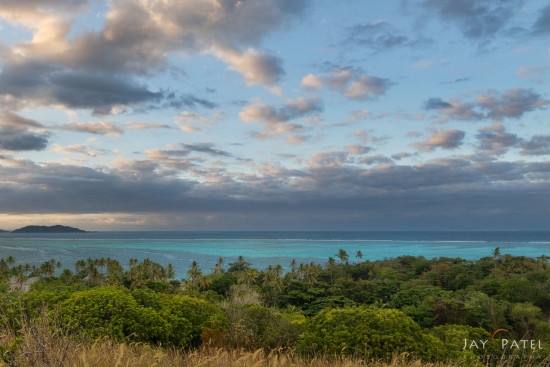
One of the biggest challenges facing landscape and travel photographers is high dynamic range. Not knowing when or how to bracket produces images with blown highlights, clipped shadows, or both. While it is easy to imagine why back-lit images require bracketing, even front-lit or side-lit images sometimes require it.
The following is a side-lit image from Fiji that required bracketing.
We use our in-camera histogram to determine when and how much bracketing is needed to capture all the details in a landscape photo. This requires a good understanding of how and when to use a histogram in photography. You can then use exposure blending tools in Lightroom or manual exposure blending in Photoshop to produce a natural looking HDR photo.
Avoiding Midday Light for Landscape Photography
Ask any seasoned landscape photographer or read any landscape photography book… according to both, to capture great photos, it’s best to avoid the harsh midday light. Although it is true that you can get some fantastic landscape photos during the golden hours, midday light can also be used to capture spectacular photos.
Here are a few examples of photos we captured during midday hours.
Obviously, you can use harsh midday light in a variety of ways to capture stunning photos. Photographing landscapes at midday not only allows you to maximize your time on location, but it also allows you to diversify your portfolio. The next time you find yourself at a spectacular location, don’t neglect the midday light for landscape photography.
Not Knowing How Light Interacts with the Subject
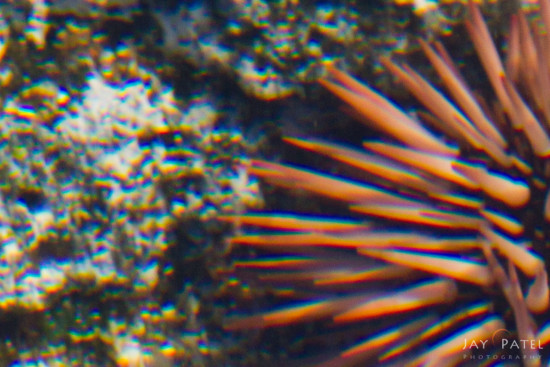
Working with light in landscape photography requires you to know how light interacts with your subject. While photographing this sea urchin, I noticed that the reflected light from the bright white areas in the background caused the “rainbow effect” around its spines. This made the photo look out of focus.
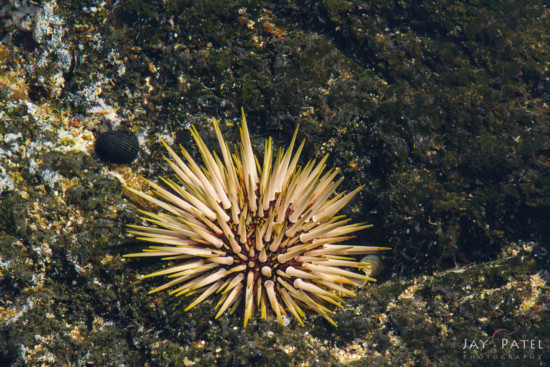
When I chose a different sea urchin surrounded by a darker background, I captured my subject with striking details and no distracting “rainbow distortions”.
Unfortunately there is no cookie cutter approach to dealing with how light interacts with your subject. Getting outside with a DSLR or mirrorless camera is one of the best ways to learn. Practical knowledge about different types of light, observation, and out-of-box thinking can help make the most of the available light.
Avoid Post-Processing Mistakes – How to Process Photos
One of the most important aspects of working with light in landscape photography comes into play during post-processing. When shooting a studio portrait, make sure that light sources are controlled. Also ensure that no unwanted color casts are present in the image.
However, this is not the case for landscape photography. In the following image, Varina left the blue color cast in her image. This gave a cool feeling to the ice.
Similarly, I chose to leave the field’s color cast during this spectacular sunset from Badwater salt flats in Death Valley National Park. Aside from white balance, you must learn to work with RAW files, balance light using local adjustment, merge photos for HDR photography, and more in post-processing. I recommend that you shoot ALL photos in RAW format to have maximum latitude to adjust light as needed in Lightroom or Photoshop.
Learning to see the light is one of the first things we teach our workshop students. The available light in landscape photography is likely not what you’re looking for. However, your creativity, observation, and light knowledge allow you to come away with stunning photos, no matter what.










 Grant Collier