
9 Essential ways to capture sharp landscape photos
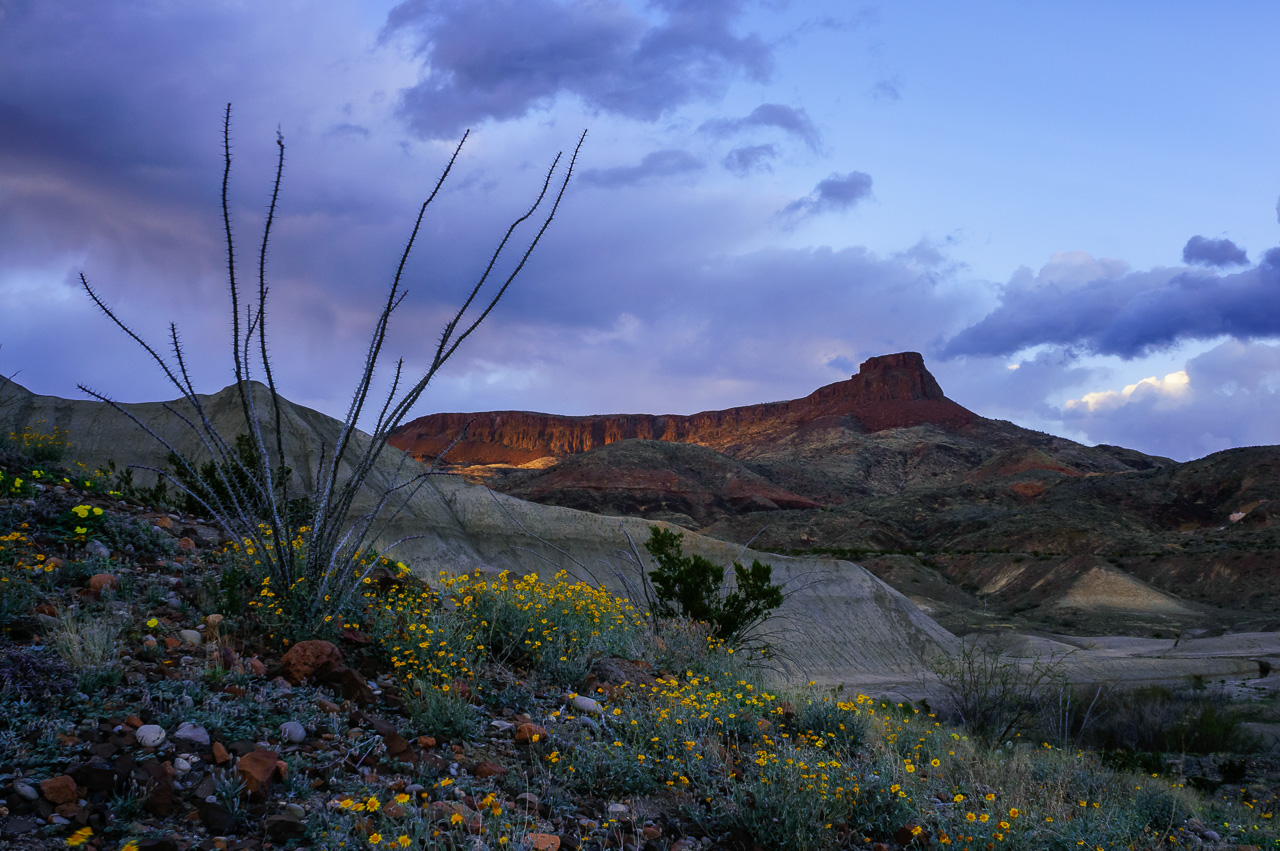
Every landscape photographer loves a grand vista – when you have a large scene with a distinct foreground, middle ground and background that gives your image depth.
The biggest challenge when working with this kind of scene is getting everything sharp. It can be frustrating to come home and look at your photos on your computer only to discover that part of your image is soft.
But remember that sharpness isn’t everything! There are arguably more important elements of image making like composition and light. You don’t always need to have everything super sharp.
As an artist, you can choose whether you want some elements in your scene to be soft for creative purposes. But if sharpness is what you are after, these tips will help you get there.
1. Use the sharpest aperture for your lens
Every lens is different and each has a “sweet spot” where it will make its sharpest image. For most lenses, this will be f/8 or f/11. This is an essential piece of information to know about your equipment so you can make the sharpest images possible.
While smaller apertures theoretically create more depth of field, they can often introduce “diffraction” which can ultimately make your image less sharp.
Try doing a test with your lens to find it’s sweet spot. Pick a scene with a lot of depth and make the same image at each aperture and then inspect the results on your computer to discover the sweet spot for that lens.
2. Remove unnecessary filters
Filters can be a good thing. Sometimes you need a UV filter to remove haze, a polarizing filter to remove glare, or a neutral density filter to even out the amount of light coming in through the lens. But if you don’t need any of these filters for your scene, remove them!
Often photographers will leave a UV filter on their lens to protect it. But is it really worth reducing the image quality of every photo to protect your lens from an unlikely accident? The answer is your choice, but its worth considering. The only time I use a UV filter is when I need to remove haze, or when I truly need to protect my lens like when there is a strong wind blowing sand on the beach.

3. Choose the right focus mode
For a grand vista type of scene, the best focus mode is single shot auto focus. That is when you focus once, and then shoot.
Only use continuous autofocus if you have a main subject in your scene that is moving. Otherwise, your camera will be continually trying to focus on a stationary subject, which can actually introduce blur.
Manual focus works too, especially if you use your camera’s LCD to zoom in to make sure the focus is bang on.
4. Focus in the right place
Another important aspect of focus is the focus points. Most cameras have many focus points and a variety of options for using them, such as zone of focus points, a cluster of focus points, or a single focus point that is usually in the center.
Using the zone or cluster settings means that you are allowing your camera to make its best guess as to what should be in focus. To take charge of your camera, use the single focus point and move it around to the part of the scene that is most important.
Remember that depth of field is calculated from the focus point. That means that a certain amount of your scene in front and behind your focus point will be sharp. If you have a scene with a lot of depth, the general rule is to focus 1/3 of the way into the scene.

5. Know when to use image stabilization
If you are hand-holding your camera, use image stabilization to help you get a sharp image. However, if you are using a tripod, it is important to turn this feature off or it can introduce vibration that will cause your image to be soft.
6. Select the best ISO
If you are using a tripod, you can keep your ISO low to minimize noise (for example ISO 100), set the aperture to the sweet spot of your lens, and then let the shutter speed fall where it may for a proper exposure.
However, if you are hand-holding your camera, shutter speed becomes more important. The rule of thumb is to use at minimum the reciprocal of your focal length. So if you are using a 100mm lens, your minimum shutter speed should be 1/100th second. Set your shutter speed using this rule, set your aperture to the sweet spot of your lens, and then let the ISO fall where it may for a proper exposure.
7. Use a cable release or 2 second timer
If you are using a tripod, use a cable release or the 2 second timer to remove any camera shake introduced by pressing the shutter button. If you are using a DSLR, you can also use mirror lock up along with the 2 second timer to remove vibration caused by the mirror flipping up.

8. Review your image on the LCD screen
After you make your initial image, review it using your LCD screen and zoom in to make sure that everything you need to be in focus is indeed sharp. If not, review your technique and your focus point. If everything is still not sharp, you can try the next and final tip.
9. Focus stack your photos (Advanced)
Even when you follow all the advice above, there may be some occasions when you have so much depth in the scene that everything that you want to be in focus is not as sharp as you would like. In that case you can try focus stacking to take multiple exposures with different focus points.

In the example above, because the saguaro cactus on the right was closer to me than the ones on the left, and because I was using a telephoto lens, I could not get all cacti in focus using any aperture. Instead I made 2 photos with different focus points and blended them together in post-processing to create an image where all the cacti are sharp.
About Author Anne McKinnell
Anne McKinnell is a photographer, writer and nomad. She lives in an RV and travels around North America photographing beautiful places and writing about travel, photography, and how changing your life is not as scary as it seems.
You can read about her adventures on her blog and be sure to check out her free photography eBooks.

