When To Use High ISO for Landscape and Nature Photography
I know what you’re thinking…”I can’t raise my ISO, I’ll get noisy photos!”. Well, I’m here to tell you that it’s okay. Really…it’s okay to use high value. Well great! Sign me up!
But there’s a caveat. I know, always a catch right!
The higher the ISO, the more digital “noise” or graininess you’ll see in your photos. Years ago, ISO 400 was the most I’d push my camera if I could help it. Nowadays, technology has changed and sensors are much better at battling these issues. My thought is, I’d rather have an noisy photo, than a blurry photo that suffers from camera shake and ends up in the trash bin.
So, when should you use the higher ISO’s?
I have a basic rule, I use the lowest ISO possible for the shooting situation.
You’ll get little to no noise at the lower ISO’s which results in clearer, less grainy images with smooth transitions of color. If I’m outside, on a tripod, and my scene isn’t going anywhere, I’m at ISO 50 or 100 routinely. It’s rare that I’m off the tripod but when I am, I’m automatically at a higher ISO in order to compensate for the camera shake. Lets talk about some situations other than hand holding in which you may be forced to use a high ISO.
Dark Places
When you’re indoors, the amount of available light is much less than outdoors. This will force you to extend your shutter speed or open up your aperture to compensate for the lack of light. If you can’t make these concessions, you’re forced to use a higher ISO.
Here is an image I took at an aquarium. You’re indoors where it’s extremely dark, forbidden from using a tripod, and everything is moving so using a long shutter speed it out. I had to use ISO 12,000 for this image. But it’s a moment I’m so glad I captured. If I had been afraid to push to very high in this challenging environment, I would have missed this.
An older digital camera took this image at ISO 800. A little noise control software in the editing process and it turned out very nice. Again, would have missed it if I was timid about raising the ISO.
Subject Movement
Another situation you may need to increase your ISO is when you need to stop the movement of a subject you’re photographing. For example, you’re photographing macro subjects outdoors and there’s a slight breeze. A slight breeze when you’re so close to your subject can literally make the subject move right out of the frame. Raising the value will increase the sensitivity of the sensor, making the image brighter, which will allow you to use a faster shutter speed. When I got in very close to this snapdragon, I needed to use a higher ISO to stop even the slightest movement and get the sharpness and detail I was after.
Another moving subject that may require higher ISO’s is wildlife. Birds in flight, especially on an overcast day or late in the evening, will be difficult, if not impossible, to photograph without using a higher ISO. The skies were so dark when I photographed this bird taking off at the Audubon Swamp Garden in South Carolina. So ultimately I had to use ISO 2000 in order to freeze motion.
Night Photography
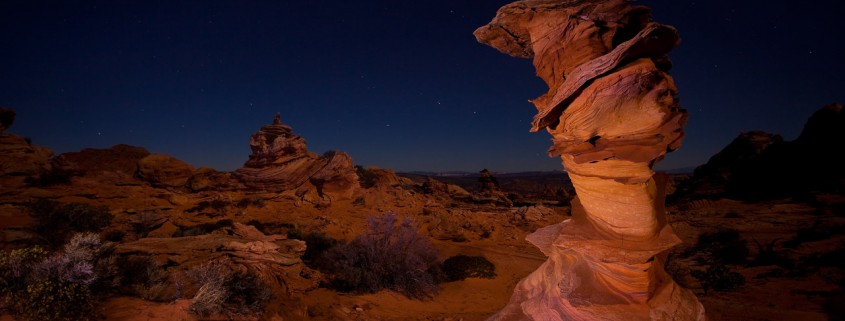
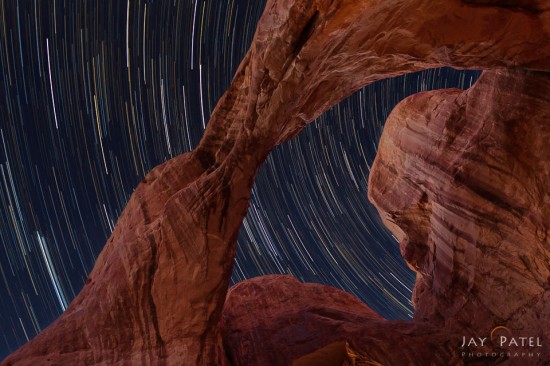
Let’s face it, it’s dark at night! You’re going to need to increase the ISO of your camera to levels in the 1200-3600 range in order to allow enough light to be absorbed by the sensor and register those stars that you see. The amazing thing about doing this is that the camera can actually capture more light from those stars than we can see with the naked eye. The images you get at night can be incredible.
So don’t be afraid to push ISO’s higher than you’re used to. Software like Neat Image, Topaz DeNoise, Lightroom, and Photoshop can all help deal with color and luminance noise in an image. Better a noisy photo than a blurry photo sent to the trash. If I’m walking through the woods and BigFoot happens by, you can bet I’ll be pushing that ISO to 25,000 if necessary!
Best of light!

