Top 5 Tips for majestic Mountain Photography
We’ve all been there. We’ve gone to a great location with majectic mountains, filled our memory cards with mountain photography, brought them home, and the disappointment sets in. They just lack the “wow” factor that we felt when we were standing there admiring natures majesty. Here are some simple tips to make sure that your mountain excursions are productive and that you are very proud of the results of your efforts.
Learn about Exposure Bracketing
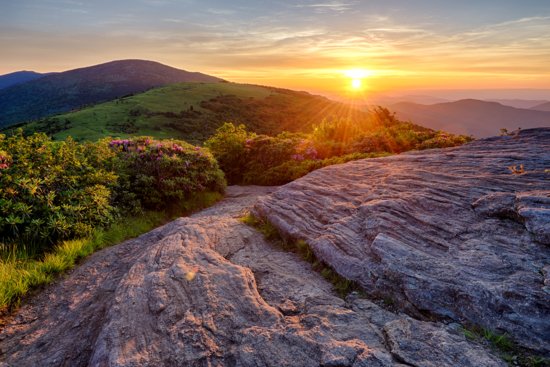
I’ll never forget my first high dynamic range (HDR) landscape photo. I hiked for 2 miles to a hilltop in TN to photograph sunset. A storm approached from the West. Being on a totally exposed rock, my friend and I decided to head back to the car. The lightning was awful but passed quickly. We decided to hike back out to our sunset spot just in time to capture our images. At the time, early in my photographic journey, I did not know how to blend images together but I knew the technology existed. I captured multiple exposures in the field and they proceeded to sit on my computer for 4 months before I finally learned the technique. If I hadn’t captured the multiple exposures, I would not have been able to produce one of my favorite images from Roan mountain. 
In order to capture all of these tonal values you’ll need to understand a few things about your camera. You have a few options in capturing High Dynamic Range photos. Most cameras can do it internally. Within the menu system typically lies the HDR function. But I find that allowing the camera to do this takes all the image editing power out of your hands. It also usually produces a JPEG image instead of the RAW photos you will be wanting. To capture HDR RAW photos, I suggest using either the 2 second timer or a remote release. On a DSLR you may also want to lock up the mirror to avoid camera shake. The bracketing on the camera has the ability to capture all 3-5 or more images faster than if you’re using a remote to trigger each shot. This will help assist with minimizing ghosting of objects that may be moving or blowing in the wind. The leaves will move from one image to another so the faster you can capture your image set the better. Above all, use a tripod so your bracketed set is perfectly steady. This will avoid having to line up the photos in post processing as well as reducing camera shake.
Use Your Circular Polarizer
One of the atmospheric issues you may face while photographing mountains is haze and/or mist in the distance. The Dehaze feature in Adobe’s Lightroom does a very fine job of removing this, but it’s not the best game-plan to rely solely on software to fix issues that could easily be dealt with in the field. I consider a polarizer to be a landscape photographer’s most indispensable filter in the field. It will make your blues and greens stand out, reduce reflections off of moss and rocks, and help remove haze from distant mountains.
Graduated Neutral Density filters can be helpful in taming the dynamic range of the scene when shooting mountains.
Be Prepared!
The weather conditions among the mountains can change rapidly. Be sure to check forecasts and have whatever you may need from rain gear, to cold weather gear, to sunscreen and a hat! I remember hiking in the Canadian Rockies in August…and it snowed one minute and was sunny and 65 degrees the next. Glad I brought my fleece!
Any time I go into the mountains, I make sure I’m prepared for any of the predicted weather patterns that may crop up. In winter, hiking boots, toe and hand warmers, a warm hat, and layered clothing are essential. I prefer a wind and waterproof outer layer in case of rain or windy conditions. Throughout the rest of the year, depending on the season, I dress in layers, always wear hiking boots with ankle support, and often have sunscreen and bug spray because let’s face it…who want’s to be uncomfortable in the field? Not me! I’m much more inclined to concentrate on my photography than spend my time shivering or swatting bugs off my face.
Bring on the Foreground!
We plan, we hike, we get sore knees to see the most amazing sunrises, sunsets, and 360 degree views. One of the best ways to bring that feeling into your images, to bring a sense of place, is to include some of the foreground of the vast place you are visiting. It helps the viewer understand so much more about where you were when you captured it. Definitely zoom in and get those intimate landscape images as well, but for your wide angle shots, including the foreground can make a snapshot into a piece of art!
Here is an image from my Lightroom video tutorial on Mountains that show how a foreground inclusion can create a stunning photo.
Including a great deal of “near to far” in an image does present some issues. I will almost always have my aperture set to f/18 or somewhere in that range. Sometimes, however, this may not be enough. I don’t like to push my lenses to their smallest aperture since it affects the image in a negative way, especially along the edges. Focus stacking is a way around this. Focus stacking can also allow you to use an aperture closer to the f/11 or f/9 range…often a lens’s “sweet spot” that has the sharpest focus. Another tool to know about is hyperfocal distance of your lens. There are some fantastic apps you can download that will calculate the hyperfocal distance of your own lens so there’s no question in the field as to where you should place your focal point.
Learn Post Processing Techniques
Merge to HDR in Lightroom is so very simple to use and it does an amazing job of blending multiple exposures. As long as you’ve captured the full dynamic range of light while you were in the field, you’ll be amazed what this program can accomplish. I would also suggest learning how to manually blend two exposures in Photoshop. It’s not difficult to learn and once you do, you’ll be a blending fool from that day forward! There are also some software programs entirely dedicated to HDR processing such as Skylum’s Aurora HDR 2019, NIK’s HDR Efex Pro and others.
Here is an image from my Lightroom video tutorial on Mountains that how post processing can bring out incredible details and stunning colors in your mountain photography.
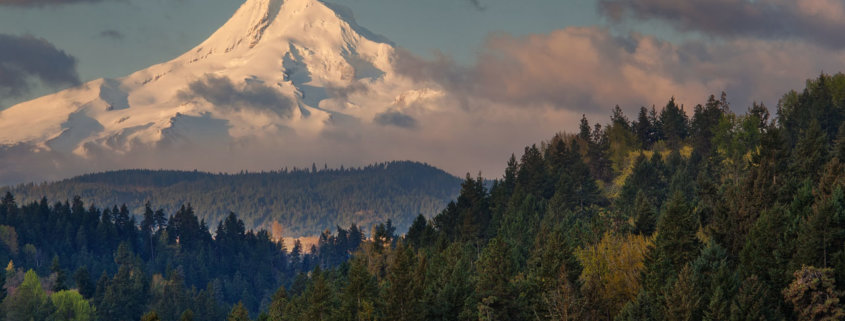
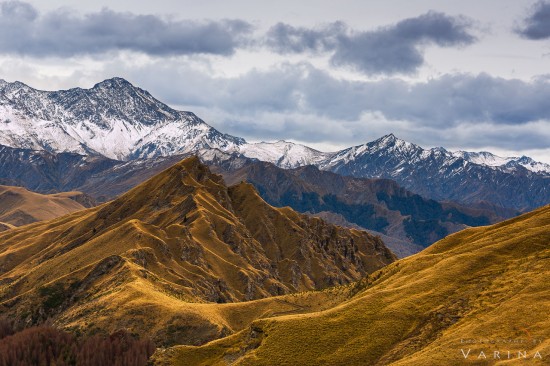
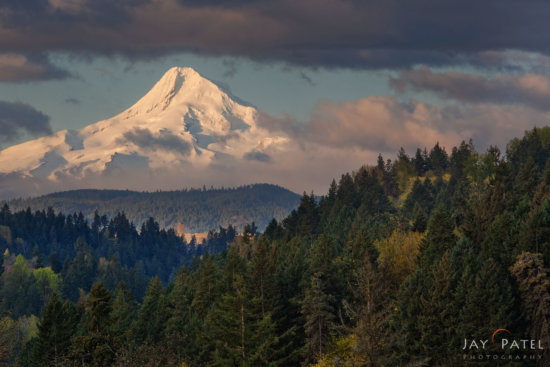
Sure it is often difficult to photograph mountains, but the tips in this article will get you started. Here are few example of Mountain Photography on Visual Wildneress that were created using the techniques in this article
Above all, enjoy your time in the mountains. Slow down, put the camera away for a minute, and simply take in the beauty around you.
To learn more about range masks check out Mountains eBook & Lightroom Tutorial bundle on Visual Wilderness.


