When should Nature Photographers use Single-Point Focus Setting
Single-point focus setting can be used by wildlife, portrait, and nature photographers alike. In fact, it’s what I use 90% of the time. Nailing sharpness in your subjects eyes (whether it be a human or wildlife portrait) is important for generating that visual impact for wildlife and portrait photography.
Single-point is also widely used by nature photographers. This is because they need to focus on a specific feature at a pre-selected distance from the camera. It allows nature photographers to control exactly what is or isn’t in focus. Moreover, it’s necessary for focus stacking (another subject entirely).
Letting the camera pick the AF area likely won’t deliver the results you want.

Focusing on the Mountains gorilla’s eyes using single-point focus combined with low depth of field to single out the subject
One shot or continuous?
If your subject is constantly moving (such as a lioness approaching in the long grass or a bird in mid-flight), using the single/one-shot mode will likely result in a blurry subject. When your camera locks focus, it keeps that focus fingerprint as long as your finger is half depressed, regardless if the subject moves. For these situations, use a single-point focus setting plus continuous auto focus (AF) mode. This allows your camera to follow and maintain focus on the targeted subject, even if it moves towards or away from you.
Focus hunting can occur on continuous AF modes. With focus hunting, your camera moves its focal point to search for the sharpest result. Modern cameras admittedly are much better at achieving this. However, if you and your subject are stationary, I suggest using the one-shot focus mode so your camera stops when it finds its sweet spot. The one-shot AF can also be manually verified by magnifying and viewing the scene on the LCD screen.

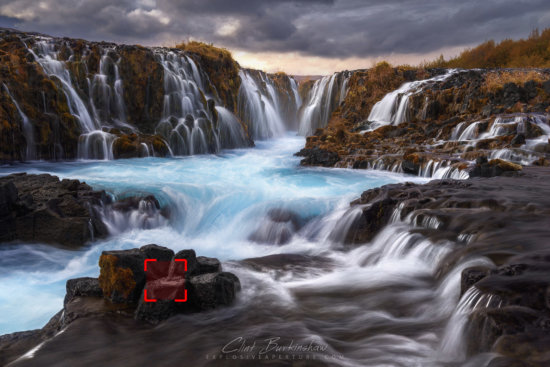
Focusing on on the foreground rock while using a combination of a narrow aperture to maximise the depth of field from the foreground to the back cascades in a single frame.
When to use manual focus mode
Manual focus mode is great when you are focusing on a stationary object, commonly while using a tripod (which definitely helps). It’s a popular focus mode for nature photographers to ensure the hyperfocal distance point is precise. They incorporate exactly what they intend to with their chosen depth of field. With manual, you can mount your camera body to a tripod and use your LCD screen’s magnify assist feature to zoom into your desire focal point. Once zoomed in, you can manually adjust your focal ring to get tack sharp images. This does take a little longer to achieve, but is equivalent to reviewing your shot as you take it.
Use the one shot + single-point focus as a quick method for achieving sharp focus with manual control. This lets your camera quickly grab sharp focus. You can then, with the help of your LCD screen, zoom in and manually adjust your lens’s focus ring to fine-tune or verify 100% sharpness exactly where you want it.

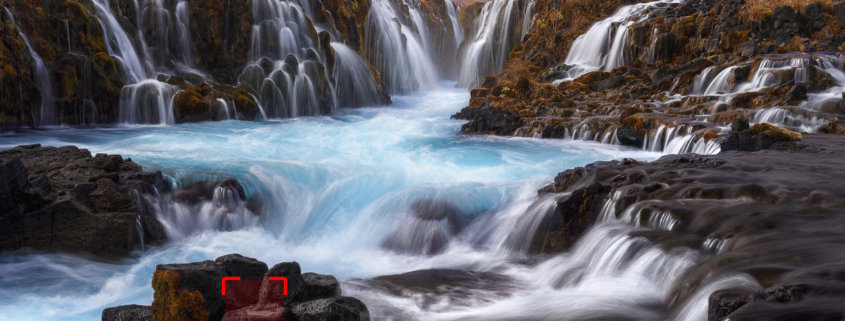
A focus stack of two separate shots, using multiple focus points. Both selected via single-point focus.
Change your focal point
Sometimes, you have to adjust to a scene that is constantly changing (such as a sweeping seascape or an animal stalking its prey). Instead of locking your single focal point focus and quickly panning the camera to adjust to the photography composition, consider putting your single focal point on a third (top, bottom, or both) to exactly where you’re going to need it. You can maintain the desired framing and have the camera’s AF focus setting when necessary without having to make further ad-hoc adjustments.
Most cameras these days also let you change the size of your ‘point’. If you need ultra-specific accuracy, you can make the single-point small or medium. You can also enlarge it to give your camera more area in which to work.


