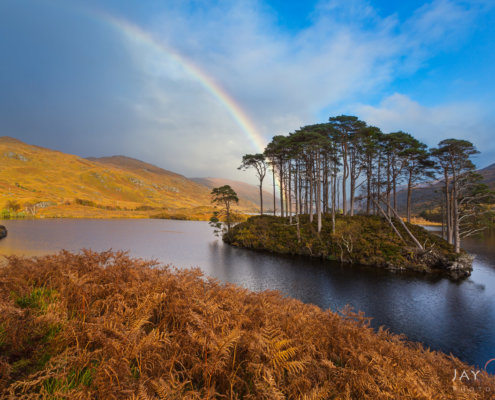
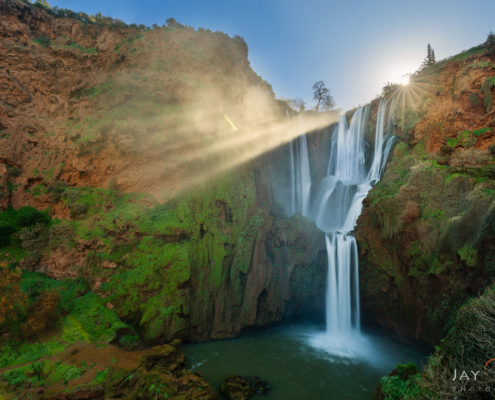
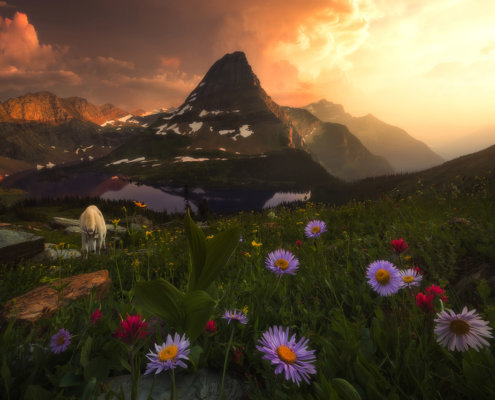
In landscape photography, there are certain nature scenes where the camera cannot contain the magic. The highlights are blown out. There are no shadows in the details. This image falls flat. The camera alone cannot contain that moment of epic and intense light shining down on the land. This is where exposure bracketing and blending of images can help your landscape photography accurately reflect that powerful moment.
The dynamic range is the ratio between the maximum and minimum measurable light intensities. There is a high dynamic range when there are extreme lights and darks within a scene. Often, this is a situation which is difficult to photograph. However, there’s no reason to despair. You can gain control of your highlights and shadows with landscape photography articles and tutorials about exposure bracketing, high dynamic range (HDR) photography, and manual blending.
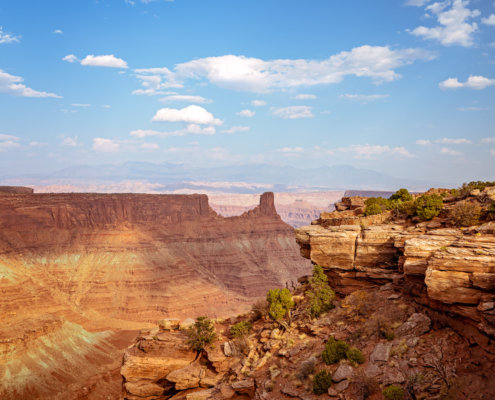
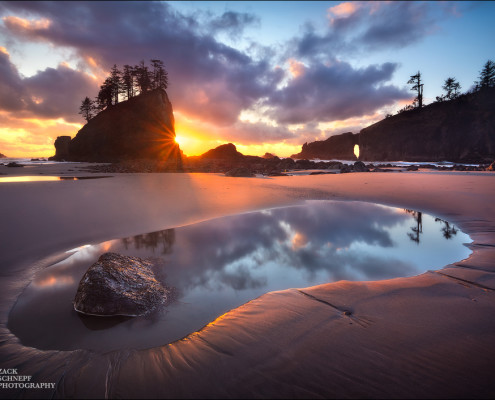
To start, the first step to bracketing and blending is to gain an understanding of the camera’s histogram. That is to say, the photographer can read the histogram and know if one frame can capture the entire dynamic range. If the dynamic range is too great, then the next course of action to capture the image is to use bracketing and/or blending. One option to tame intense light is to use a graduated neutral density filter. This is where the densest filter area is over the brightest area of the image. If this in-camera blending technique isn’t enough, then bracketing your shots is another option.
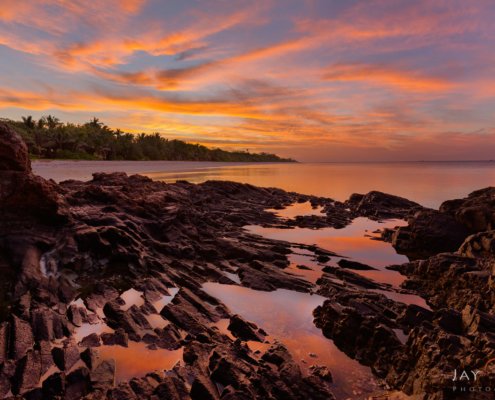
Our photographers will guide you on the best situations and step-by-step directions with exposure bracketing and blending. Moreover, they will explain the advantages and challenges with each as well as the best ways to combine your HDR images in post-processing. Many software suites, such and Lightroom and Photoshop, can perform HRD processing.
We may request cookies to be set on your device. We use cookies to let us know when you visit our websites, how you interact with us, to enrich your user experience, and to customize your relationship with our website.
Click on the different category headings to find out more. You can also change some of your preferences. Note that blocking some types of cookies may impact your experience on our websites and the services we are able to offer.
Essential Website Cookies
These cookies are strictly necessary to provide you with services available through our website and to use some of its features.
Because these cookies are strictly necessary to deliver the website, refusing them will have impact how our site functions. You always can block or delete cookies by changing your browser settings and force blocking all cookies on this website. But this will always prompt you to accept/refuse cookies when revisiting our site.
We fully respect if you want to refuse cookies but to avoid asking you again and again kindly allow us to store a cookie for that. You are free to opt out any time or opt in for other cookies to get a better experience. If you refuse cookies we will remove all set cookies in our domain.
We provide you with a list of stored cookies on your computer in our domain so you can check what we stored. Due to security reasons we are not able to show or modify cookies from other domains. You can check these in your browser security settings.
Other external services
We also use different external services like Google Webfonts, Google Maps, and external Video providers. Since these providers may collect personal data like your IP address we allow you to block them here. Please be aware that this might heavily reduce the functionality and appearance of our site. Changes will take effect once you reload the page.
Google Webfont Settings:
Google Map Settings:
Google reCaptcha Settings:
Vimeo and Youtube video embeds:
Privacy Policy
You can read about our cookies and privacy settings in detail on our Privacy Policy Page.