Creating Black Backgrounds for Macro Photography
Sometimes I like to use a black background for macro photography to create a dramatic effect; I usually use a foam board with a high quality black matte print adhered to it. I don’t like reflective backgrounds for this type of work so I avoid glossy finishes whether they are printed or painted. I place my black print directly behind and very close to the flower. I always use a tripod in these situations so that I have a hand free for the reflector that I use to illuminate my subject from the front. I use a 12” reflector when working with a single flower as I don’t want too much light directed onto the black background.
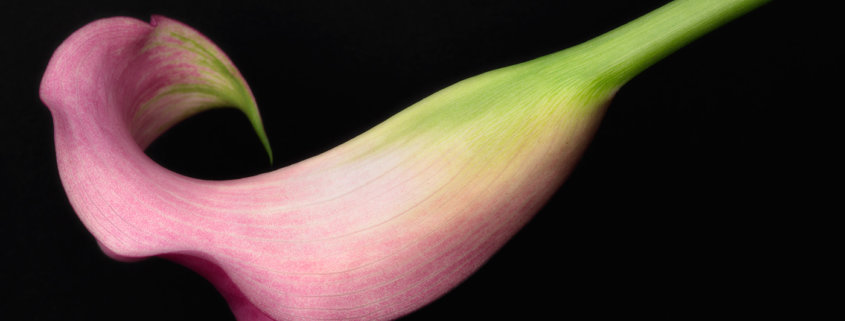
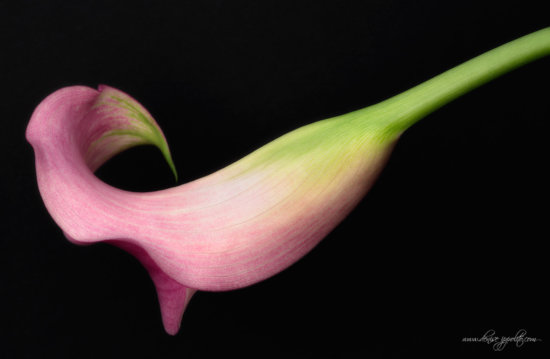
Next I set my camera to spot metering and adjust the exposure as needed for the tonality of the subject since I want to keep the background dark. For the Calla Lily image above I added 1/3 stop to the spot meter reading off the yellow flower and set that manually.
In Photoshop I use a Curves or an Exposure adjustment layer to darken the background. If you choose the latter you will see 3 sliders: Exposure, Offset, and Gamma Correction. If you move the Gamma Correction slider to the right it will darken your background and the subject. I usually move this slider only a little and use a Layer Mask to paint away the effect on the subject. You can make an Offset slider adjustment to darken only the dark tones. There are 0.0048 increments on this slider. This adjustment is often too much. To lessen the effect you need to type in a smaller value; I often go with -0.0024 units. Either way various images will be affected differently; making small adjustments is always best.
Another post processing tweak that I often add is a layer of the Google Nik Color Efex Pro Glamour Glow filter; it adds a lovely softness that I like for this type of photo. You can replicate this effect in Photoshop by duplicating the layer (Control or CMD J), going to Filter> Blur> Gaussian Blur at 25 pixels, and changing the Blend Mode to Soft Light.
The two Calla Lily images here—the one above and the one below– were both captured and processed using the techniques described above. Feel free to share your own tips for controlling the background for macro photography in the comments below.






Hi, thanks for this write-up. Seriously, the best and most in-depth (yet short) articles I’ve read. Answered a few of the nagging questions rolling around in my head this past year.
Thank you Phil, I just got home from Patagonia with limited internet, sorry if it took some time to respond. I appreciate the positive feedback.
denise