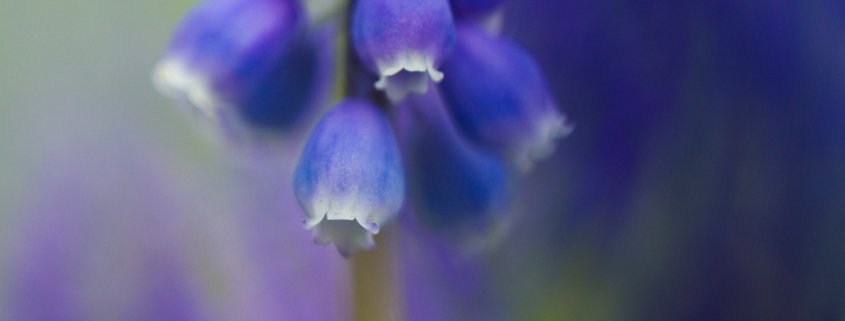
5 Secrets for Gorgeous Macro Photography Compositions
Composition is one of the most important elements of macro photography. If you don’t compose your macro photos carefully, then they’ll lack power. They’ll lack impact. And ultimately? They won’t stun the viewer.
Fortunately, creating gorgeous macro photography compositions isn’t difficult. You just have to know a few composition tricks which I’ll share with you in this post. Are you ready to take your macro photography to the next level?
Then let’s get started.
1. Every Macro Photo Must Have a Subject
This is it. The number one rule of macro composition: Every photo must have a subject.
What do I mean by this?
Every single macro photo you take must have a point of focus. Something that the viewer’s eyes go to. Something that stands out. If your macro photo doesn’t have a subject, the viewer will feel lost. The photo will seem aimless. And the image just won’t work.
Now, finding a subject doesn’t have to be hard. Just think of what drew you to the scene in the first place. In a flower photograph, the subject can be the flower. In a butterfly photograph, the subject can be a butterfly.
The important thing is to make sure the subject is noticeable.
It’s worth noting: Macro photos occasionally do seem to lack subjects. For instance, an abstract photo of leaves doesn’t have anything that stands out. But in that case, it’s the pattern that is the subject–the repeating shape of leaves in the frame.
So remember: Always include a subject in your macro photography.
2. Start With the Rule of Thirds for Stunning Macro Photography
If you want to take incredible macro photos, you have to know the rule of thirds. And you have to use it–repeatedly. You have to ingrain it in your mind.
Why? Because the rule of thirds is one of the main building blocks of composition. It’s the bread and butter of macro photography.
Here’s what the rule of thirds states: The best photos place their subject a third of the way into the frame.
If that seems a bit confusing, don’t worry. The rule of thirds comes with a helpful set of grid lines, like this:
When you’re composing your macro photos, place your subject along the rule of thirds gridlines. For instance, you can place flower stems along one of the vertical gridlines. And you can place the flower head at the intersection of two gridlines (called ‘power points’).
See, the rule of thirds will help you balance your compositions. It will make your photos feel nice and satisfying. Most beginners center their compositions. They put the subject smack-dab in the middle of the frame. And this generally doesn’t work. In fact, if you’re a beginner, I recommend you use the rule of thirds almost exclusively. Your images will look far more pleasing.
But as you start to grow more experienced, you can learn to break the rule of thirds. Which brings me to my next tip…
3. Use Symmetry to Create Bold Macro Photography Compositions
According to the rule of thirds, you shouldn’t center your subject. And this is generally true. Centering your subject often looks bad. And it frequently results in static photos.
But there are occasional exceptions.
And one of these exceptions? When your subject has clear symmetry. Then you can center your subject–and it’ll make for a powerful photograph. Fortunately, in macro photography, you can often find symmetry.
For instance, flowers offer lots of symmetrical compositions. You can shoot the middle of a flower–and center the photo for a great result.
You can also shoot a flower from an upright angle, and still manage to capture some symmetrical compositions.
Now, I love the rule of thirds. But I’m also a huge fan of symmetrical compositions. Because symmetry is often impactful in a way that the rule of thirds isn’t.
The rule of thirds is subtle. But symmetry is an in-your-face type of composition.
Bottom line? If you come across symmetry, I recommend taking a few centered shots. But then take a few more using the rule of thirds. You don’t want to miss out on a great opportunity!
4. Fill the Frame With Your Subject
Using symmetry can be a great way to take impactful photos. But there’s another way to create impact with your macro compositions.
Here’s what I suggest: When you find a subject that you want to photograph, don’t just settle for a basic snapshot. Instead, push your lens to its maximum magnification.
Get in close. And fill the frame with your subject.
If you do this, you have to be thorough. You must make sure that none of the background is peeking out. Because little bits of the background will distract. They’ll take away from the shot.
Now, when you fill the frame with your subject, make sure that there’s still something of interest in the photo. Remember tip number one: Make sure your photo has a clear subject!
When I photograph flowers, I like to focus on the lines and curves of the petals. This adds interest–but doesn’t require that I show anything more than my subject.

Macro photography composition Tip – Get close to your subject.
In fact, I suggest you use your lens’s maximum magnification to find original compositions–compositions that you wouldn’t have otherwise considered.
But…What if you want to include the background in your photo? What then?
5. Include a Uniform Background for Maximum Impact
If you decide to include a background in your macro photos, I urge you to choose it carefully.
You need to select a background that makes the subject stand out. And you need to select a background that won’t distract from the subject. In fact, the best macro photography backgrounds do something really well: They complement the subject. They add something to the photo.
How do you do this?
I recommend you start by making your background uniform. It can be a uniform yellow, a uniform white, a uniform black, etc. The key is to find a background that is simple–and won’t take away from your subject.
Here, a wide aperture is your friend. I often shoot in the f/3.2 to f/5.6 range, because I want the smoothest background possible. And I suggest that you at least experiment with doing the same.
Because at f/3.2, a stand of autumn trees becomes a nice yellow blur. Which is perfect for macro photography!
Another tip is to keep a large distance between the subject and the background. Because the farther your background is from your subject, the better your background bokeh will be.
And finally if you can’t find a good background, get down low–and put the sky behind your subject. This works especially well on cloudy days. When you do this, you’ll capture a smooth white background–one that helps make the subject stand out.
Now, I like basically all uniform backgrounds. But here’s the thing: Uniform backgrounds aren’t created equal. Some uniform backgrounds are more beautiful than others.
Specifically, I like white backgrounds, black backgrounds, and golden/yellow backgrounds. I’m less fond of green backgrounds and brown backgrounds. Why? Green and brown backgrounds often feel muddy. And they tend to weight photos down–rather than enhancing them.
Regardless, I suggest you begin by making your backgrounds uniform (in any way you can). Then you can start experimenting with different options, like colorful backgrounds.
Let me reiterate: You have to choose your background carefully. Because beautiful backgrounds are the ‘secret sauce’ of macro photography composition. They’ll take your macro photos to the next level–and then some.
Next Steps
Now you know how to create gorgeous macro photography compositions. Because you know how to find a subject–and make them the center of attention.
You know how to use the rule of thirds to create balanced compositions. You know how to use symmetry (and fill the frame) for impactful photos. And you know how to find gorgeous backgrounds when you need to.
So the next step is to get out and shoot!
Have any other macro photography composition tips? Share them in the comments!


