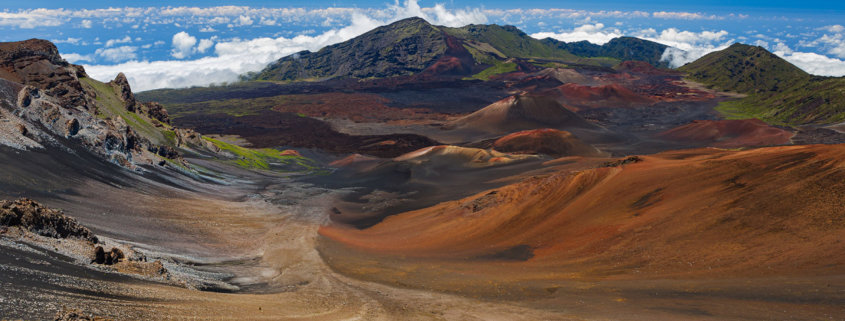
A Field Guide for Panoramas
Have you always wanted to create a huge and minutely-detailed print of your work but lack the high megapixels camera necessary to produce the image? All hope is not lost. If the scene is right, and many landscapes scenes are, a little patience and the right shooting technique can go a long way towards that stunning big print hanging on your wall. By taking several images of the same (relatively static) scene and then stitching them together in post-processing, you can comfortably produce images up to 100MP.
Panorama Technique
We’ll focus on the necessary in-the-field technique to produce panoramic images that can be easily stitched together later with your favorite post-processing tool. To begin, you don’t need any special panoramic rig (like a nodal slide) to achieve good stitching. They certainly help and might make your life a bit easier down the road, but they also tend to be fairly expensive and bulky. A good sturdy tripod with a bubble level and a head that can turn separately is generally enough. Today, good software is capable of reprojecting the image and removing most of the curvature and distortion that come from not using a slide.
Software cannot fix mistakes in properly-focusing the scene from one image to the other in the panoramic set and, in part, different exposures from frame to frame. Use the bubble level or the leveling indications in the frame (on more modern cameras) to make sure the frame is perfectly leveled. Any imperfection at this stage is magnified, making it extremely hard to pan correctly and maintain a straight horizon.
Once the camera is perfectly leveled, you must to maintain the same focus and exposure while panning and taking successive frames. I switch to manual focus and exposure and then take several initial test frames of the scene. I then write down the “correct” exposure parameters and focus points for later. If you feel more comfortable with automatic exposure and autofocusing, you can still use the first frame to correctly expose and focus the image; then press the focus lock button and the exposure lock button (often called AEL). This locks focus and exposure for all frames until you unlock them. Make sure both buttons are configured as toggles. Don’t hesitate to close the aperture to achieve good depth of field – f/11 to f/16 tends to work pretty good depending on the scene.
Once focus and exposure are locked, fire away! When you rotate the camera to take the next frame, ensure that roughly one third of the frame is overlapping with the previous frame. This makes it easier for the panorama software to stitch the frames together.
One often overlooked problem is how to recognize a series of frames that are meant to be stitched together. For horizontal panoramas, I like to place a finger in front of the lens on the left of the frame. After panning left to right, I then close the series by placing a finger on the right side of the last frame. This makes each series easy to spot when I review the images.
Don’t limit yourself to horizontal panoramas. Vertical panoramas can be equally stunning with the right scene; and they certainly look fresher and often more intriguing.
As always, the secret is learning the techniques and then experimenting. The same tips can be used to produce highly-detailed images in more standard 3:2 format, by panning horizontally and then panning vertically. The only limit is your imagination and your computer’s memory.


I use TS 9020 Canon printers on special photo paper…for enlargements, I am losing some details. SF