8 Tips for Photographing Sea Stacks
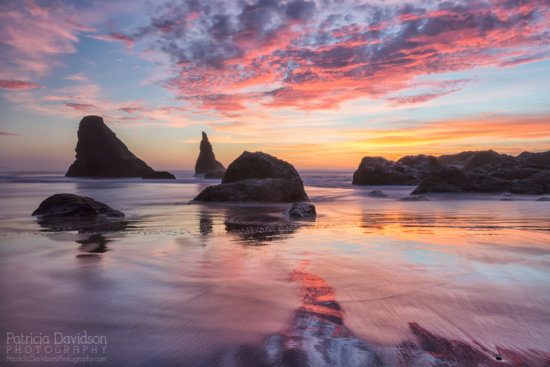
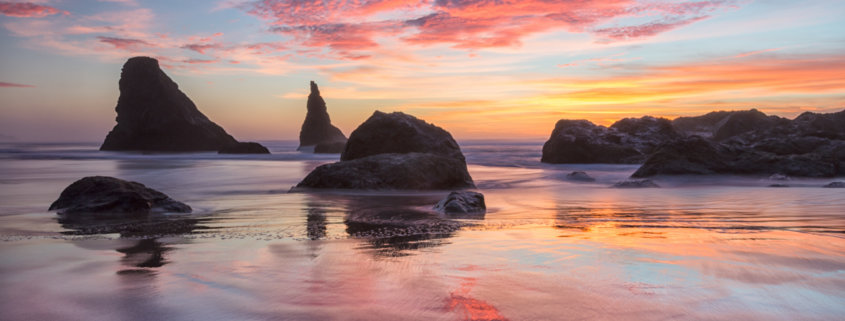
Getting low to the ground, I was able to see reflections on the beach in Bandon, Oregon during a dramatic sunset.
Living on the Oregon Coast for several years, I’ve come to love the sea stacks that dot the beautiful coastline. Sea stacks are now my favorite natural objects to include within my seascape and beach photography. That wasn’t always the case.
When I first got started in photography, I was really a snap shooter. I didn’t take the time to create something worthy of hanging on my wall. Since then, I’ve come along way with planning out my photo shoots with optimal light and conditions.
Sometimes creating a compelling photograph can be difficult. I hope these tips will get you started in creating your very best images that include sea stacks!
- Arrive early. Whether you are shooting the classic sunrise or sunset, or doing night photography, arrive early enough prior to the good light to walk along the beach and look for possible compositions for your photographs.
- Be patient. If you arrive early enough, you’ll have plenty of time to really scout the scene and plan exactly what areas along the beach will work good with the available light, reflections or tides. It takes a lot of patience to plan your compositions.
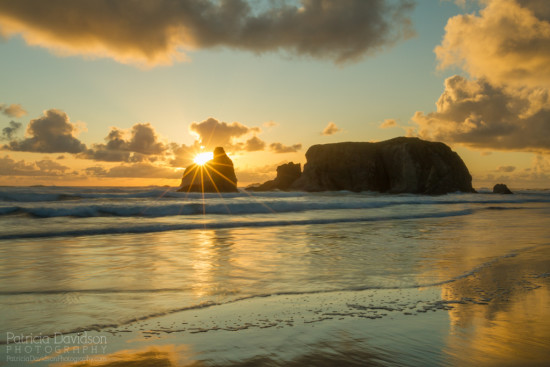
- Bounce light off a sea stack. Move around the sea stack to look at the position of the sun. You can create a nice sunstar to bounce the light off the sides or top of the sea stack. This can make for a nice focal point in your image. The quality of the lens and aperture determines the crispness of the sunstar. I have set my aperture to anywhere from F16 to F22 over the years with various lenses. My Canon 16-35mm 2.8L lens does excellent sunstars.
- Get down low. I have said this before, get low! See my article, Photographing Reflections on the Beach. Don’t just set up your camera high up on your tripod; get down low to the ground if you can. Take a look through your viewfinder and see if you can include other elements within your frame.
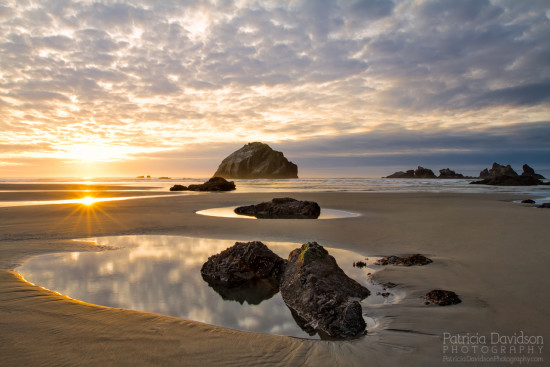
A minus tide on the beach in Bandon, Oregon provided wonderful pools on the beach with reflections of the clouds and light.
- Get creative. Include other elements within your foreground or background. I like to look for ripples in the sand, pools of water, incoming tides, waves, reflections, sun, fog or birds to include in the scene. There may be other elements such as driftwood, smaller sea stacks, rocks or seashells. If you are shooting night photography, shoot a series of star images to later create star trails in post processing or position the Milky Way over a sea stack. You can get really creative here!
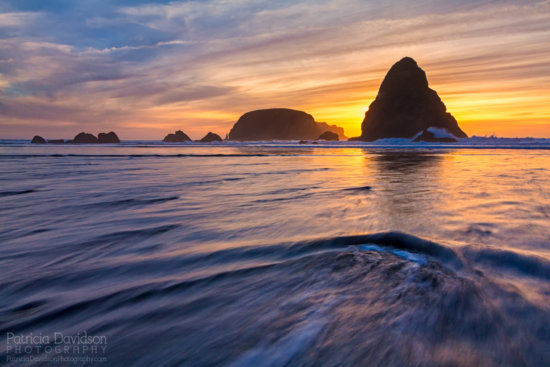
Incoming tide spilling over rocks on the beach providing interest in the foreground that draws your eye to the beautiful light around the sea stacks in Brookings, Oregon.
- Gear needed. Bring your tripod, polarizing and neutral density filters. I often stack a polarizing filter with a neutral density filter for getting nice streaks with the incoming tide while using a slow shutter speed. The polarizer will remove glare from the water and bring out the rich colors or reflections in the scene. A tripod is really important for getting tack sharp images.
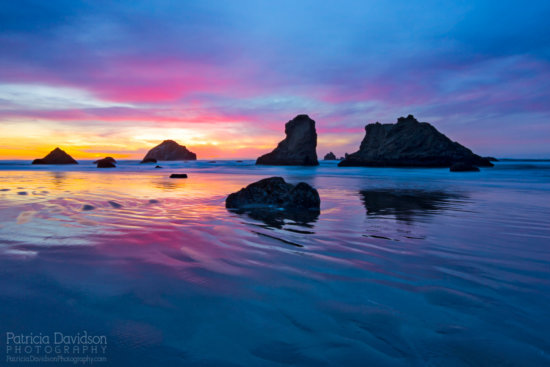
A grouping of sea stacks surrounding the famous Face Rock in Bandon, Oregon during a colorful sunset.
- Use a wide-angle lens. I use wide-angle lenses about 95% of the time on the beach. If you do want to include other elements within your image, you’ll want to use one. I use either my 24-105mm or 16-35mm lenses. It of course all depends on your vision for your images and how low the tide is. If the tide is really low, you can get up pretty close to the sea stacks. If it’s a higher tide, using a longer lens or zoom lens might be necessary.
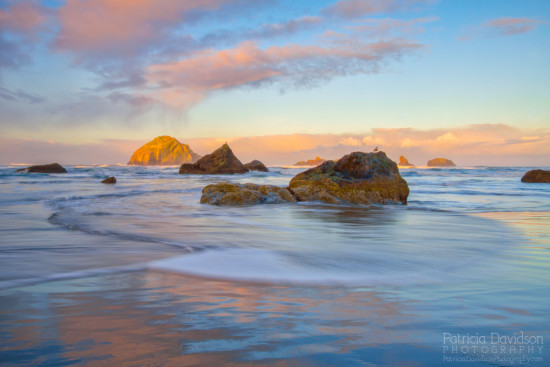
Using a slow shutter speed, as well as both a CP and ND filter, I was able to capture the water swirling around the rocks in the morning shot.
- Be careful when composing so you don’t cut off a sea stack abruptly. When there are clusters of sea stacks in the scene, sometimes it’s hard not to have a sea stack section touching the edge of your image composition. It often works, but it can also draw the viewer’s eye away from your focal point to the corners or bottom of the image. Just something to be aware of.
For more help with photography tips and techniques check out the following related information from Visual Wilderness:
- Article: Tips for Photographing During Winter Storms by Patricia Davidson
- Article: Photographing Reflections on the Beach by Patricia Davidson
- Article: Photographing During High Surf Advisories by Patricia Davidson
- Article: Leading Lines by Varina Patel
- eBook: The Workflow Series: Coastlines by Jay & Varina Patel

