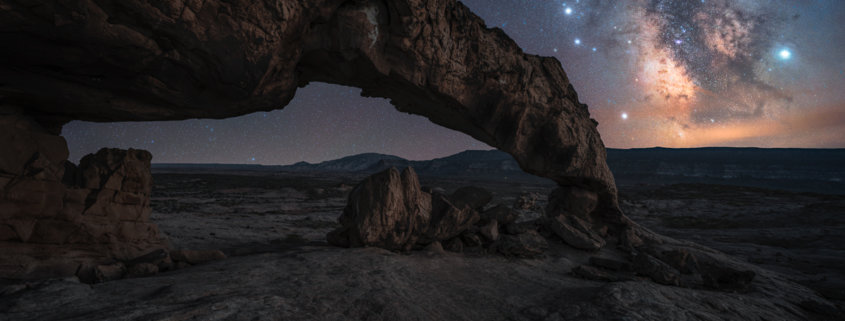
6 Practical Milky Way Photography Tips for Beginners
There has to be a first time for everything, right? No matter how much you know, or think you know about photography, shooting at night time is a totally different experience. Photographing the Milky Way takes more advanced planning than a regular daytime shoot would. After shooting Milky Way photography for years, I feel like I’ve made about every mistake in the book, and I wanted to help you avoid those simple mistakes by listing some of my best advice for shooting the Milky Way.
#1: Create a checklist of things you need for Milky Way Photography
I can’t even tell you how many times I’ve forgotten a crucial piece of gear at home. Keep in mind, shooting at night is different than shooting during the day. You’ll want a headlamp, and most likely warm clothes. I also always like bringing snacks. Even if you think you’ll be able to get the shot you want in just a few minutes, it’ll likely take you longer. Shooting the Milky Way is a big ordeal, so be prepared to sit outside in dark for a few hours.
#2: Turn down the LCD brightness on you camera
This is a step that most people forget in the field, but it is so important! Turn down the brightness on your camera. Most landscape photographers have their brightness up so the LCD screen is easier to see during the day. However, for night photography, you’ll want to turn the brightness down to get a true sense of how bright your photo is. If you don’t your photos will appear very bright in the field, but when you load them on your computer at home, you’ll notice that they are too dark. Also, this helps your eyes adjust easier. If you are looking at a bright screen, it’ll be hard for you to be able to see in the dark.
#3: Zoom in on Milky Way photos to check focus
It’s so important to check your focus in the field on any landscape shoot, but when shooting Milky Way Photography it is even more important. Dialing in focus at night is not quite as simple as during the day. Autofocus won’t work after dark, so you’ll have to switch over to manual focus. To focus at night, switch your camera to live view. When you turn the focus ring, most cameras will zoom in on live view. Then you can move the view on the back of the camera to the brightest star in the sky. After that, you can dial in the focus until the star is at its smallest.
I always review my images and zoom in to make sure my shot is in focus. If you get home and all of your photos are out of focus, there is little you can do to salvage the photos.
#4: Choose the right camera settings
One common mistake that beginners make is allowing their photo to have star trails. Since the earth is turning, the stars appear to move over the period of the night. This can be seen in a long exposure. Most photographers use the rule of 500 to stop the stars in their Milky Way photos from appearing to be moving. This means that you take 500 and divide it by your focal length to reach the longest shutter speed you should be using before experiencing star trailing.
For night photography, it’s important to use fast lenses. f/2.8 or faster is ideal, because opening up your aperture allows more light to hit the sensor. It’s crucial that you gather as much light as you can with aperture and shutter speed so that you can keep the ISO lower. This helps reduce the amount of noise you will experience in post processing.
#5: Take more photos than you need
It’s better to take too many photos than not enough. Often times, you won’t notice things in the field that you will at home on the computer. This is even more relevant after dark. Be sure to take many different photos of different compositions. Also, take multiple shots of the same composition to ensure that you have lots of photos to choose from when you get home. It’s always easier to delete extra photos rather than revisit the location to do a reshoot!
#6: Plan for Milky Way Photography in advance
I can’t stress this one enough! It’s so difficult to find compositions in the dark. I recommend showing up around sunset to scout around for the compositions you’d like to shoot once it is dark. Many landscape photographers use an app called PhotoPills to help them figure out exactly where the Milky Way will be. The app has an augmented reality feature that allows you to see the Milky Way. This app is worth picking up for any landscape photographer, but especially for someone who wants to shoot after dark.
Using these tips, you’ll be able to make sure that your first night out under the stars in a success. Shooting the Milky Way is such a rewarding experience but it requires you to use skills that you may not use in regular everyday photography. Make sure you have a solid plan before you go out to shoot, and do your research online before you go out for the first time.
When you see the images pop up on your screen, you’ll be amazed at the detail the camera can pick up that you simply can’t see with your eyes. Good luck on your first Milky Way outing!


