Essential Circular Polarizer Tips for Landscape Photographers
A circular polarizer is a must-have photography filter for landscape photography. We frequently recommend this as the first photography filter that landscape photographers should acquire. A circular polarizer filter is made up of two rotating elements and seems pretty simple to use… just screw it onto your lens and then rotate the outer ring until you get the effect you want. It draws the glare from wet leaves or the surface of a pond and allows you to see more detail and color. It also helps cut through haze to enhance the blue in the sky.
Here is real world landscape photography example how to use a circular polarizer filter:
Here are few do’s and don’ts about circular polarizer filters for landscape photographers that will help you capture some stunning photos.
Photographing Rainbows
Under the right conditions, a circular polarizer can help intensify the colors of a rainbow. I used a circular polarizer to capture this shot from Niagara Falls in New York. In order to get such intense colors, I rotated the circular polarizer while looking through the view finder until the colors of the rainbow were at their brightest.
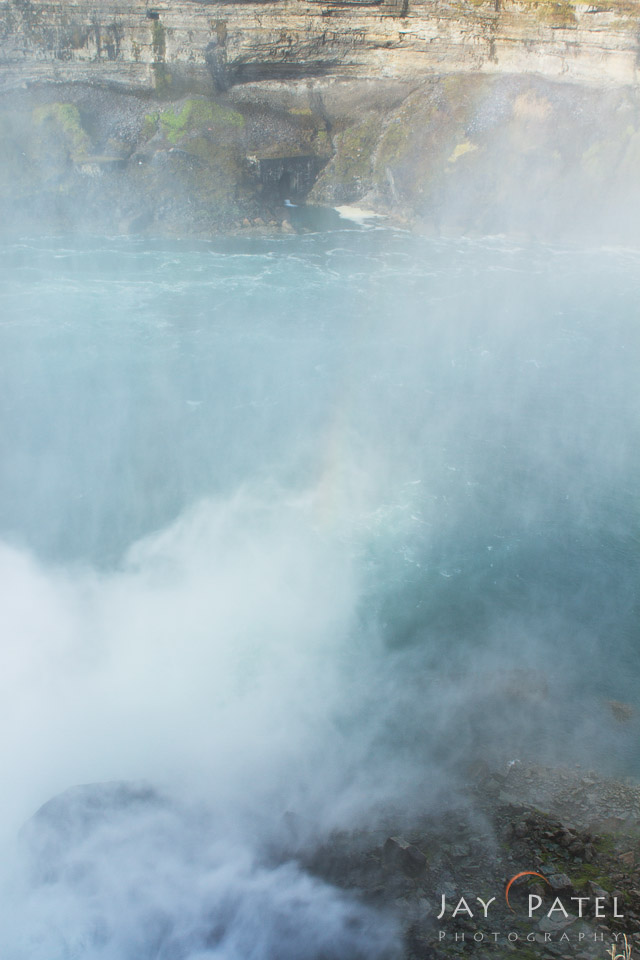
Rainbows are produced by white sunlight that is being scattered by water droplets in the air, so it’s important to realize that a circular polarizer can also reduce the intensity of the colors in the rainbow… or even remove it completely! I took this second shot at the same location on the same day – but I set my polarizer incorrectly to show the effect. The rainbow is barely visible in this second shot.
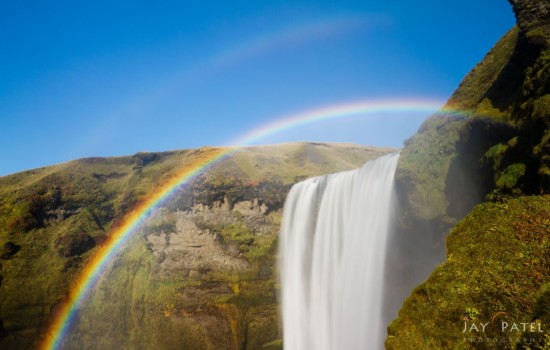
Here is example from Iceland where a circular polarizer was used to bring out brilliant colors in the rainbow at Skogafoss.
Use a circular polarizer to bring out those beautiful colors in the rainbow… but pay attention! Ensure that you properly rotate the filter before taking your shot!
Avoid the Blue Blob
Beginner landscape photographers are often eager to attach that circular polarizer to their camera lens and capture the scene they see before them. However it is important to understand the limitations and pitfalls of using a circular polarizer. One such pitfall is an effect called Blue Blob created by uneven polarization on a wide angle lens. My first encounter with the Blue Blob was in Death Valley when I was just getting started in landscape photography. I planned to use my circular polarizer filter to make the most of the complimentary colors – a brilliant blue sky and the golden light on the rippling sand.
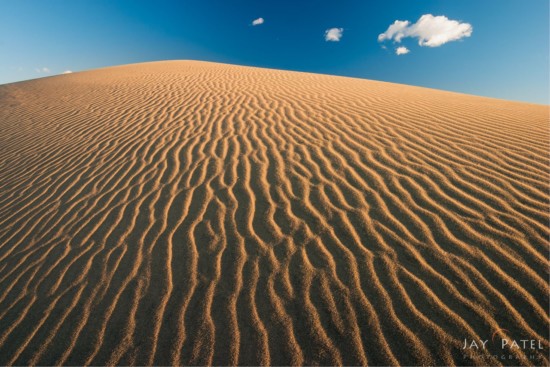
Circular Polarizer created a large Blue Blob in Mesquite Dunes, Death Valley National Park, California
But I was in for a surprise when the Blue Blob made its appearance in the photos on the LCD on the back of my camera. At first, I was baffled. I thought there must have been something wrong with my camera. But, I did my research and I discovered that the effect produced by the circular polarizer filter is highly dependent upon the angle of the sun. Shooting with a wide angle lens can cause uneven polarization… which produces a Blue Blob in the sky.
A bit of knowledge would have saved me a lot of money… and a lot of work. I might have come away from that trip with a collection of images I would have been proud of.
So I returned to Death Valley for another try. This time, I knew when to use my photography filters and when to leave them in my bag… and my photos show the rich colors and beautiful textures I had originally envisioned.
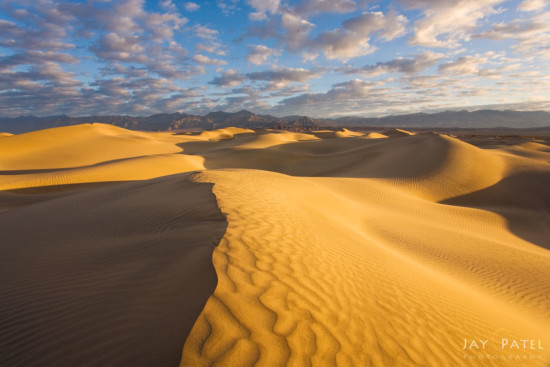
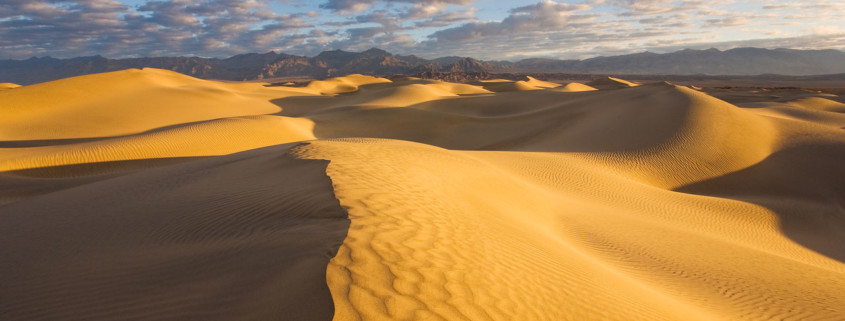
Landscape photo without a circular polarizer, Mesquite Dunes, Death Valley National Park, California
Light Reduction
There are times when it is best to remove the circular polarizer before taking a shot. The decision whether or not to use a circular polarizer filter sometimes comes down to its one main side effect: light fall out. When you mount a circular polarizer filter on your camera lens, the amount of light reaching your camera decreases by 1-2 F-stops. In other words, a circular polarizer acts as an ND filter no matter how you rotate its front element.
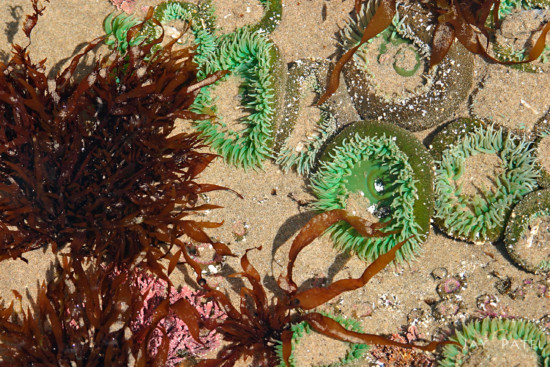
In the landscape photo (Image #1) below I used a circular polarizer in Olympic National Park. There was enough light to get away with using a circular polarizer because I took this photo at midday.
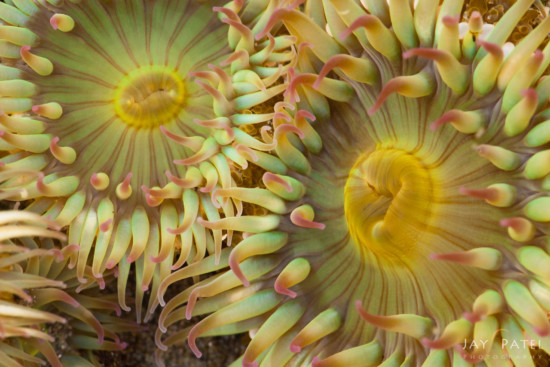
I took the second macro photography example of a sea anemone (Image #2) late in the day under a thin layer of clouds. I did not have enough light to use a polarizer; when I tried to use one, my shutter speed dropped so low that the sea anemone’s slowly-moving tentacles were blurry. Because of this, I positioned my camera to eliminate the reflections and took the shot without the polarizer. Even without the polarizer, I had to bump my ISO up to 500 to accommodate the low light.
Here is a short video on the same topic for those of you who like to watch videos. ;)
Our Essential Photography Filters Course
This is exactly the kind of information you will find in our Essential Photography Filters course. We start with an in-depth discussion of the different filters that we carry. We explain why we carry them, how they work, and the problems that you might encounter in the field. We’ve included lots of examples for using each type of filter… and we don’t stop there. We follow up with a variety of real-world case studies so you can see and understand the thought-process behind our on-location workflow. You’ll see the effect of each filter on the backs of our cameras and you’ll learn as we explain our camera settings and choices in the field.

